Two Designers Tackle a Co-op Renovation in Murray Hill

Maggie, an interior designer, and Adam, a former architect, bought an 800-square-foot co-op in Murray Hill, Manhattan, after renting together for three years. The apartment hadn’t been updated in decades, and its existing layout wasn’t giving them the light, storage, or open living space they wanted.

Their Murray Hill Co-op Renovation included removing a large closet that divided the apartment, opening up the kitchen, replacing flooring and fixtures, and adding storage throughout. Both homeowners had strong opinions about design, so they also had to find a way to combine their different preferences for colors and finishes.

The couple found their general contractor through Sweeten and worked closely with his team to carry out the renovation. Along the way, they were planning their wedding and honeymoon, and they eventually moved into the apartment before construction was finished.

Murray Hill co-op renovation with an open living, dining, and kitchen layout, pale wood floors, light green cabinets, floating shelves, and colorful art.
(Above) This Murray Hill co-op renovation opened up the kitchen and connected the living and dining areas, giving the 800-square-foot apartment more natural light and functionality.
  • Homeowners: Maggie, an interior designer, and Adam, a former architect, posted their co-op renovation on Sweeten.
  • Where: Murray Hill, Manhattan, New York.
  • Primary renovation: The 800-square-foot co-op was renovated with a more open living and dining area, a redesigned kitchen, new flooring, improved lighting, and additional storage. The work also included new appliances, fixtures, a remodeled bathroom, and built-in-style IKEA wardrobes in the foyer and bedroom.
  • Homeowner’s quote: “Sweeten encouraged us to meet with him and fully explain the scope of work. That ended up being a great recommendation, as we did choose that contractor and were able to work very closely with him and his team.”

Guest post by Sweeten homeowner Adam

Murray Hill Co-op Renovation: opening up the old layout

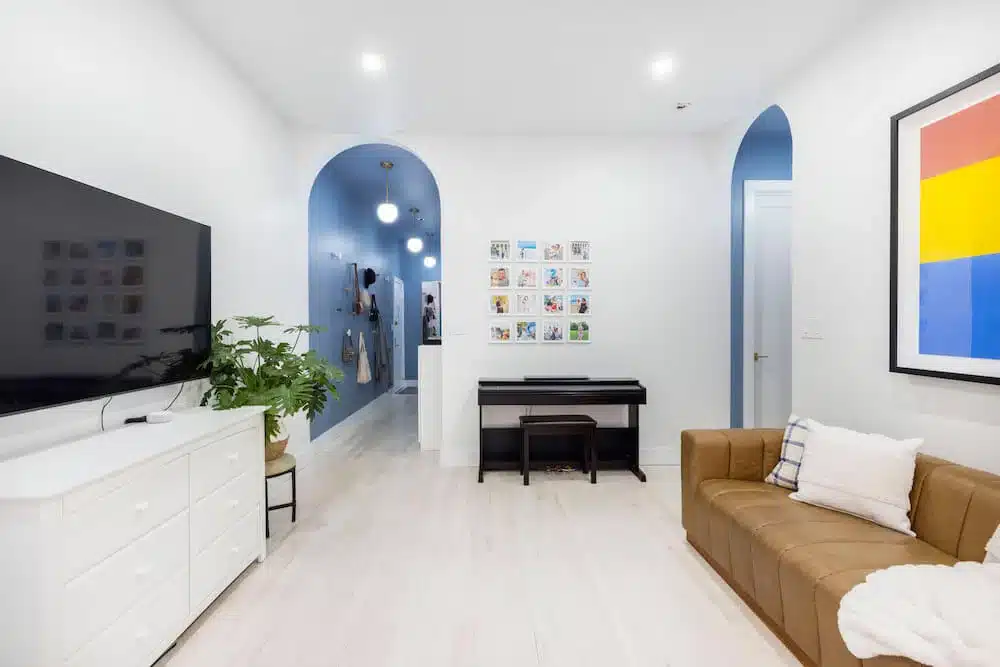
Manhattan co-op renovation living room with pale wood floors, recessed ceiling lights, gray and black sofas, a wooden media console, and a large window.

When Maggie and I bought our co-op, the apartment looked like it hadn’t been renovated in 30 or 40 years. We both had design backgrounds, so we had plenty of ideas about what we wanted to change. The main issue was the layout, which made the apartment feel more divided than it needed to be.

A large closet created a corridor between the living room and bathroom. We knew that removing it would open the living area and give us more room to plan the rest of the apartment around.

We also wanted a separate dining area that could eventually become a nursery if we needed one. Having that flexibility was important, especially since we were working with only 800 square feet.

Beyond the layout, our plans included replacing the existing floors, tile, fixtures, and appliances. Storage was another priority. We wanted enough closet space throughout the apartment without filling the rooms with bulky furniture.

Planning to renovate? Get free cost estimates from our partner GCs!

Get matched with our vetted general contractors and receive at least 3 quotations for free! You can also find endless home renovation inspiration, detailed guides, and practical cost breakdowns from our blogs.

Finding a contractor through Sweeten

After posting our renovation on Sweeten, we narrowed our search to two qualified contractors. Both seemed capable of handling the project, but choosing between them wasn’t straightforward.

We arranged a conference call with Sweeten to talk through the advantages and disadvantages of each contractor. Interestingly, the contractor we thought would be the best fit was also the one who initially seemed less familiar with our plans.

Sweeten encouraged us to meet with him and fully explain the scope of work. That ended up being a great recommendation, as we did choose that contractor and were able to work very closely with him and his team.

Because Maggie and I had specific design ideas, we appreciated having a contractor who was willing to ask questions and check with us when he needed direction. That working relationship made it easier to address the details that mattered to us throughout construction.

Combining two different design styles

Murray Hill co-op renovation dining area with a dark wood table, blue upholstered chairs, brass chandelier, colorful artwork, and light wood floors.

One of our biggest challenges had nothing to do with construction. Maggie and I are both designers, and we don’t always agree on how a room should look.

I tend to like a strong contrast between dark and light materials. Maggie prefers more color, interesting textures, and finishes that feel less stark. We both had definite opinions, especially when it came to choosing materials.

Manhattan co-op renovation shows a pale green kitchen opening into a bright living room, with white upper cabinets, a stainless steel range, and sofas.

We had to compromise on quite a few decisions, but the process helped us find combinations we both liked. Rather than following one person’s style, we chose finishes that reflected our different preferences.

The kitchen is probably the clearest example of that compromise. We chose light green lower cabinets that gave Maggie the color she wanted, while the gray undertones made them a good fit with the more restrained palette I preferred.

Making low ceilings feel taller with lighting and storage

Murray Hill co-op renovation with an open living room, pale wood flooring, recessed ceiling lights, colorful artwork, and a view into the updated kitchen.

Our apartment has ceilings that are just over eight feet high, so we paid particular attention to the ceiling plans and lighting in each room.

We wanted enough light without making the ceilings feel lower. One decision that might seem unusual was asking for a slightly lower ceiling in the entry foyer. The change in height helped make the ceilings in the adjoining spaces appear taller by comparison.

We also installed floor-to-ceiling IKEA wardrobes in the foyer. Maggie and I assembled the wardrobes ourselves, and their narrow, full-height doors helped emphasize the height of the space.

Throughout the apartment, we chose seven-inch-wide engineered hickory flooring and kept the walls white. We have a colorful art collection, and the simple wall color gave us a backdrop that worked with the pieces we wanted to display.

Opening up the kitchen to the living area

The kitchen was one of the most important parts of our Murray Hill remodel. Its original entrance had double doors with walls on either side, which made the room feel smaller and separated it from the rest of the apartment.

We removed the double doors and surrounding walls to open up the entrance. We also moved the refrigerator from its original position to the far wall and replaced a bulky upper cabinet with open shelving.

Renovate expertly with Sweeten

Sweeten brings homeowners an exceptional renovation experience by personally matching trusted general contractors to your project, while offering expert guidance and support—at no cost to you.

Start your renovation

Those changes made a noticeable difference. The kitchen felt larger, and natural light could reach farther into the apartment. It also helped establish the open layout we had wanted from the beginning.

Murray Hill co-op remodel featuring pale green shaker cabinets, brass handles, a stainless steel range, light wood floors, and white upper cabinetry.

For the cabinetry, we settled on light green lower cabinets with a gray undertone. The color brought some personality into the room without being too far from my preference for a more neutral look.

We purchased raw hardwood for the open shelves from a lumberyard, then sanded, cut, drilled, and stained the pieces ourselves. We liked the warmth and texture of the wood, and working on the shelves gave us a chance to contribute something personal to the finished kitchen.

Manhattan co-op renovation kitchen with a brass faucet, white marble-look backsplash, pale green cabinets, wood shelves, and a view toward the bedroom.

Another detail we’re pleased with is the Bosch retractable range hood. It fits within the depth of the upper cabinets and stays concealed when we’re not using it. When we need ventilation, we slide it out over the range to help catch cooking fumes and oil.

The kitchen ended up bringing together several of our favorite design choices. It has the openness we wanted, enough color to satisfy Maggie, and the contrast and clean lines that I prefer.

Adding built-in-style storage to the bedroom

Storage was just as important in the bedroom as it was in the foyer. We wanted to take advantage of the available wall space without making the room feel crowded.

Maggie and I assembled a series of IKEA wardrobes, and our contractor framed them so they would look more like built-in millwork. This gave us the storage we needed while keeping the design consistent with the rest of the apartment.

A GIF of a bedroom closet opening with built-in sensor lights

We also installed linear LED lighting with motion sensors inside each closet. The lights turn on automatically when we open the doors, which makes it easier to see what’s inside.

For the finishing details, we chose satin brass hardware that matched other hardware throughout the home. The full-height doors gave us additional storage and helped the bedroom appear taller, which was especially useful given the apartment’s low ceilings.

Updating the bathroom with wood-look and marble-style tile

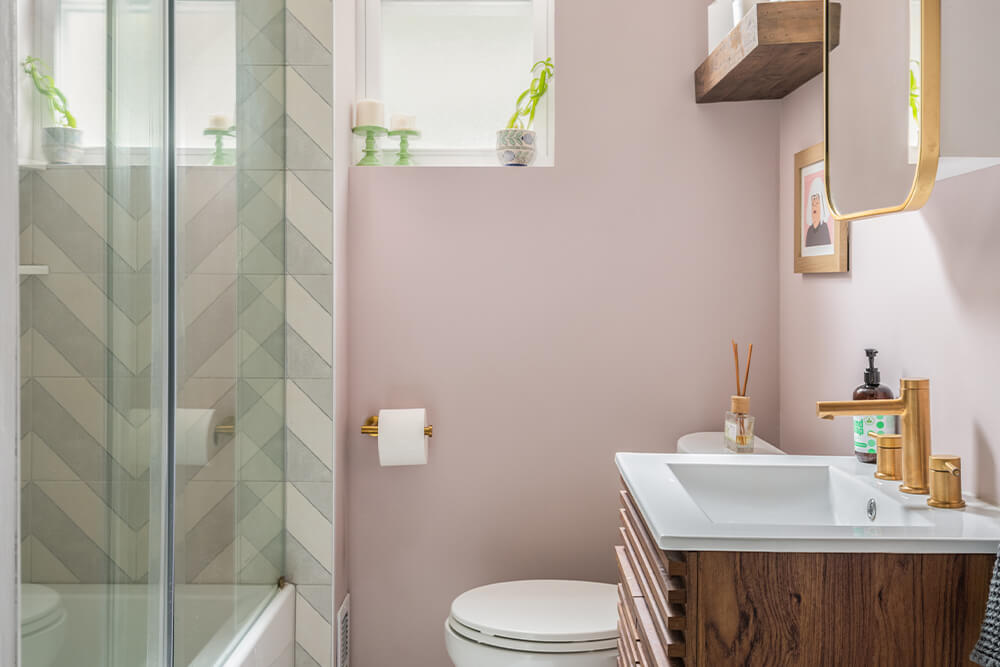
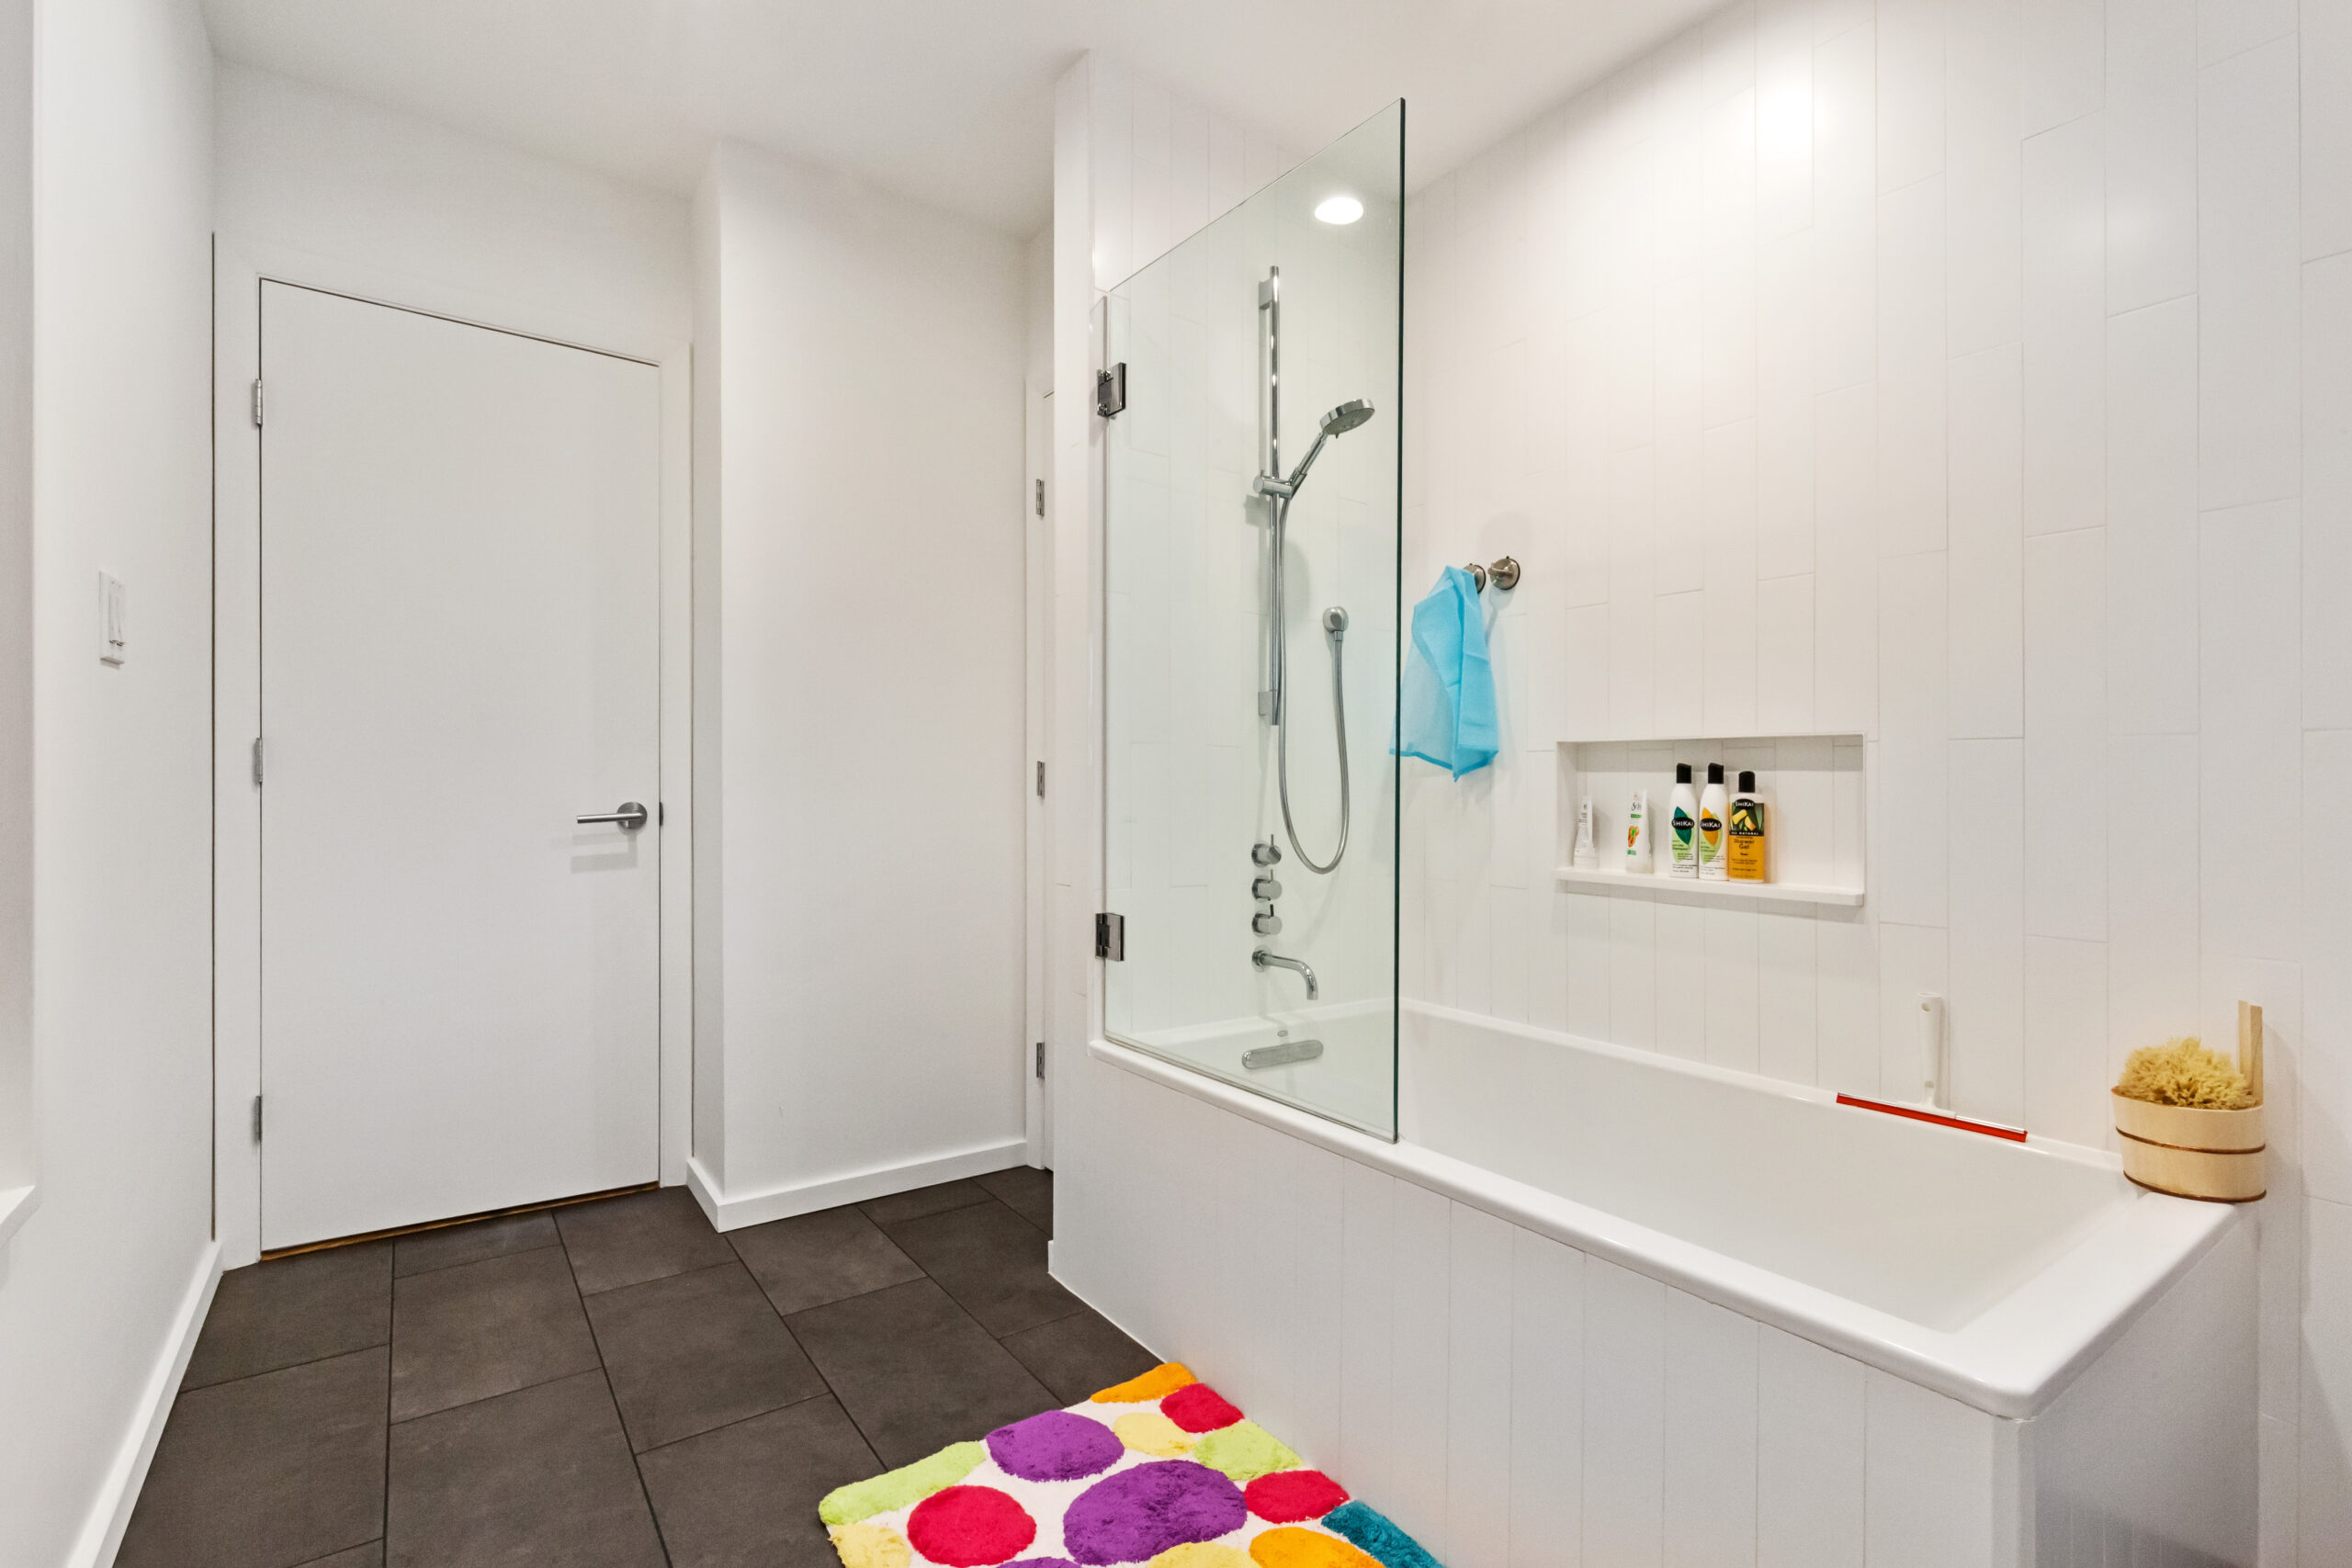
The bathroom needed a complete renovation. We removed the existing fixtures and finishes, including the bathtub, and replaced everything as part of the project.

For the shower’s back wall, we chose horizontal wood-look ceramic tile. We liked the warmth it brought to the bathroom and the way it complemented the marble-style ceramic tile on the surrounding walls.

Together, the two tile finishes gave the bathroom the spa-like appearance we wanted without relying on just one material throughout the space.

The updated bathtub, shower fixtures, and other bathroom details completed the design. It was a substantial change from the bathroom we started with and brought it closer to the style we had chosen for the rest of the apartment.

Moving in before construction was finished

Murray Hill co-op renovation kitchen showing an extended slide-out range hood below white upper cabinets, brass handles, and a herringbone tile backsplash.

Our Sweeten contractor was good at solving problems and had set an aggressive six-week timeline for the apartment renovation. We knew from the beginning that we’d be moving in before all the work was complete.

The construction schedule was tight. The bedroom was finished so close to the movers’ arrival that the baseboards were still wet. About a week and a half later, the contractors had completed the bathroom and living room flooring, allowing us to move in while work continued elsewhere.

We ended up living with construction going on around us for about another month. It wasn’t easy, especially since we were also planning our wedding and honeymoon.

The experience was stressful for everyone, including our dog, Ellie. Once the remaining work was finished, though, we could finally settle into the apartment without having to plan our days around construction.

Enjoying the finished Murray Hill apartment

Maggie and Adam sit with their dog Ellie on a light sofa in their renovated Murray Hill co-op living room, with colorful framed artwork behind them.

Looking back, we’re happy with how the renovation turned out. We have more storage, better lighting, and a living area that feels much more open than it did before.

The apartment also reflects both of our design styles. The colorful details, contrasting materials, wood shelving, and built-in wardrobes all came together in a way we were pleased with, even though agreeing on everything took some effort.

We’re also glad we found our contractor through Sweeten. Before choosing him, we appreciated being able to read reviews from other homeowners and look through photos of completed projects on the site.

Knowing that homeowners could share their experiences gave us confidence in the process. Our contractor maintained a good relationship with us and followed through on the work, which is why we gave him a five-star review.

Now we get to come home to a comfortable, well-lit apartment with the storage and layout we originally wanted. It suits the way we live, and we’re happy with the choices we made together.

Ready to renovate your home?

Post your project on Sweeten today and get matched with our vetted general contractors for free! Find endless home renovation inspiration, detailed guides, and practical cost breakdowns from our blogs.

Renovation materials

KITCHEN RESOURCES:

  • Cabinets: Kingswood.
  • Lower cabinet paint in Tree Moss: Benjamin Moore.
  • Upper cabinet paint in Bright White: Sherwin-Williams.
  • Cabinet hardware: Lewis Dolin.
  • Countertops and backsplash in Calacatta Borgnini: Quartz Masters.
  • TruGranite sink: MR Direct.
  • 800 Series B11CB81SSS 24-inch refrigerator: Bosch.
  • 800 Series 30-inch slide-in gas range: Bosch.
  • 800 Series 24-inch dishwasher: Bosch.
  • Retractable range hood: Bosch.
  • Overhead lighting, Zhane Linear Suspension.
  • Under-cabinet lighting: Luminii.

BATHROOM RESOURCES:

  • Alaplana light brown wood shower wall tile: Quality Tile.
  • 2-by-8 slate herringbone floor tile: Quality Tile.
  • Ceramic marble shower tile: Quality Tile.
  • Rook hardware and shower fixtures in black nickel: Brizo.
  • Bathtub: Kohler.
  • Corbelle toilet: Kohler.
  • Jensen Horizon medicine cabinet: Amazon.
  • Bathtub door: DreamLine.

LIVING ROOM AND DINING ROOM RESOURCES:

  • Recessed lighting: Lucifer.
  • Light fixture: Shades of Light.
  • Cabinet wardrobes: IKEA.

BEDROOM RESOURCES:

  • 1-inch-square LED downlight: Juno.
  • PAX closets: IKEA.
  • Under-cabinet lighting: Feelux.

Frequently asked questions

Yes, even if you have a design background, hiring a contractor can help you carry out your renovation plans. Maggie and Adam were both experienced in design, but their Sweeten contractor helped solve construction problems and worked closely with them to complete the project.

One way you can make low ceilings feel taller is by lowering the ceiling slightly in an entryway, as Maggie and Adam did to make the adjoining rooms appear higher. They also used carefully planned lighting and floor-to-ceiling wardrobes to emphasize the apartment’s height.

Yes, but real wood needs proper protection and maintenance because of the moisture in bathrooms. For their renovation, Maggie and Adam chose wood-look ceramic tile for the shower wall to achieve the appearance of wood without using actual wood.

You may also like

Renovate with Sweeten!

sweeten-magic

We’ll match you with vetted general contractors and offer support until your project is done — at no cost to you!

Start your renovation

Customer review 5.0

sweeten-thumbsup

“Sweeten provides a modern way to connect with contractors and greatly reduces the stress involved in this process.”

— Richard, A. from Brooklyn, NY

Read more reviews —>
Start your renovation
no-cost-blue

Subscribe to our
renovation newsletter