Essential Tips for Accurate Bathroom Tile Measurements
Imagine stepping into a spa-like bathroom, where every tile aligns perfectly, creating a seamless and tranquil atmosphere. This dream bathroom can be yours with meticulous tile measurement! While it may seem like a technical task, taking precise measurements is the foundation for a stunning and functional tiled space. This guide will equip you with the knowledge and tools to transform your bathroom into a haven of relaxation, one perfectly measured tile at a time.
Measuring your bathroom for tile will give you a good idea of the material cost to add to your budget.

Prepping the bathroom’s surface
To measure for bathroom tile on floors or the walls, it would seem that everything is clear-cut, with nothing left open for interpretation. However, there are various factors to consider so that you purchase the correct quantity of tile.
In this guide, Sweeten outlines how to measure the space for accuracy. You’ll also calculate for enough extra to make the installation smoother.
At Sweeten, we’re experts at all things general contractors — we pre-screen them for our network, carefully select the best ones for your remodeling project, and work closely with hundreds of general contractors every day. So, we’ve tapped our internal expertise to bring you this guide.
When measuring bathroom dimensions and matching numbers to a physical product—tile—questions will come up.
- Overage is required, but how much?
- Should you tile under large bathroom components (like tubs and vanity cabinets)?
- Does tile seam width change the purchase amount?
- For wall tile, how far up does the tile go?
What you will measure:
- You will begin with one set of measurements: those that cannot be changed.
- Next, you tighten up that set of numbers by taking variables into account.
What you will need to measure for bathroom tile:
Begin with a tape measure, preferably one with a metal blade 1-inch wide or more for rigidity. Do not use a vinyl measuring tape of the type used for clothing and other fabrics. A laser measuring device is a great add-on but is not necessary.
You will also need a simple way to jot down numbers. Pen and paper work best, but if you are working with an app or program, you can use that. Having an extra hand, too, eases the process and produces more accurate numbers.
Getting the fixed dimensions
Certain dimensions in a bathroom are fixed; meaning, they cannot be changed. Begin there.
To measure the bathroom floor tile:
- Measure the entire bathroom: Determine the dimensions from wall to wall.
- Measure alcoves or separate areas: If your bathroom has alcoves or nooks, measure these sections as if they were individual rooms.
- Measure the tileable floor space: Focus on the areas that will receive tiles, excluding non-tiled areas like bathtubs or showers.
To measure the bathroom wall tile:
- Full-wall tile: For areas like showers and bathtubs, measure from the floor to the ceiling.
- Tile wainscot: A tile wainscot is a partial tile covering on the bathroom wall. A common height is 42 inches for 7- or 8-foot ceilings. For a more customized look, divide the ceiling height by three to determine your preferred wainscot height.
What is a tile wainscot?
- Tile wainscot is a tile field that runs partially up the bathroom wall. Forty-two inches is a common wainscot height for a bathroom with a 7-foot or 8-foot ceiling. Even better, measure the height of the ceiling, then divide by one-third and use that as your wainscot height.
Sweeten brings homeowners an exceptional renovation experience by personally matching trusted general contractors to your project, while offering expert guidance and support—at no cost to you. 
Renovate expertly with Sweeten
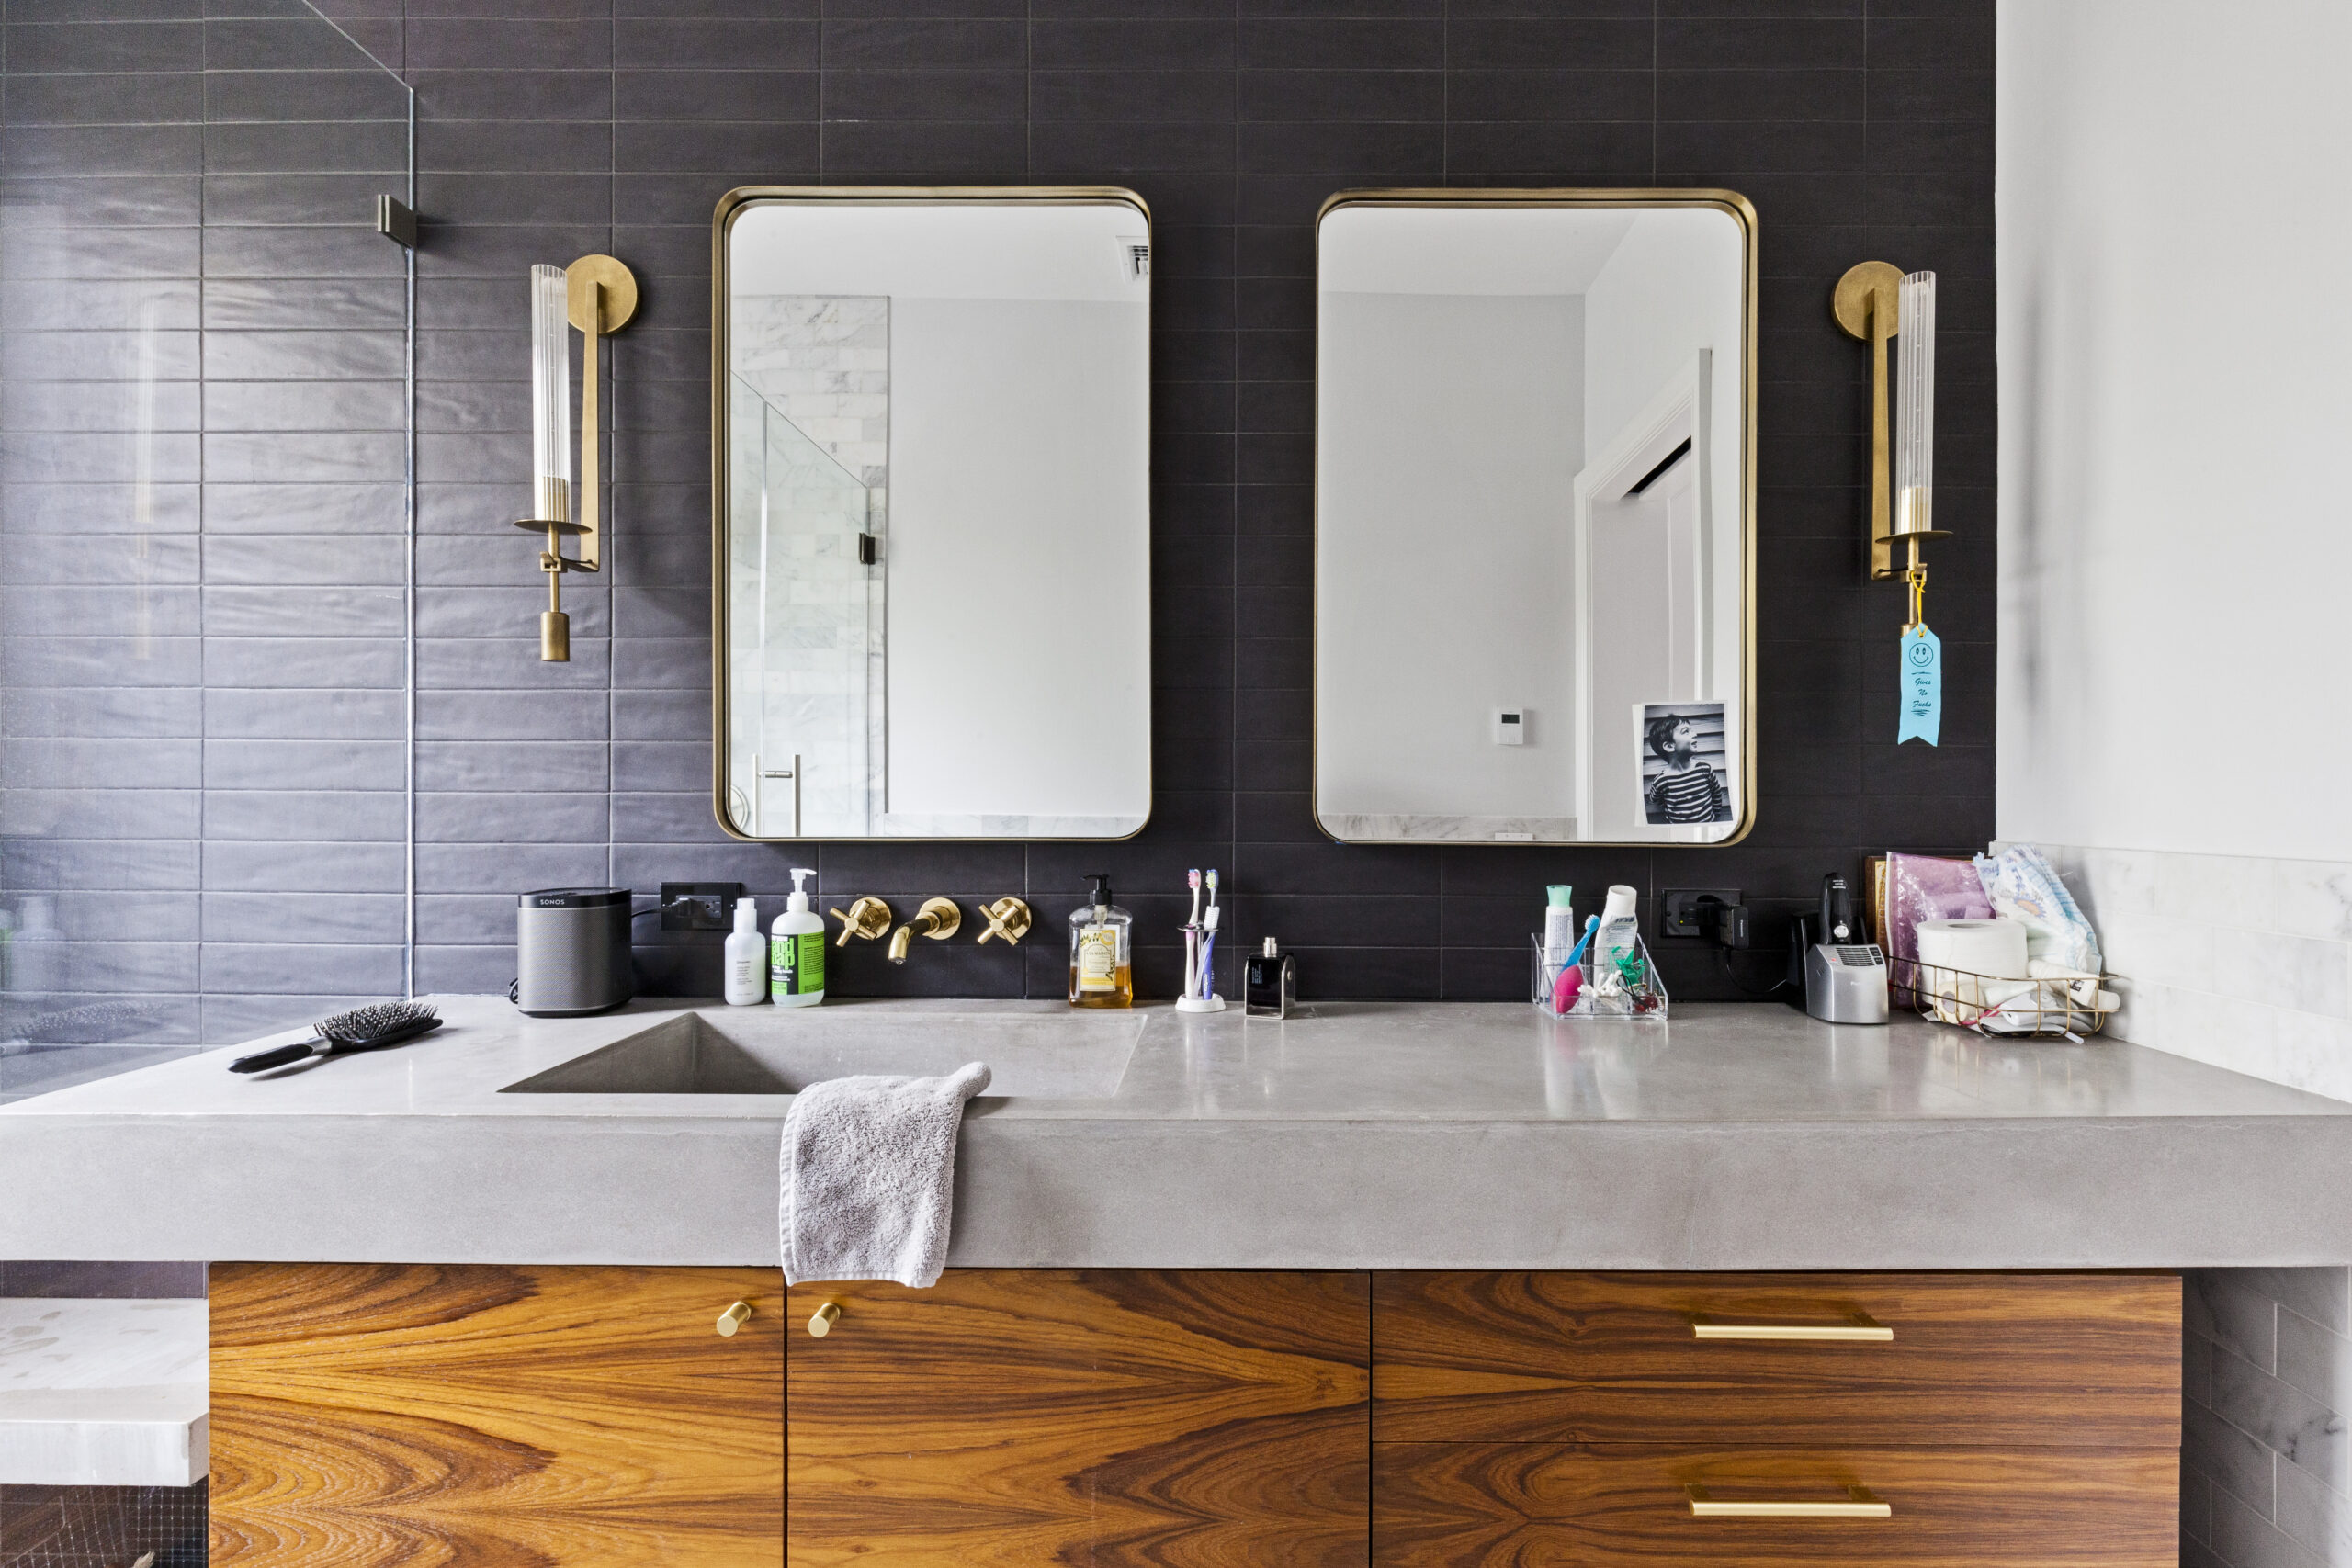
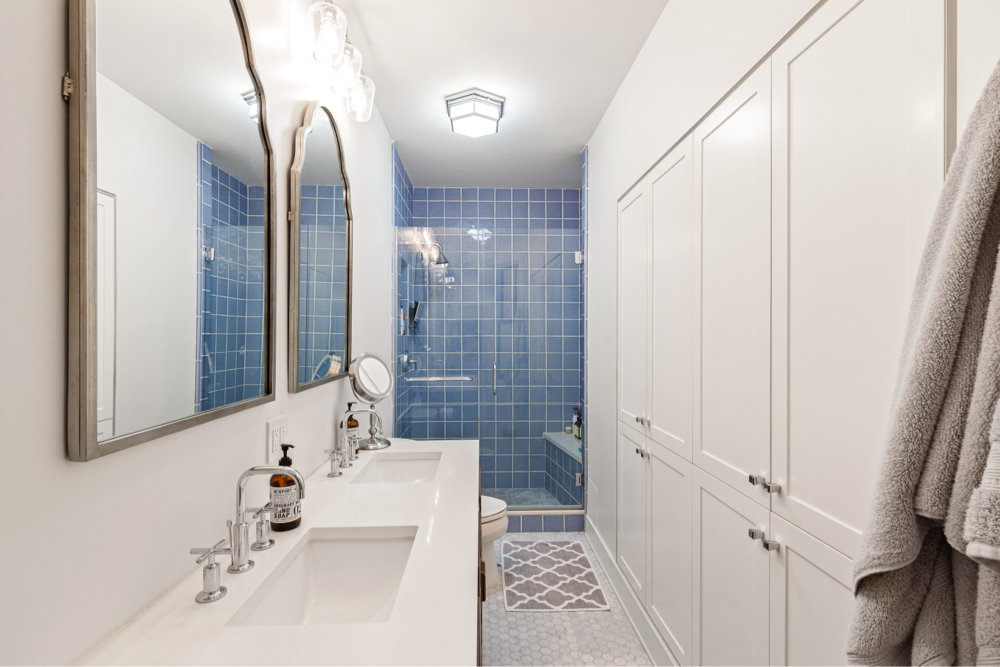
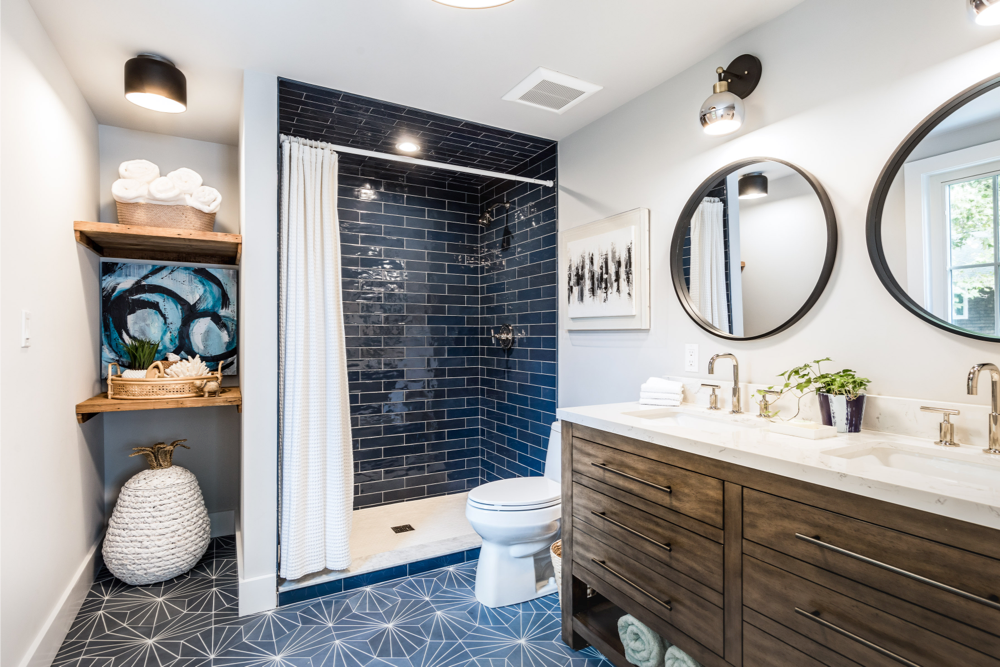
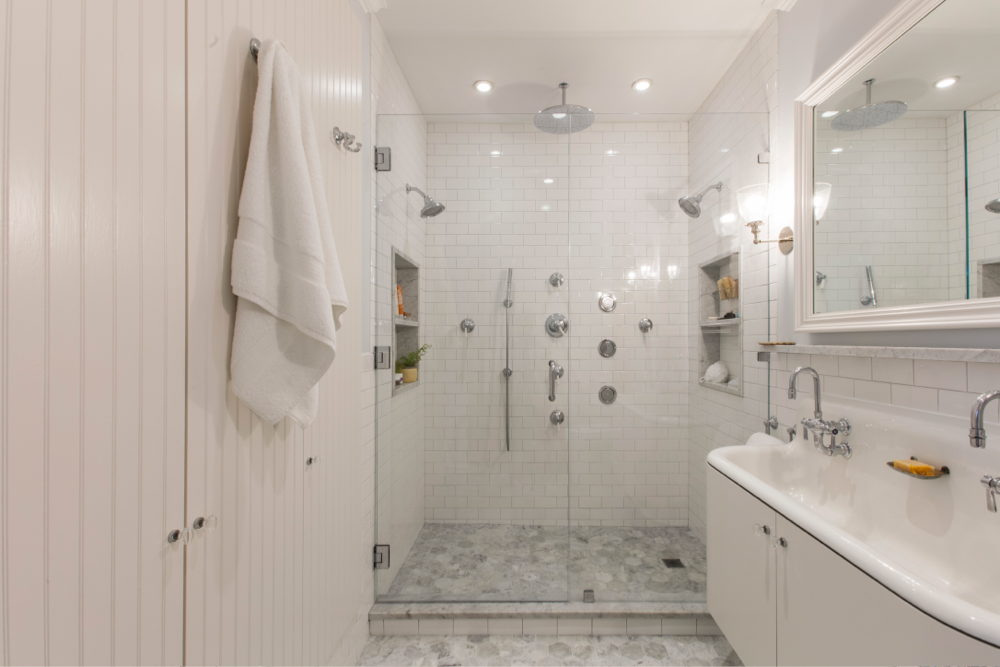
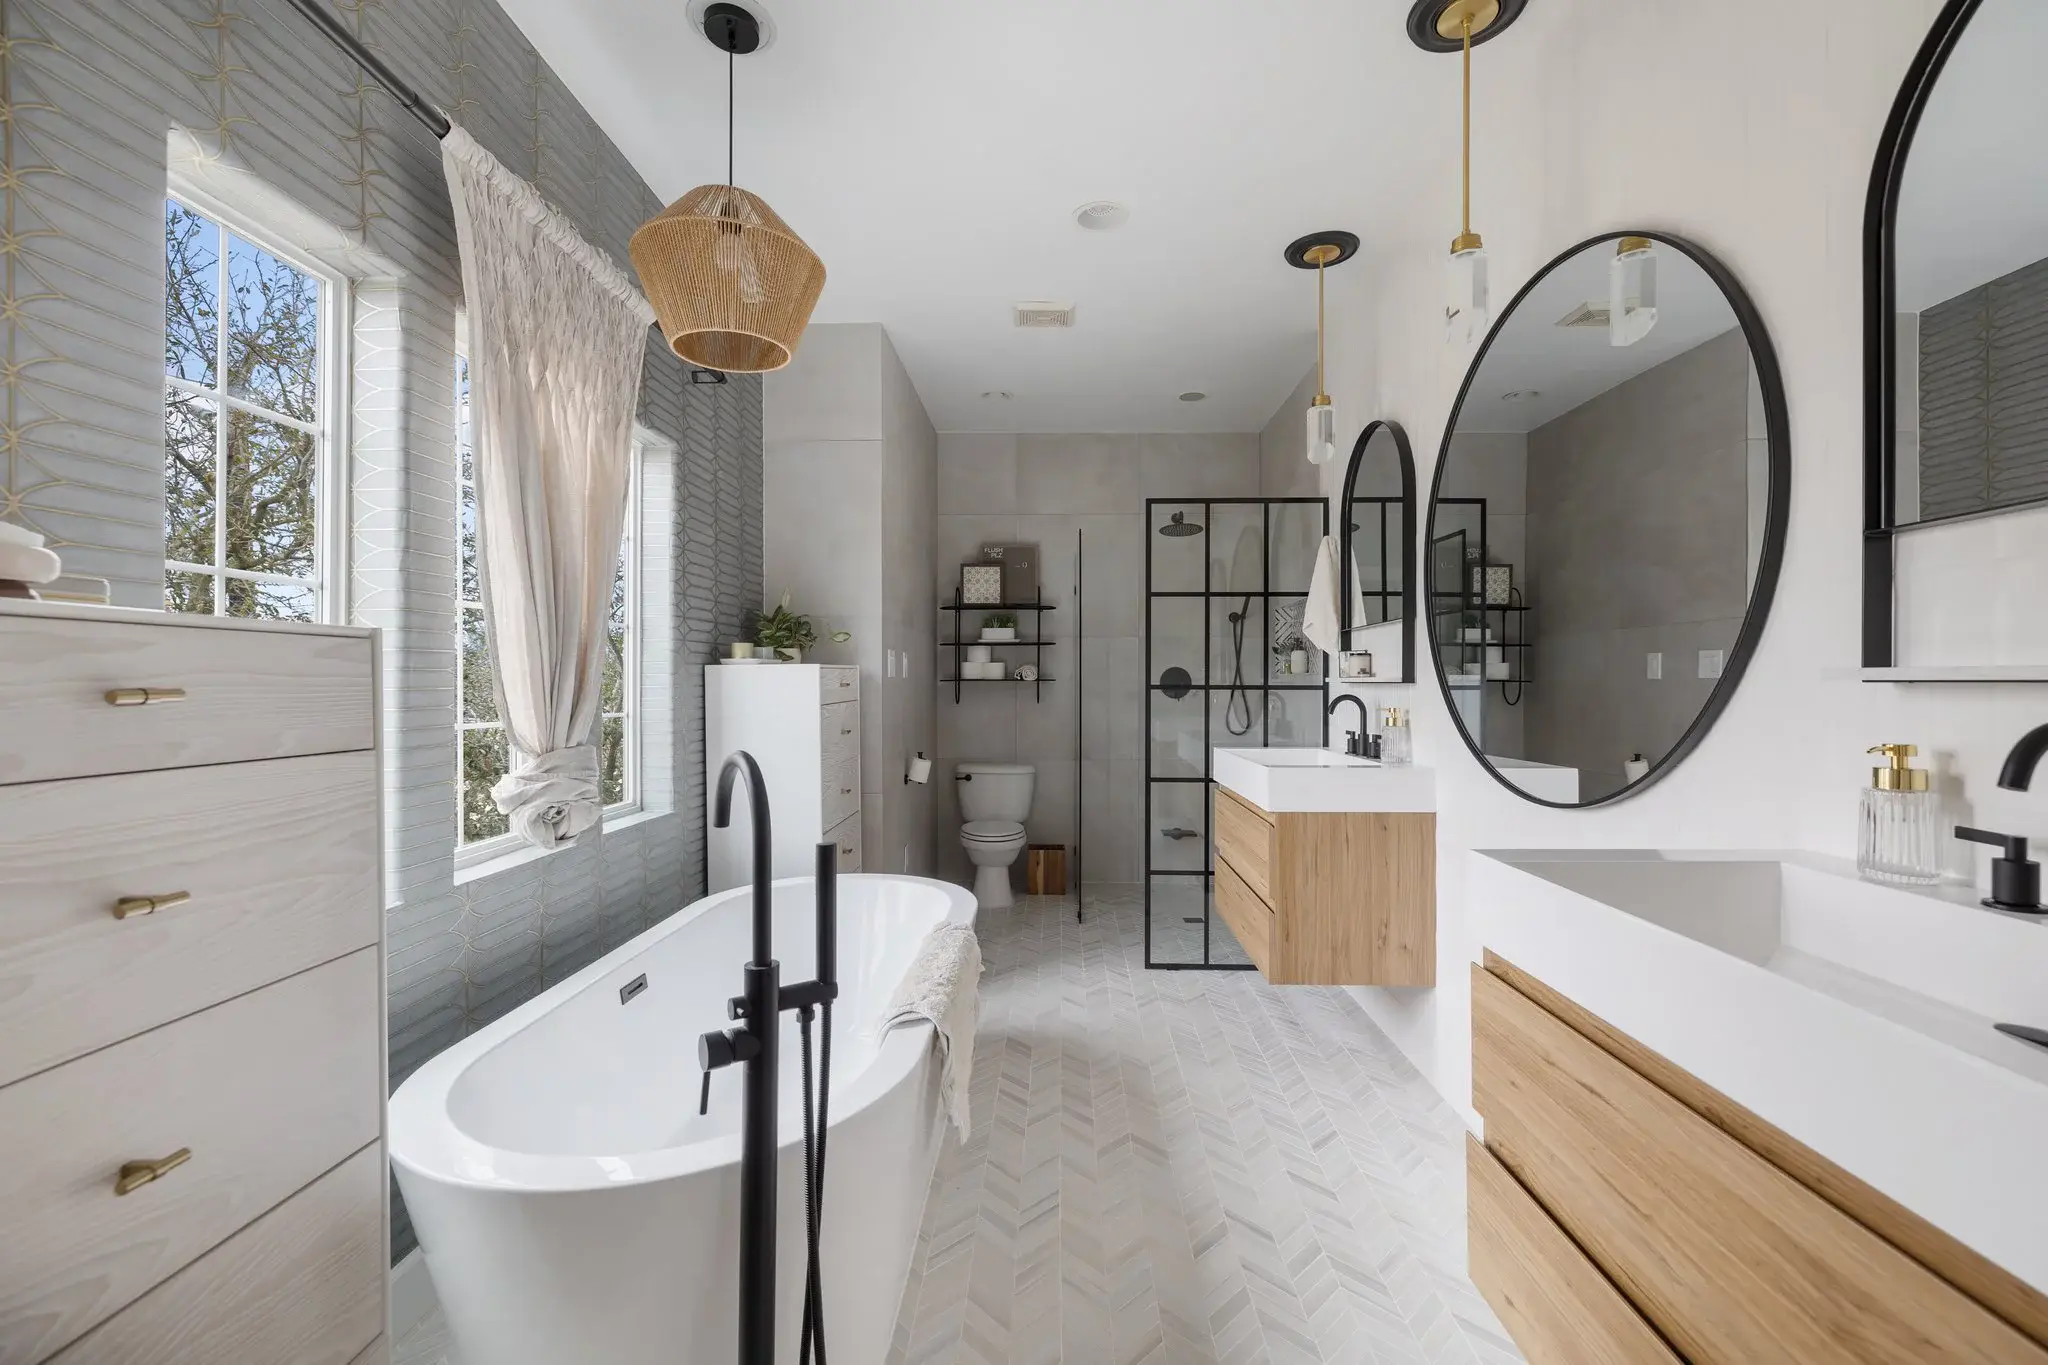
(Top photo) Mitzie + Jenifer’s bathroom remodel. Above) Jessica + Jessie’s Sweeten renovation.
To measure the shower wall and floor tile:
- Measure all shower walls from side to side and top to bottom. Do not account for the shower pan or shower curb.
- For the shower pan, measure from side to side in both directions to produce the area measurement.
- If the curb or threshold will be tiled, assume a height on both sides of at least 2 inches and a width of at least 2 inches. Shower curbs may not rise more than 9 inches.
Tips to control for variables:
- The tape measure will sag, so keep it as straight and level as possible. This is the benefit of having an assistant: to keep the tape measure tight. A laser measuring tool is helpful for distances over 8 to 10 feet, as it produces a straight line.
- Ignore baseboards, as tile overlaps baseboards. Be sure to measure from wall to wall, not from baseboard to baseboard.
- Subtract cutouts down to the square foot. Items less than a square foot, such as the toilet flange or shower drain, should not be subtracted.
- If the sink cabinet will stay in place and you are certain that the bathroom layout will never change, do not tile under the cabinet. Subtract the cabinet from the flooring area.
- If you think that you will change the bathroom layout in the future, tile underneath the sink cabinet.
- Tile usually does not run under the shower or bathtub. Do not figure shower or tub floor space into your measurements.
- Interior tile grout widths range from 1/16-inch to 1/4-inch. Unless this is an unusually large bathroom, do not use grout widths as a variable when measuring for bathroom tile.
- Site-built showers do not always need tiled shower pans and curbs. You may subtract this quantity of tile if you expect to use a prefabricated shower pan.
Using your measurements to purchase bathroom tile
Once you have a solid set of numbers in hand, you’re ready to buy the materials. You will need to consider a few issues before you make the final purchase.
Tile overage: How much extra bathroom tile should I buy?
After you adjust the fixed quantity of tiles with the control variables, you now have the total amount of tile required—almost! The last step is to plan for a standard overage amount of 10% or more.
For example, a 100-square-foot bathroom with 10% overage results in a purchase of 110 square feet of tile.
Products may arrive damaged or otherwise unusable. Too many unusable products must be returned, but a broken tile or two may not be worth the effort. More importantly, it is nearly impossible to order exactly the amount of tiles that will be laid down. Field tile edges are typically cut to fit the space. While tile installers strive to recycle cut pieces in other areas of the project, some pieces cannot be used. Boxed tile, too, often ends up with extra tiles left in the box.
Special-shape or unique-size tiles and layout designs
Most tiles are square or rectangular, and most layouts are grid or brick patterns. What happens if you vary the tile size or layout?
Unique tile shapes and sizes require that you purchase more tile. If these types of tiles cannot produce a straight edge when laid, increase the overage to 20% or more.
Layouts that differ from grid or brick patterns also require more tile. Diagonal, herringbone, or chevron patterns, for example, result in cut pieces in a variety of triangular sizes. Some triangles can be used elsewhere, but most cannot.
Measuring your bathroom for tile will give you a good idea of the material cost to add to your budget. When you’re ready to get started on your bathroom or home remodel, work with Sweeten to renovate with the best contractors.
Other factors for measuring bathroom tile
The ease with which you can return the tiles is an important factor to consider. A brick-and-mortar store may accept sealed, full-box returns for full value or for full value minus a stocking fee. Online tile suppliers may require you to pay to ship back unused tile.
Having some extra tile on hand has its benefits. Over time, installed tile may crack and need to be replaced. Or you may wish to use the tile for smaller applications within the bathroom, such as for a sink backsplash.
Best tile and applications for bathroom flooring
All bathroom flooring tiles should be specified as such by the manufacturer in the product description or in the technical specifications. Wall-only tile cannot be used for floors, as it is too thin for foot traffic and often too slippery.
Another clue is the COF (or coefficient of friction) slip ratings published by tile manufacturers. For foot traffic, higher numbers are better than lower numbers. Look for a COF rating of 0.50 or more for your floor tile.
Grout seams are necessary between floor tiles. Wide seams impart more friction, thus a safer floor. More seams, too, give the foot friction. This is one reason why mosaic tiles are so popular for floor tiles: the increased proportion of grout to tiles.
Best tile and applications for bathroom walls
Like floor tile, manufacturers often label bathroom wall tile. However, in most cases, you can use bathroom floor tiles for bathroom walls.
One exception is with showers, bathtubs, and other high-moisture areas. Look for tiles with a water absorption rate of 0.5 percent or lower. Tiles labeled specifically with the name “porcelain,” as certified by the Porcelain Tile Certification Agency (PTCA), are guaranteed to fall under the absorption rate range.
Given the visibility of bathroom wall tile, it is often best practice to keep tile seams narrower, to use more routine layouts, and to use tiles with less complex visuals. Highly ornate types of tiles are acceptable but are best limited to use in borders or for smaller applications, like backsplashes.
Having a shortage of tile will cause delays, while ordering too much tile affects your budget. Use this guide to measure bathroom tile accurately and you’ll get even closer to the exact tile quantity you need!
Ready to renovate? Start here for free!
Here you can learn more about our services and locations. Alternatively, browse more home renovation inspirations, processes, and cost guides.

