Home / Blog / Home Renovation Process
NYC Kitchen Remodel: From Planning to Permits
New York City homes are known for their charm, but kitchens can often feel cramped or outdated. Whether you’re a passionate home cook or crave a more functional space for entertaining, a kitchen remodel can be a transformative investment. However, navigating the process in a bustling city like NYC can seem daunting. This guide is here to help! We’ll walk you through everything you need to know, from budgeting and permits to finding the right contractor and creating a space that perfectly suits your needs.

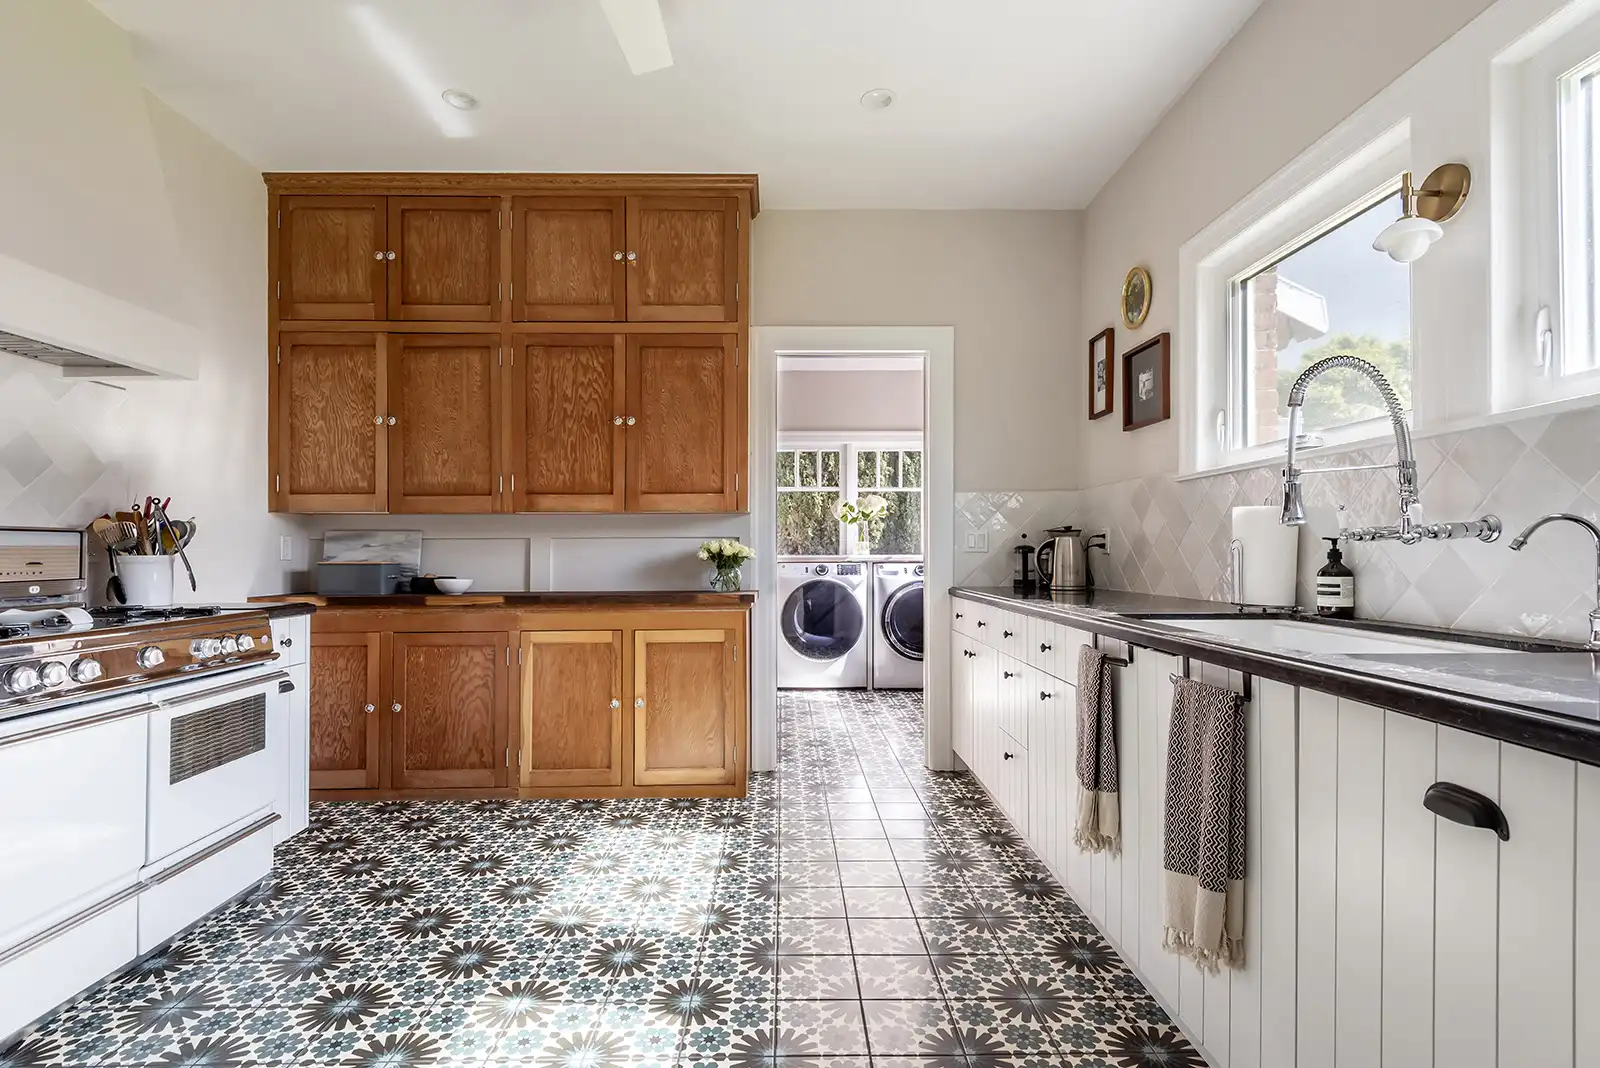
Whether a kitchen remodel is a rip-and-replace or a complete gut with a new layout, the final result will be dramatic. Any kind of functional improvement, flow redesign, or a refresh in materials offers a brand new experience. It’s also a complex space to reimagine and can be demanding to execute well. Read our guide on how to remodel a kitchen in NYC. Here, we outline the building blocks of a renovation and the tools for a successful result.
Working with building boards and insurance
In New York City, many buildings are within the purview of condo/co-op/HOA boards. Does that apply to your project? If so, you should consult your building’s alteration agreement for guidance. It will lay out what is allowed and not allowed when remodeling your kitchen.
"Wet" over "dry" spaces
In particular, placing “wet” spaces over “dry” spaces is prohibited based on NYC rules. That means a kitchen or bathroom, a “wet” space, can not be placed over your downstairs neighbor’s living room. All plumbing should be stacked vertically as much as possible within the building to minimize the number of water lines.
The approval process
You may have to submit your plan for approval by your board, in addition to a submission to the city. Most Sweeten general contractors manage the paperwork and approval process with you. This step with your board can be challenging and can cause delays ranging from weeks to months before their approval comes through.
Your alteration agreement may also include provisions for inspection of your project by the board architect or building superintendent, and you may be expected to adhere to a project schedule, so keep that in mind, as well.
Higher costs in NYC
Also, costs like labor and business insurance for contractors in New York City are higher than in most other areas of the country, which ultimately results in higher project costs. According to this metric, the median home cost in New York City is more than double that figure of the USA at large.

At Sweeten, we’re experts at all things general contractors — we pre-screen them for our network, carefully select the best ones for your remodeling project, and work closely with hundreds of general contractors every day. So, we’ve tapped our internal expertise to bring you this guide.
Plan examination and permit
New York City’s combination of older and diverse housing stock is a reality. Experienced construction professionals should know how to navigate these structure types, the process, and required paperwork. However, understanding these aspects is a good way to prepare. In addition, your project will be reviewed by the Department of Buildings and go through a plan examination. It might also require a building permit.
Your project may not need a permit if it’s a standard “rip-and-replace” renovation project. Some examples of work you can have done without a permit include:
- Painting
- Plastering
- Installing new cabinets
- Plumbing fixture replacement
- Resurfacing floors
That list of projects is nearly the definition of a “rip-and-replace” project, so good news there.
The alteration agreement will outline when a Registered Design Professional (RDP) is required on your project. The RDP, which is your Professional Engineer or Registered Architect, will submit your plan and application for examination. This process ensures that all building modifications comply with applicable building code and zoning regulations in New York City.
Example renovation costs in New York City
Looking at a medium-sized kitchen of 90–120 square feet, here are some examples costs that do not include the cost of appliances:
- Budget kitchen renovation costs: from $24,500
- Mid-grade kitchen renovation costs: from $37,500
- High-end kitchen renovation costs: from $76,000
Cost factors for your project
Three main factors will determine your costs for your kitchen project: size, scope, and finish level.
Size
First, kitchen size will be a main driver. More cabinets mean more linear feet of countertops. You’re just buying more material in this case.
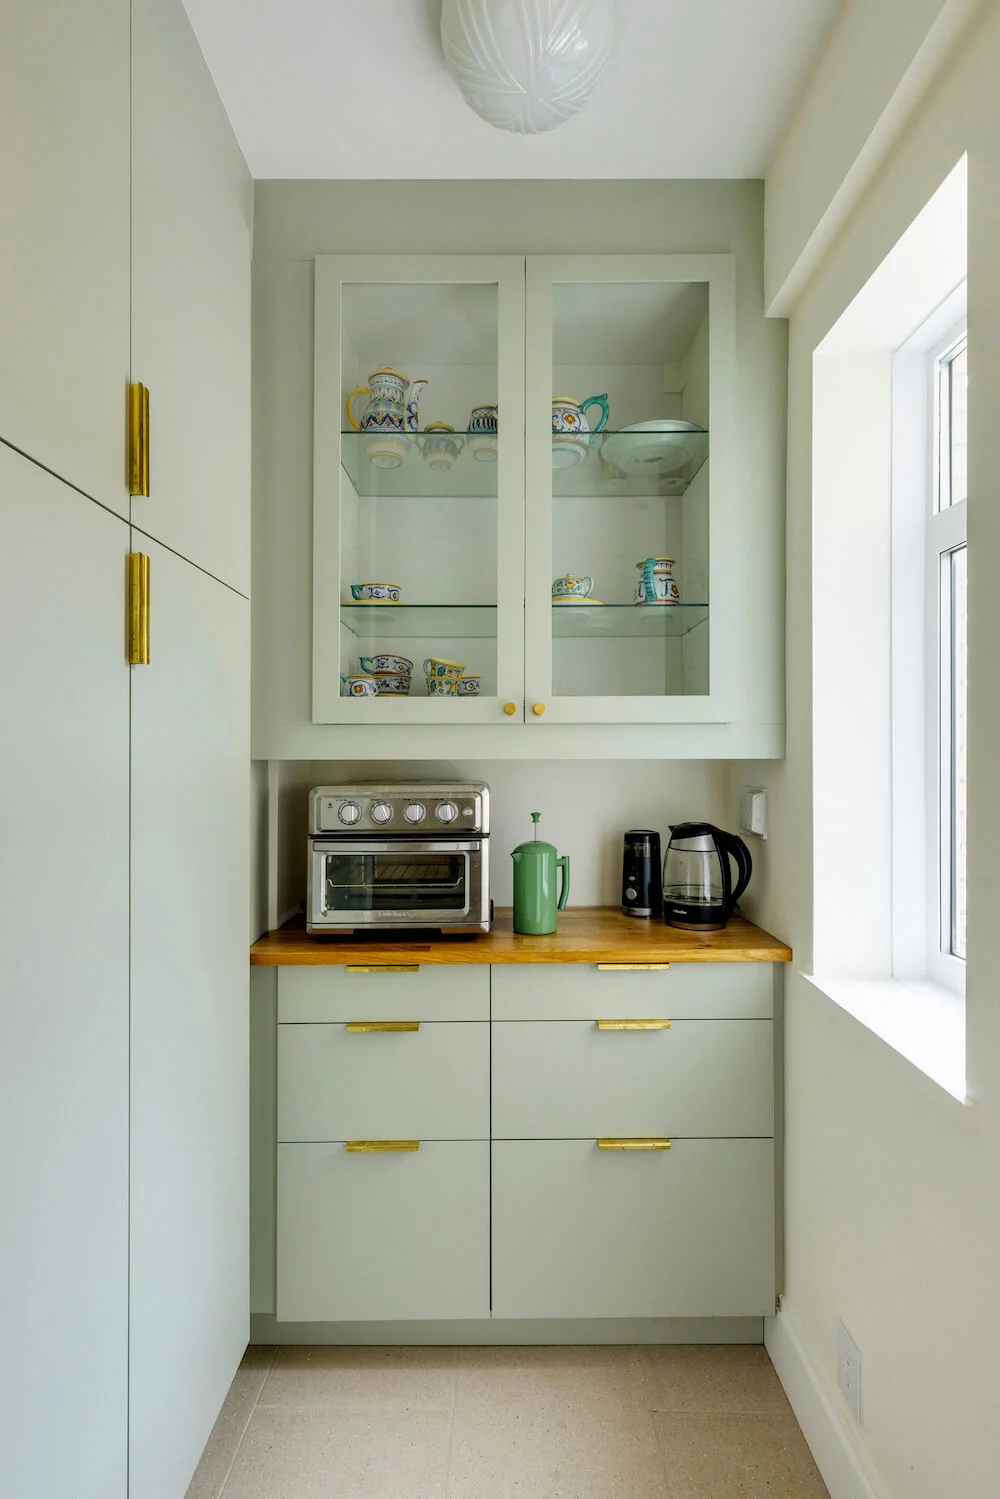
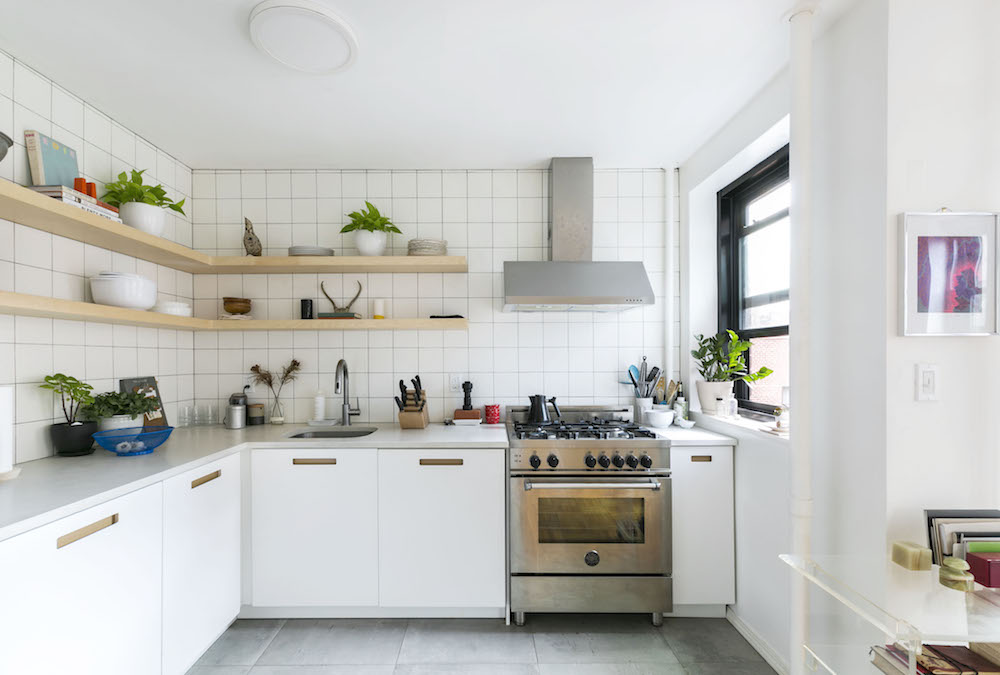
A small kitchen is often designed with a narrow galley or a single wall covering approximately 60-90 square feet, and optimized for one person. Typical appliances found here are a narrow upright refrigerator, a four-burner range, and a microwave.
If you’re working with 90-120 square feet, this is considered a medium-sized kitchen that can hold 1-2 people working comfortably. The layout can either be U- or L-shaped with a peninsula or island. A refrigerator, four-burner stove, a dishwasher, and a microwave fits in this square footage.
Large kitchens typically span 120-200 sqft and provide ample cabinet space or a pantry, along with an island or peninsula. Two cooks can be comfortably accommodated. A wide refrigerator, a six-burner range or cooktop, a separate oven, a dishwasher, a microwave, and even a wine refrigerator fit in this layout.
An extra large kitchen is the same but with more than 200 square feet, full cabinets, a pantry, and space to eat-in or gather guests adds to the list of features. Additional appliances could include multiple dishwashers and ovens.
Scope
Next, scope refers to whether your project is a “rip-and-replace” or a “gut remodel.” “Rip-and-replace” will cost you less, as you will follow the layout you have now. If there’s no serious design deficiency, you can make things easier on yourself with this approach. Your contractor will follow your design plan until the project is complete.
The other project type is a “gut remodel,” where your contractor takes the walls down to the studs and possibly the floor down to the joists. This process leaves the “guts” of your home open, visible, and ready for the reworking. You might undertake a gut remodel for purely a complete update, even if the structure is sound. This makes layout changes for a new design substantially easier. Moving plumbing and electrical hardware goes smoother with the walls opened up for a gut remodel, especially in a home that’s several decades old. You’ll also enter a gut remodel if you want to move walls for a new layout.
If structural problems need to be corrected, or there are some major repairs, a gut may be your only option. As a result, your registered architect or professional engineer (PE) will be getting involved. Many Sweeten contractors can refer you to an architect or engineer with whom they have a working relationship. Anytime a serious structural problem is identified—which isn’t always apparent when you start the project—the design solution will need to be drawn up by an architect or engineer. Then the design goes to the Department of Buildings for approval.
Finish level
Finish level is the most flexible of the three cost drivers. You can choose the budget track you want, from (almost) off-the-shelf to completely custom. Some kitchens can be semi-customized mixing stock items paired with materials to be made or modified to fit.
For example, you could choose high-quality cabinets in stock sizes, and use small filler panels in at least two places, typically where the top and bottom cabinets meet a wall. At the other end of the spectrum is to go with a full set of custom cabinets that your designer fits precisely to the space. It’s more expensive in comparison to the previous examples, but the end result is maximized usable cabinet space.
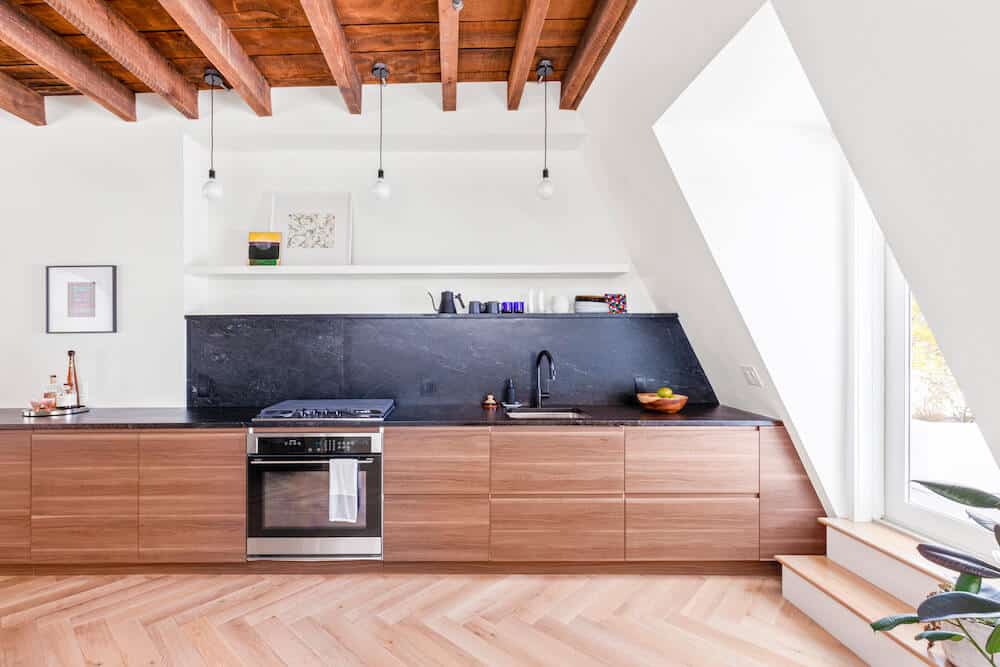
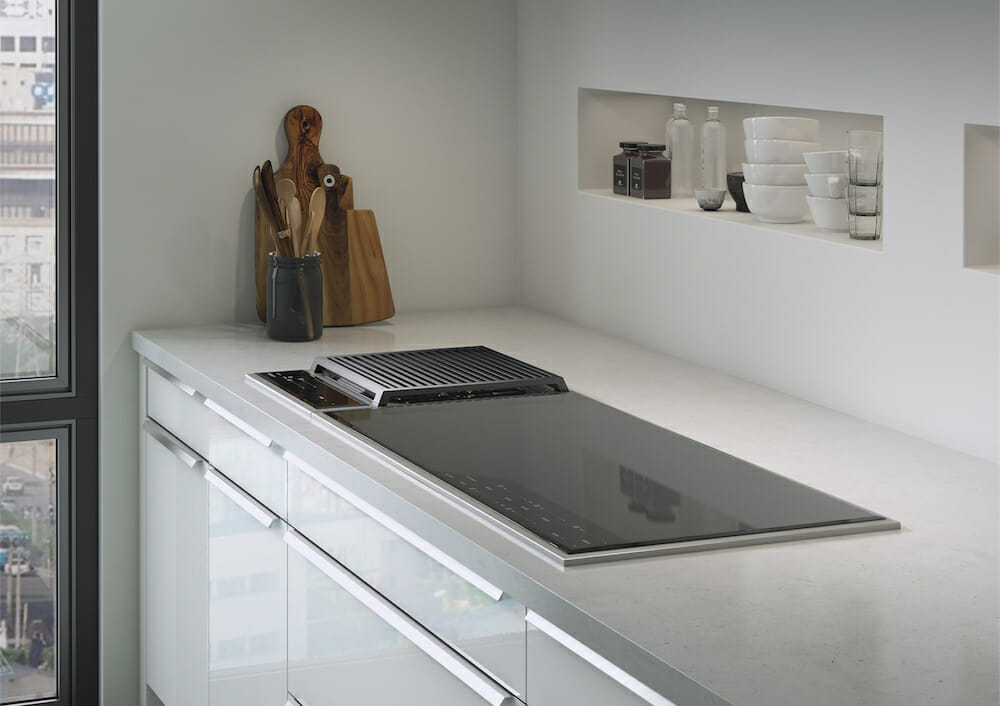
Whatever way you choose, the countertops will still have to be cut to fit perfectly, so that’s a custom or semi-custom product. However, a high-quality sink and faucet can be purchased off the shelf. As you can see, every kitchen is a mix of off-the-shelf and semi-custom to fully-custom components. Sweeten brings homeowners an exceptional renovation experience by personally matching trusted general contractors to your project, while offering expert guidance and support—at no cost to you. Kitchens require multiple appliances, as well as water lines, upgraded electrical service, robust ventilation, and gas lines to supply the range. Your general contractor is one of the professionals who will get you thought the entire process. Architects, designers, and engineers come in, if your project requires their services. When choosing the professionals to work with, you can hire an architect/designer/engineer and a general contractor, choose to only work with a contractor, or secure the services of a design-build firm. You can work with a professional engineer or architect who can create the design and submit it to the Department of Buildings. As mentioned earlier, Sweeten GCs in NYC can often make referrals if an architect and/or engineer’s services are needed for the project. In NYC, there are remodeling contractors who are capable of handling limited design tasks, while others exclusively execute the design vision you created. It is crucial to choose a contractor with whom you have a good rapport, regardless of which approach you take. These projects often encounter unexpected issues that may not be within the contractor’s control. To gauge your compatibility with potential firms, it is recommended to arrange on-site meetings with 3-5 contractors after finalizing your design. You can also work with a design-build firm that can submit the plan and application as the Registered Design Professional, as we mentioned earlier, and also do the construction work. This approach does offer some streamlining in that you’re working with one firm for the design and construction of your project. You might see a shorter timeline and reduced cost compared to design-bid-build. It’s important to plan every square foot of a kitchen layout before starting a remodel. As complex spaces, kitchens require compliance with various codes, with supply and drain pipes competing with wires, ducts, and cabinets. A sensible layout in the kitchen will result in smooth traffic flow and less wasted space. Also, functionalities like the sink, stove, fridge, and dishwasher should be placed in practical locations. Kitchens with island layouts being popular. The island can be customized with the same cabinetry as the rest of the kitchen. A generous-sized structure can also fit a sink and wine fridge. Alternatively, a movable work surface can function as a simple and flexible island that requires less space yet still provides great functionality. A peninsula is a U-shaped design, but includes a counter extension that partially protrudes into the kitchen at either end of the U shape. This creates a G-shape. The U-shaped section of this kitchen layout typically houses most of the cooking and preparation activities. The extension serves as a breakfast bar or eating counter. The outer part of the extension can accommodate two to three chairs for dining. The L-shaped kitchen layout comprises two counters set at a 90-degree angle, with one usually longer than the other. The layout divides kitchen activities across the legs, with one containing the fridge, sink, and dishwasher. The stove and counter space provides prep work on the other. It’s a flexible layout that fits different kitchen sizes and works well with the kitchen triangle concept. The sink, stove, and fridge sit in a triangle for improved workflow. To expand on the L-shaped kitchen layout, a U-shaped kitchen adds an extra wing, resulting in three counters arranged like a U. This allows for better spacing of various functions compared to the L-shaped layout, where the leg containing the fridge, sink, and dishwasher can be broken up. In a U-shaped kitchen, the third leg can potentially contain the fridge. Galley kitchens consist of two counters that run parallel to each other, divided by a single aisle. Typically, one leg is dedicated to the stove or cooktop and counter space, while the other leg, which is usually the home’s exterior wall, contains the sink, dishwasher, and refrigerator. Galley kitchens are great for containing the workflow within a tight space. In a one-wall kitchen layout, all kitchen tasks are combined on a single counter against one wall. The sink and dishwasher are placed next to each other to share the water supply and drain lines. The design mainly involves deciding the order of the functionalities. Your general contractor will start your remodeling project with demolition. A rip and replace project means leaving only the drywall in place. All the cabinets, countertops, door and window trim, appliances, and flooring are discarded. Once the wall texture and/or paint is applied, the new cabinets are installed. Typically, new flooring is laid after the cabinets, but this may vary depending on the project. The general contractor (GC) will schedule several subcontractors in a specific order. The installation of new countertops takes place before the plumber and electrician can complete their work, followed by the lighting professionals. The order of installing appliances is not as critical, but they are usually among the last items to be put in place in the kitchen. If it’s a gut remodel, where walls, doors, and/or windows are moving, the wallboard or plaster comes off as well. At this point, the GC can evaluate the plumbing and electrical to see what repairs or upgrading need to be done. The crew frames the new walls, installs the new drywall, then the new doors and windows, and the new wall texture. Cabinets and countertops follow, then lighting and appliances. When creating your new kitchen design, you’ll decide on some of the foundational materials that make up the space: cabinets, countertops, and backsplash tile. First, quality cabinets are a cornerstone of any functional kitchen. Custom cabinets will maximize the usable space and give exactly the appearance you want. It also takes up most of your kitchen budget. An alternative is to use standard IKEA cabinets with doors from Semihandmade. This gives you made-to-order doors that fit your IKEA cabinet boxes perfectly. It’s a customization on a material you see and touch every day. Another option that works well in remodeling the small spaces often found in NYC homes is using full-wall cabinets. These cabinets will usually need to be custom-made, but you can integrate a lot of pantry space with a built-in refrigerator, for example, to use your space most efficiently. Plus, using the full height of the room gives you a few extra square feet of storage while enhancing the clean lines of your new kitchen. For countertops, you’ll be looking at quite a large selection of both natural and manufactured materials. Natural stone countertops continue to be popular, including marble, quartz, soapstone, and granite. While all these materials are hard and durable, they are not impervious to stains and can be scratched. Engineered stone is even more durable than natural stone and comes at a similar high-end cost. It’s made from quartz, resin, and pigments so you’ll get more of a manmade appearance rather than the natural appearance of stone. Solid synthetic countertops offer a huge range of colors and can be molded to integrate the backsplash, sink, and other items. Solid synthetics are heat resistant but less so than stone, and they can be scratched and nicked by knives, so cutting boards are a good idea. They will stain, as well. Another natural material is hardwoods, such as the traditional butcher block countertop. While still popular for some areas of the kitchen, wood’s vulnerability to water and chemicals makes it a higher-maintenance choice. It certainly has its place where you want to add some natural warmth into your kitchen in a way that stone can’t manage. Stainless steel is used often in commercial kitchens because of its durability and easy-to-clean nature. It’s just plain tough! In your home, you might find it a bit cold, and any dents will show readily. As for your kitchen’s backsplash, this area works as both a functional and a design feature. It’s one of the easiest places to make a big impression! You’ll find a range of tile options that offer different finishes, aesthetics, and pricing. Starting at the low end of the budget, classic ceramic tiles will give you so many design options, in both colors and tile patterns. Two areas of the backsplash—behind the range and behind the sink—will need the most durable surfaces, such as glass or metal tiles, or even granite. Marble tiles, in contrast, are more porous and not the best choice for those areas. Those two areas, by the way, are the ideal locations for large tiles with fewer grout seams to keep clean. Once you decide on starting a remodeling project, it is important to hire an insured and licensed contractor. We can provide you with a vetted group of Sweeten bathroom remodeling contractors in NYC. They will have completed similar projects within your budget and are familiar with your neighborhood. Post your project on Sweeten for free and make your dream kitchen a reality. Sweeten puts you in control of your renovation, from finding the perfect contractor and gathering design inspiration, to using cost guides to plan your budget wisely.Renovate to live, Sweeten to thrive!
Who to hire for your kitchen remodel
Partner with an architect/designer and a contractor
Execute your vision with a general contractor
Collaborate with a design-build firm
Types of kitchen layouts in NYC
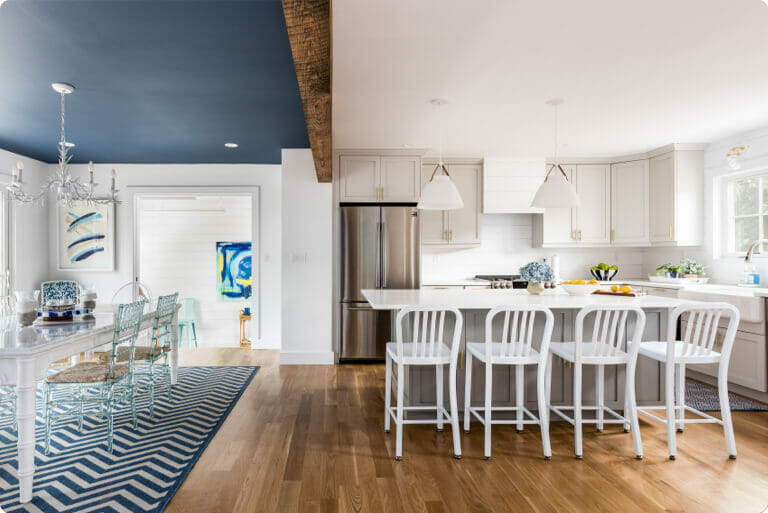
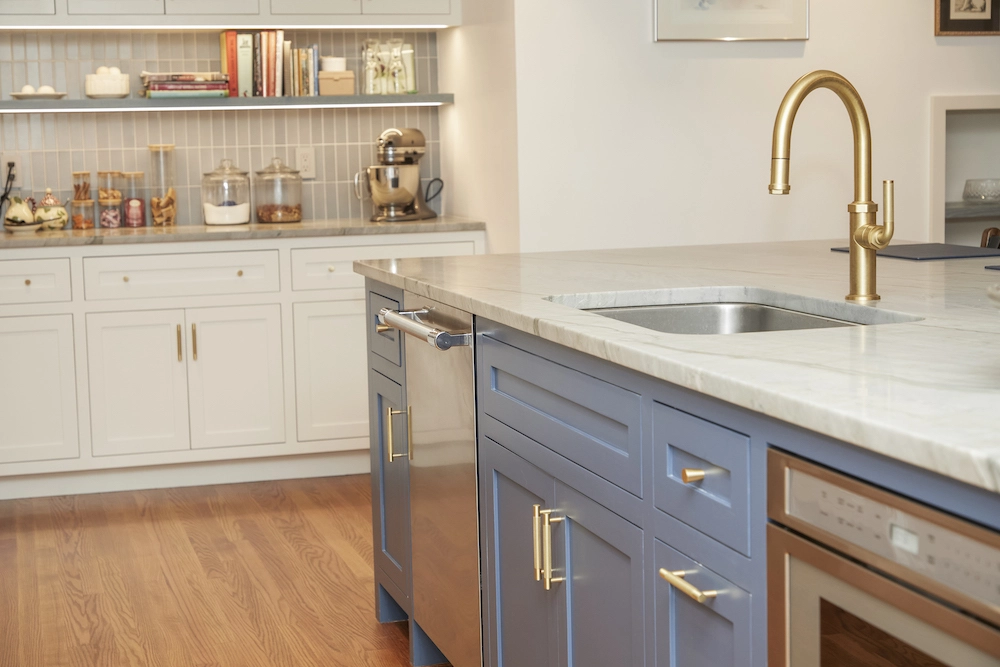
Kitchen islands and peninsulas
L-shaped kitchen
U-shaped kitchen
Galley kitchen
One-wall kitchen
Renovation order for a kitchen
Choosing materials
Cabinet overview
Countertop materials
Outfitting the backsplash
Ready to get started?
FAQs
Many homeowners underestimate the time and cost involved in renovations. It’s important to set realistic expectations and budget accordingly.
Consider using Sweeten to match with pre-vetted general contractors. Sweeten’s platform connects homeowners with experienced and reliable contractors, making the process easier and more efficient.

