5 Ways to Care for Your Renovated Home
Here’s how to keep key materials—from countertops to appliances—performing at tip top
As your home renovation draws to a close, you may experience feelings of relief and joy at the transformation from the old to the new. Decisions on materials turned out to be good choices, and daily life is now blending and flowing around your new space. Aftercare may be the last thing on your mind, or you may find yourself wondering: “How do I keep my newly renovated space looking great for years to come?”. Here are five ways to care for your new home.
Post your project on Sweeten for free and make your dream renovation a reality. Sweeten simplifies home renovation by connecting homeowners with top-rated general contractors, handling the vetting process and project management. To learn more about how we can help, check out our home renovation services.
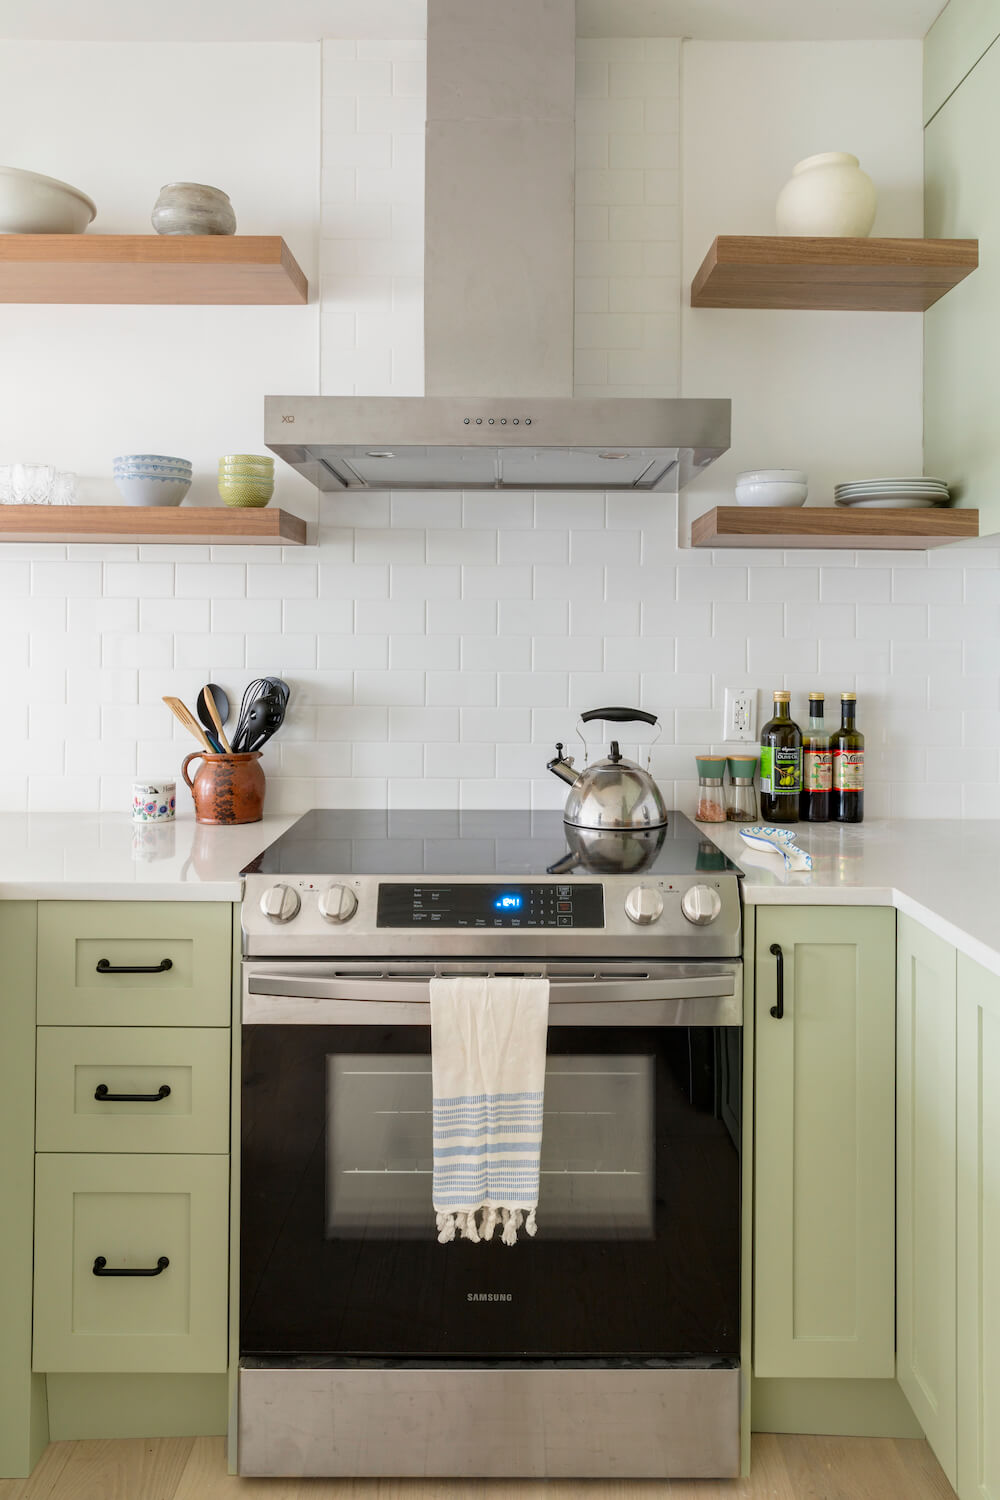
1. Consult manufacturers’ manuals for appliance care
An obvious first renovation aftercare step that many homeowners skip. Most appliance manufacturers have a place on their webpage dedicated to manuals or product service and support. A model number will lead you to literature on cleaning and maintenance. Often, a simple Google search is enough. For example, a stainless wine refrigerator requires little attention except for periodically washing off fingerprints. This can be done with water and mild dish soap, then polished with a microfiber cloth dipped in mineral, cooking or olive oil. Note: Clean and polish with the grain. Look closely! Steel has grain just like wood. Here are extra tips:
- Weiman Stainless Steel Wipes or Liquid Spray work great
- Register major appliances with the manufacturer through their website.
- Make sure you know the model numbers for future reference — often they are on the back of the machine so take a picture or write it down for future reference.
- Speak with your contractor about how to maintain your equipment.

2. Safeguard your kitchen countertops
You probably reviewed pros and cons of different materials before you made your final decision of kitchen countertops. Ready to start cooking? Here’s a refresh! Sweeten brings homeowners an exceptional renovation experience by personally matching trusted general contractors to your project, while offering expert guidance and support—at no cost to you. Renovate expertly with Sweeten
- Quartz countertops, such as Caesarstone, are durable, non-porous and do not need to be annually resealed, but acidic foods or juices can erode the acrylic. This material is also more likely to be damaged by excessive heat than granite, crushed glass or concrete. Treat yourself to trivets.
- Porous natural stones, such as granite and marble, may need to be resealed periodically and are susceptible to stains from oils and acids. Don’t let spilled liquids sit on your stone countertops. Spill? Swipe! Accidents happen — this etch remover can be a lifesaver
- Laminate or solid-surfacing countertops, in this case, renovation aftercare means cutting boards are mandatory because both of these materials are easily scratched.
Here’s how Sweeten works: We pre-screen them for our network, carefully select the best ones for your remodeling project, and work closely with hundreds of general contractors every day.
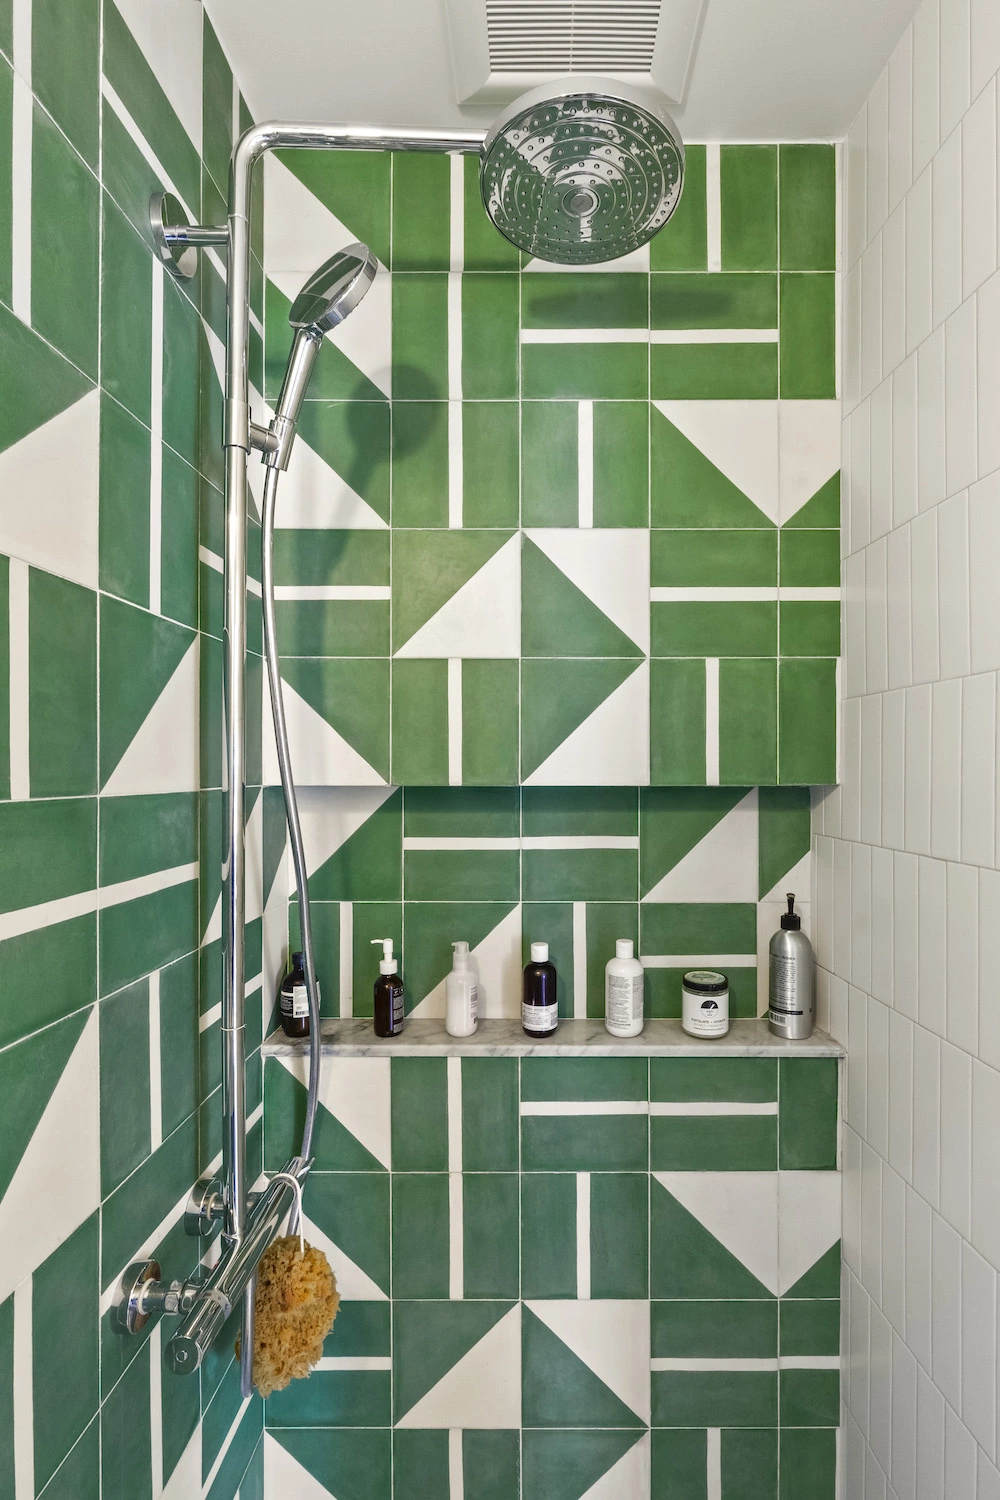
3. Tend to your tiles
Bathroom tiles get hazy with soapy residue, while kitchen backsplashes get splattered with oil, and floor tiles experience both! Regular cleaning will prevent the need to muscle through buildup, so break out a mild all-purpose cleaner and some basic cleaning equipment.
- For kitchen backsplash tiles, mix dish liquid with water and rub away the oily residue with a sponge or gentle cloth. White vinegar mixed with warm water is another option. A mild all-purpose cleaner will clean up bath tiles nicely. Mix the solution with water and wipe with a rag, a soft brush or sponge.
- Sweep or vacuum floor tiles of any debris and grit on a regular basis to avoid dulling or scratching the surface. After clearing away large particles, use a mop and bucket with mild soap or detergent and warm water. If you wind up with a hazy film, consider switching up your mop material (sponge to chamois, for example) and/or wipe away the film with a fresh cloth and an all-purpose cleaner.
- Seal your grout! Where there is tile, there is grout. Use a sealant like this one. For renovation aftercare for your grout, use gentle brushes to scrub it clean. And if your regular tile cleaning routine is not doing the trick on your grout, try a paste of baking soda and water, a mild bleach solution or store-bought grout cleaner. Remember to reseal grout periodically.

Wood herringbone floor
4. Work with your wood
Refinished or brand new hardwoods can be beautiful foundations for your home. If you are the type of family that takes off your shoes before entering the home, you are off to a great start! Even if not, caring for your floors can be easy with a few simple guidelines.
- Begin your flooring renovation aftercare by placing indoor and outdoor welcome mats. Mats placed before and after the threshold of your door are an important first step in maintaining scratch- and stain-free floors even in the winter.
- Area rugs cut down on regular wear and tear on the floors in the areas where they are positioned.
- Little felt stickers (like these) do a good job protecting your floors from furniture-driven scratches.
Here are a few rules of thumb when cleaning your floors:
- Sweep or vacuum debris on a regular basis
- Mop with water and a gentle soap and never leave water or other liquids sitting on your hardwoods. Water can eventually penetrate the finish and leave stains in the wood. If you are not sure what cleaner to use on your floors, manufacturers of wood sealants often offer hardwood floor cleaners, such as Minwax® Hardwood Floor Cleaner.
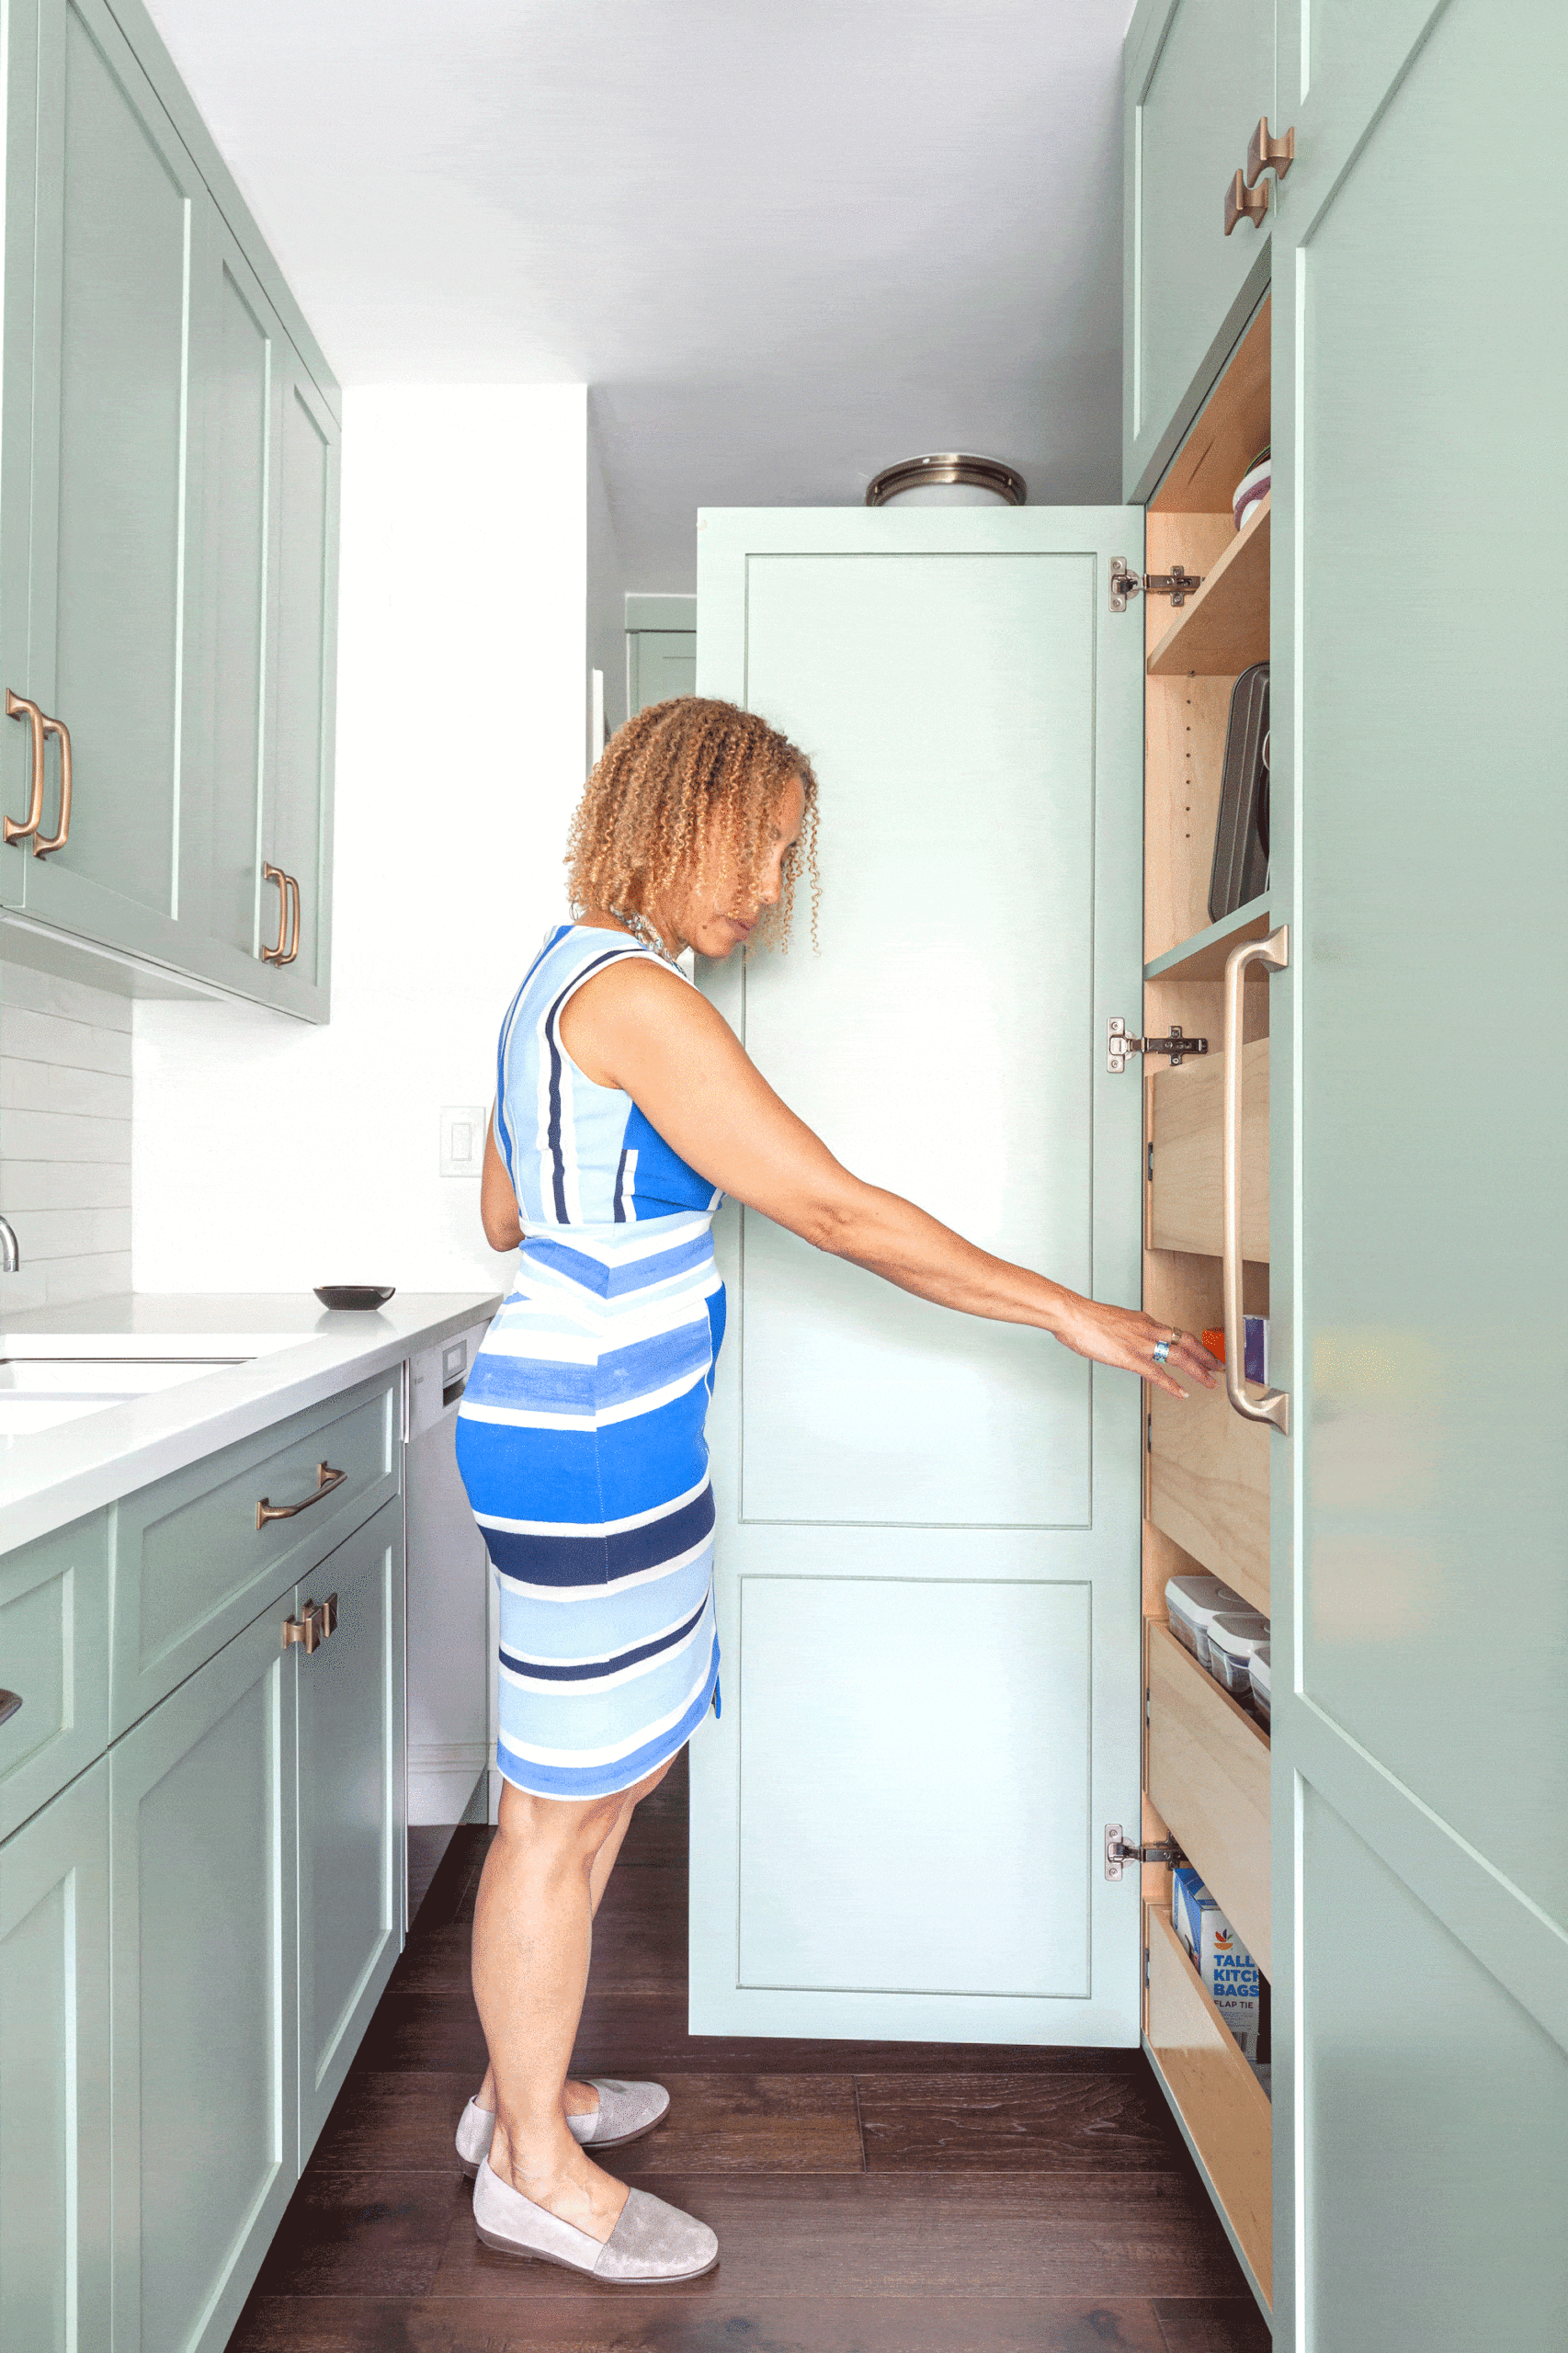
5. Care for your cabinets
Although you likely will not be cleaning your kitchen or bathroom cabinets as often as higher-traffic surfaces (such as shower tiles and cooking countertops), don’t forget about them!
- Knobs and pulls can harbor germs and cabinet doors can become grimy over time from moisture and oils in the air.
- Similarly to hardwood floors, wooden cabinets don’t do well with water or other liquids resting on their surface.
Whether you clean your cabinets with soapy water, white vinegar water or mild all-purpose cleaner, remember these vital last steps: wipe away cleaner residue with a wet cloth and dry your cabinets with a towel.
—
Making sure that the materials you choose for your home match your lifestyle will make it much easier to care for them. If you’re just getting started on your renovation, check out our kitchen redmodeling cost guide.
All products featured on Sweeten’s blog are independently selected by our renovators or our editors. However, when you buy something through our retail links, we may earn an affiliate commission.
Ready to renovate? Start the journey here for free!
Here you can learn more about our services and locations. Alternatively, browse more home renovation inspirations, processes, and cost guides.


