A Basement Remodel Boosts a Petite Footprint
An active family in Queens scratches bath & basement remodels off the to-do list
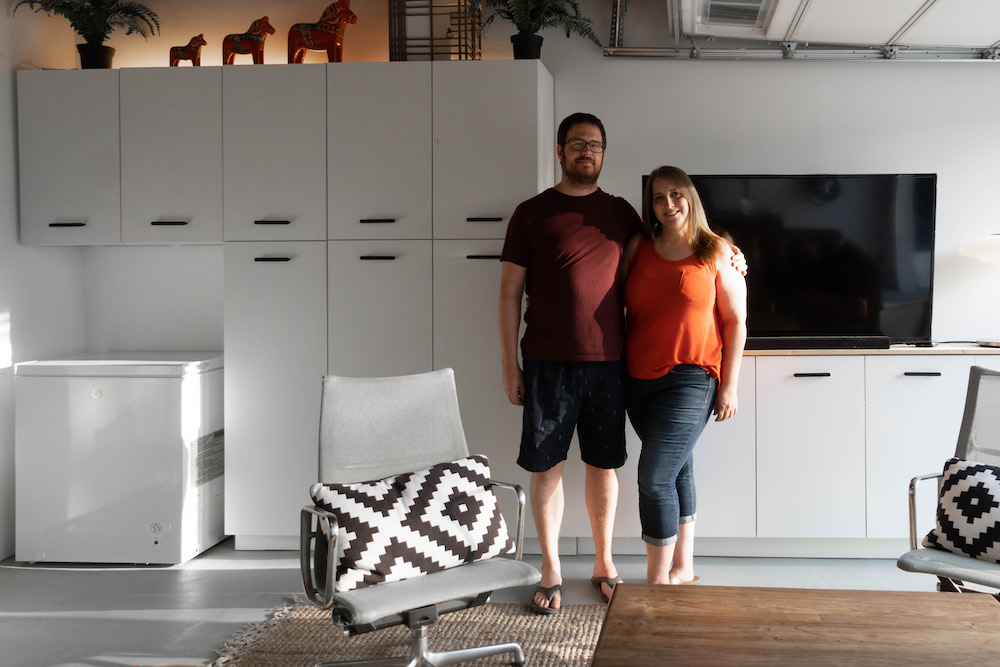
- Homeowners: Gordon and Tracy posted their Queens basement remodel on Sweeten
- Where: Sunnyside neighborhood, Queens, New York
- Primary renovation: Remodel two bathrooms and transform the basement into a dual living and utility/storage space in a 1,200-square-foot single-family home
Guest blog post by Sweeten homeowner Gordon
A new start for an old home
Our home, a brick townhouse in the Sunnyside Garden Historic District, was built in 1925 in one of the first planned communities inspired by the English Garden Movement in the United States. This enclave in the borough of Queens was originally developed to promote green space and community while providing affordable housing to working-class folks. Tracy, a financial analyst, and I, a teacher, had been living in the neighborhood for some time when we purchased the house, a former rental that hadn’t been improved since the early ‘90s. We had a lot of ideas for updating it.
We felt lucky to find a three-story home of roughly 1,200 square feet, or 400 square feet per floor. The townhouse had three bedrooms and two bathrooms, and that was more than enough for the two of us, our cats, Laurel and Juniper, and our dog, Ballou. We wanted to gut-renovate both baths and overhaul our underutilized basement. If we could squeeze in maximum function on every level, the house would feel more modern and bigger.
Remodeling a landmarked townhouse
We had renovated the kitchen just after buying the house four years ago. The job, a mix of DIY projects and subcontractor commissions, was successful but laborious. We were recovered and ready to tackle the next phase, but understood that the difficulty of the work would exceed our own abilities, as would the red tape. Because we own a landmarked building, we would have to secure not only the expected Department of Buildings paperwork but also obtain Landmarks Preservation Commission (LPC) permits and approvals on all work impacting the building’s exterior. We knew our general contractor would assume much of this burden, which made us feel more comfortable diving in.
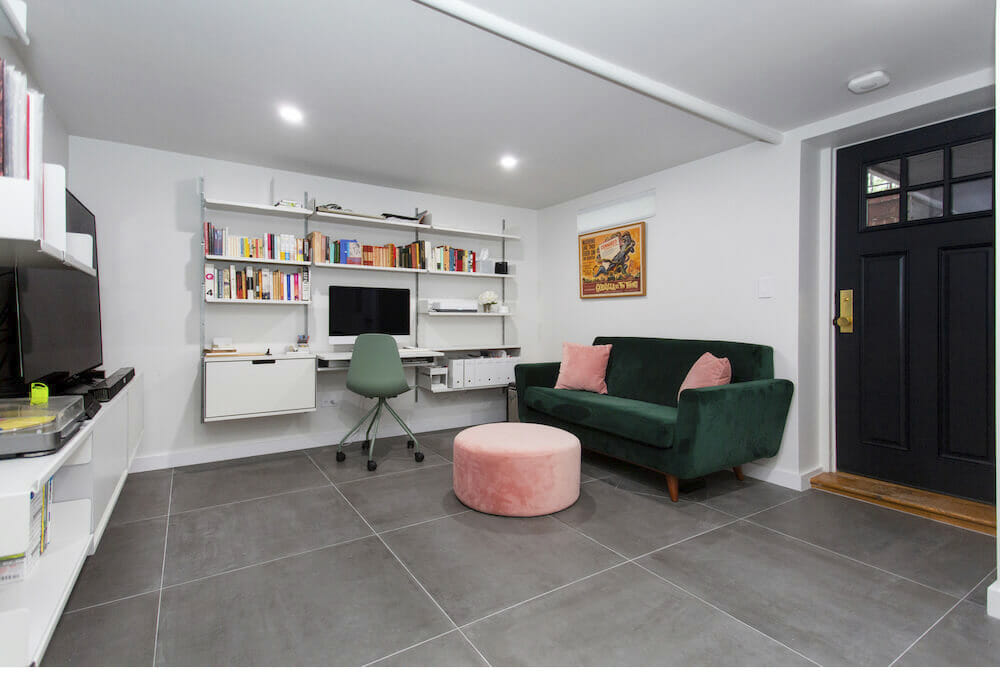
We dreamed of a polished concrete floor but settled for large, matte concrete-effect tiles instead.
Giving new life to the basement
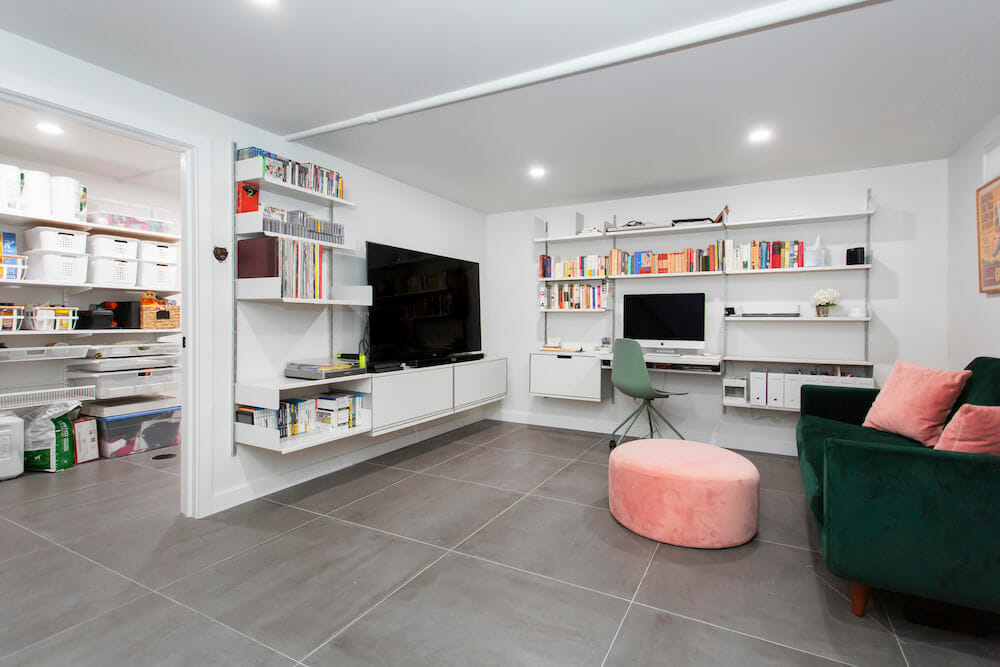
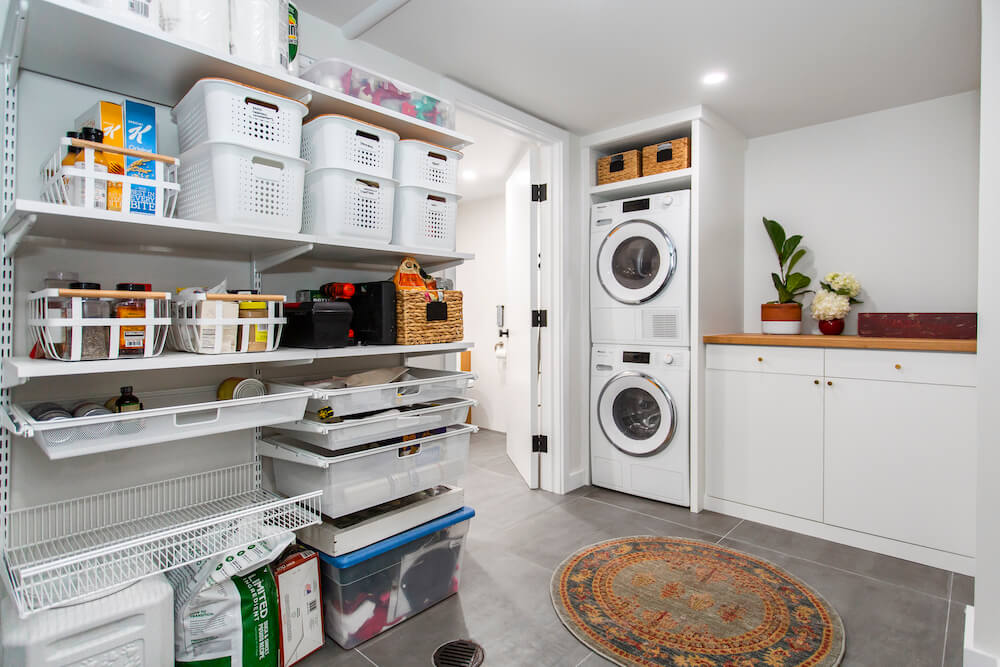
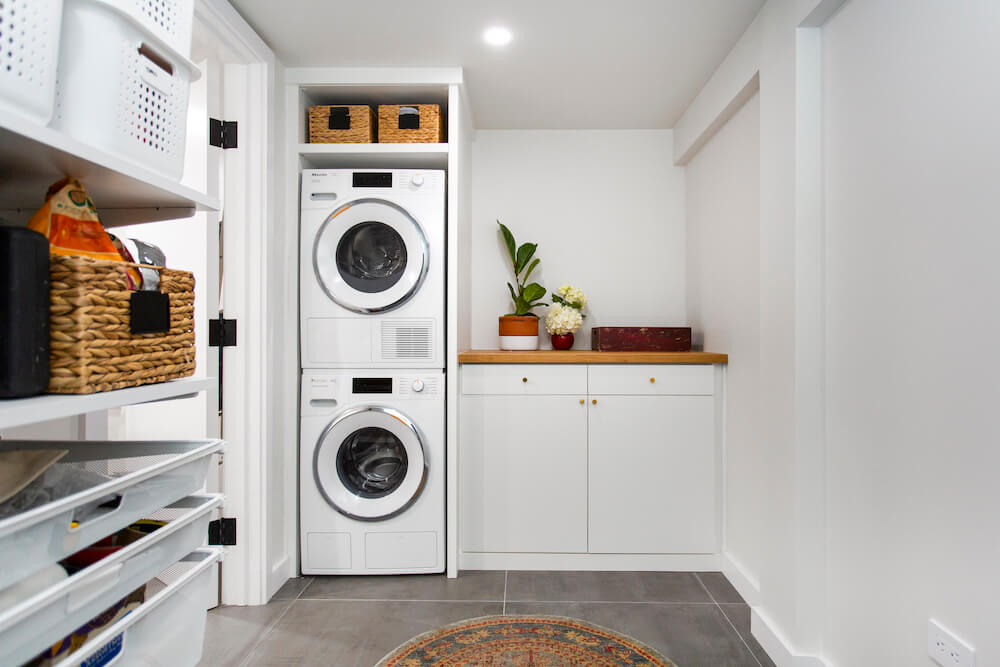
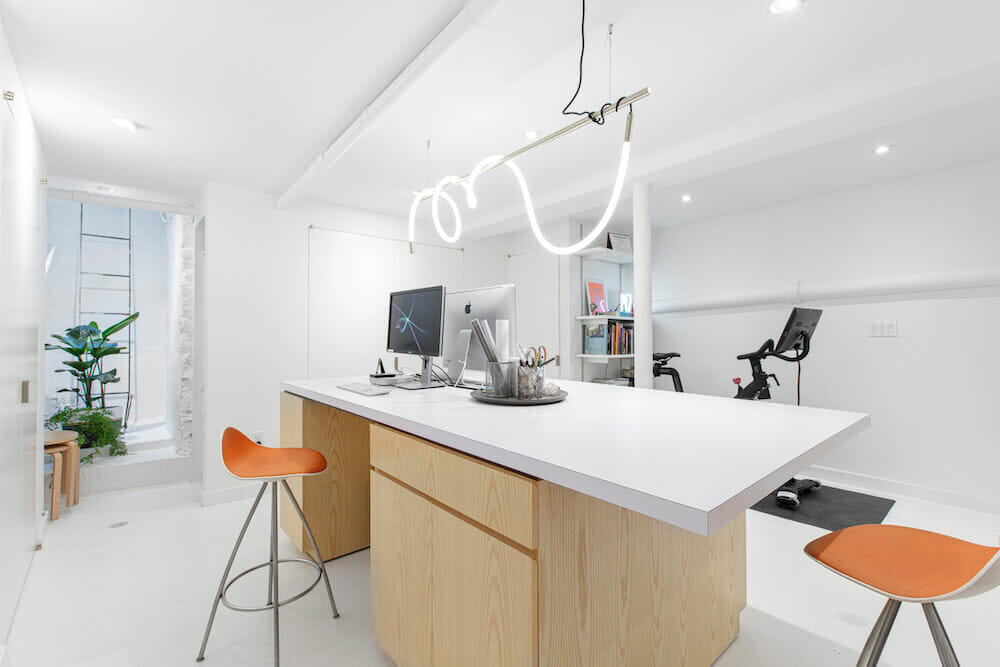
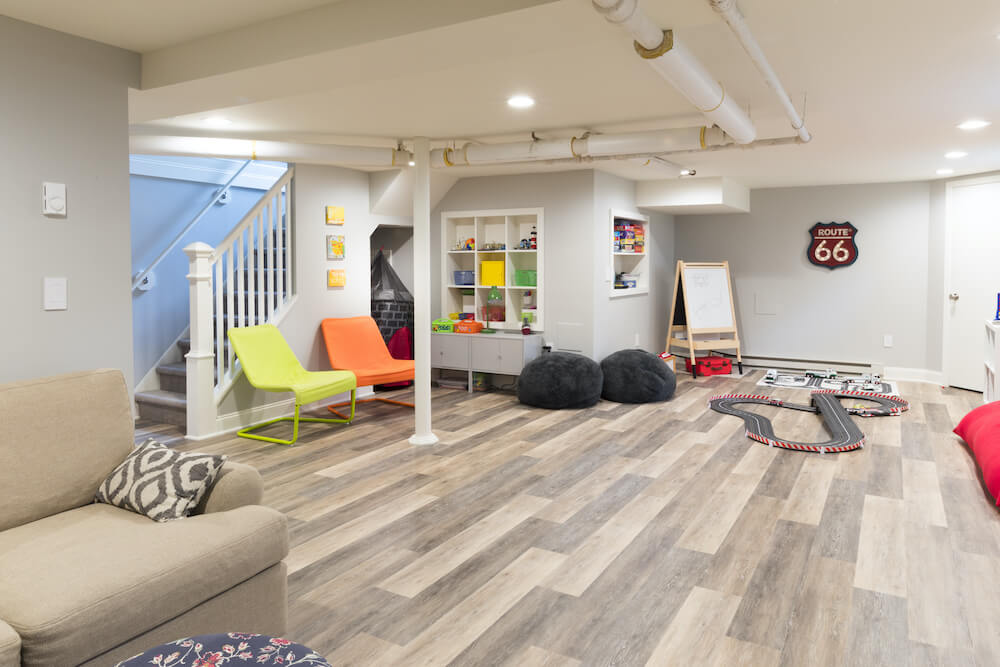
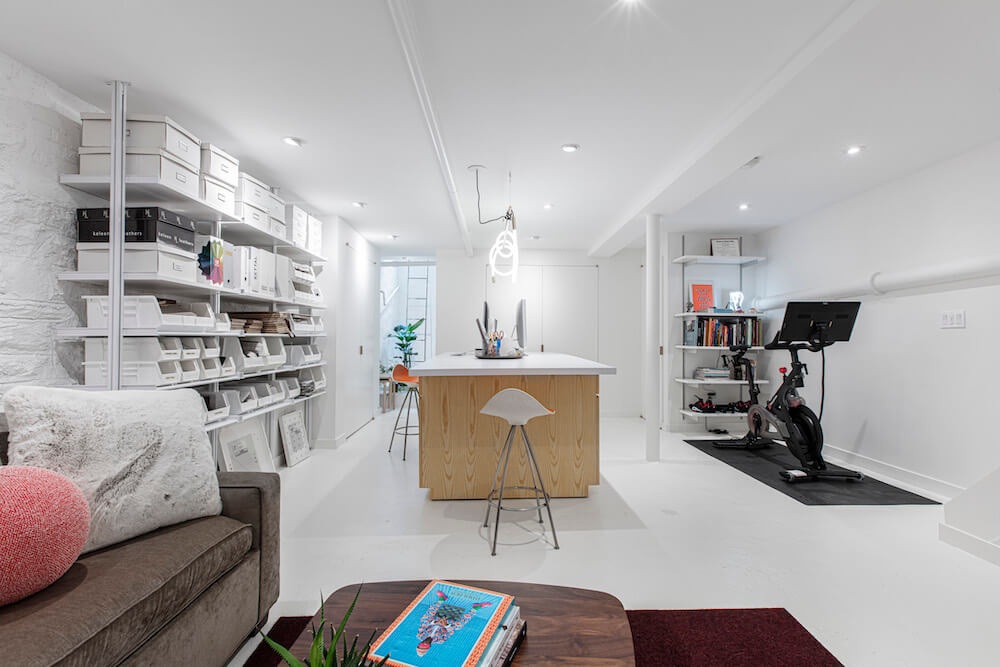
Of the whole renovation, the basement would be the larger piece, the goal was to increase the house’s usable space. Before we started, the basement was a large, unlevel room. Thanks to the old home’s process of settling, there was a two-inch difference in floor height from the walls to the room’s center. It had an outdated bathroom and poorly planned utility areas. A previous owner had installed an awkwardly placed cabinet and sink in the middle of the big room, and the washer and dryer next to the 40-year-old boiler, making laundry day a sweaty affair. The basement bathroom was dark and dank. We wanted to recreate the basement as a study, gaming/movie space, music center, and cat sanctuary with storage, laundry, and a hospitable second bathroom.
Renovate expertly with Sweeten
Sweeten brings homeowners an exceptional renovation experience by personally matching trusted general contractors to your project, while offering expert guidance and support—at no cost to you.
A Queens basement remodel to be livable
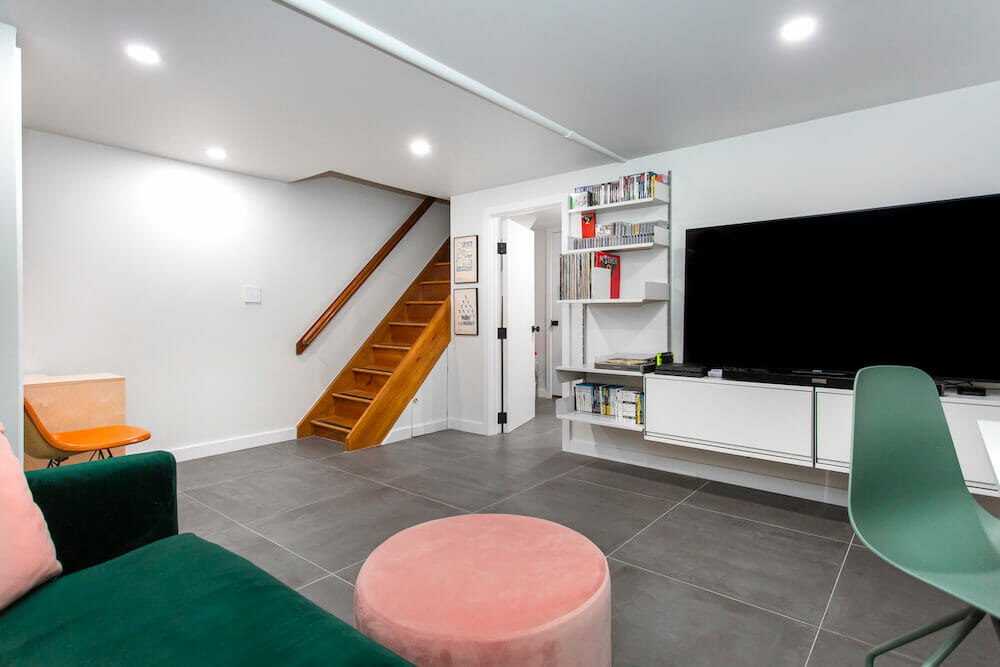
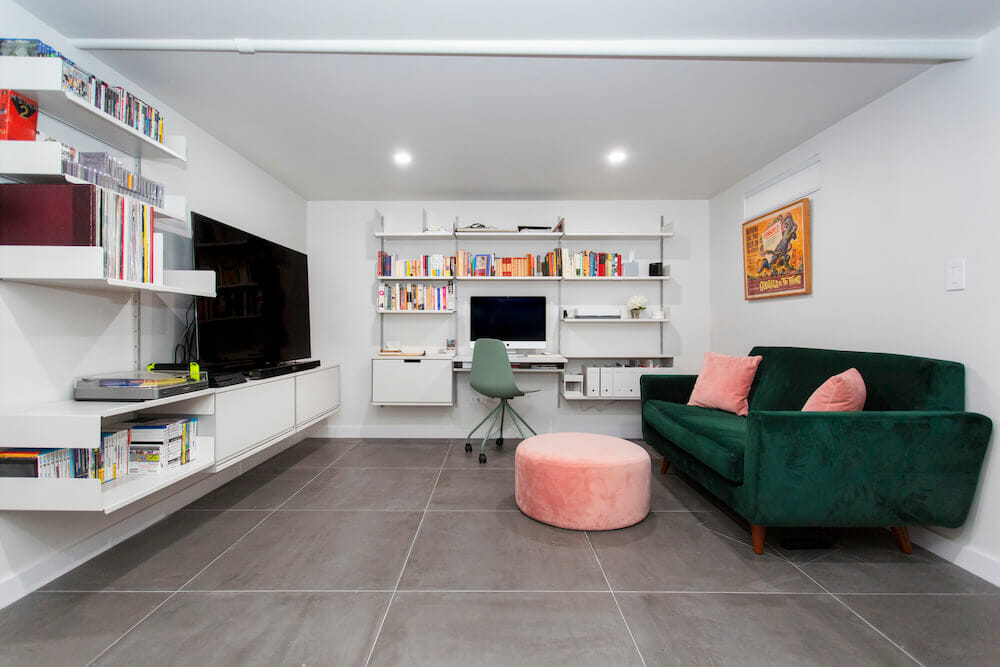
We started in the downstairs, where we first had to level the floor. We dreamed of a polished concrete floor but settled for large, matte concrete-effect tiles instead. The cost and challenge of doing a poured floor just didn’t make it practical, and we were ultimately happy with an alternative that gave the room a similar feel at a lower cost. After losing two inches of headspace in the leveling of the floor, our Sweeten contractor suggested raising the ceiling by exposing and painting the heating pipe—easy, since they were replacing the room’s drywall, anyway. A new basement door, window, and vents for the bathroom and boiler room were installed.
Next, they subdivided the space, creating a new living area, a storage room, and an expanded bathroom. LPC approvals, necessary for the new exterior basement door and window, as well as bathroom and laundry venting, went through smoothly.
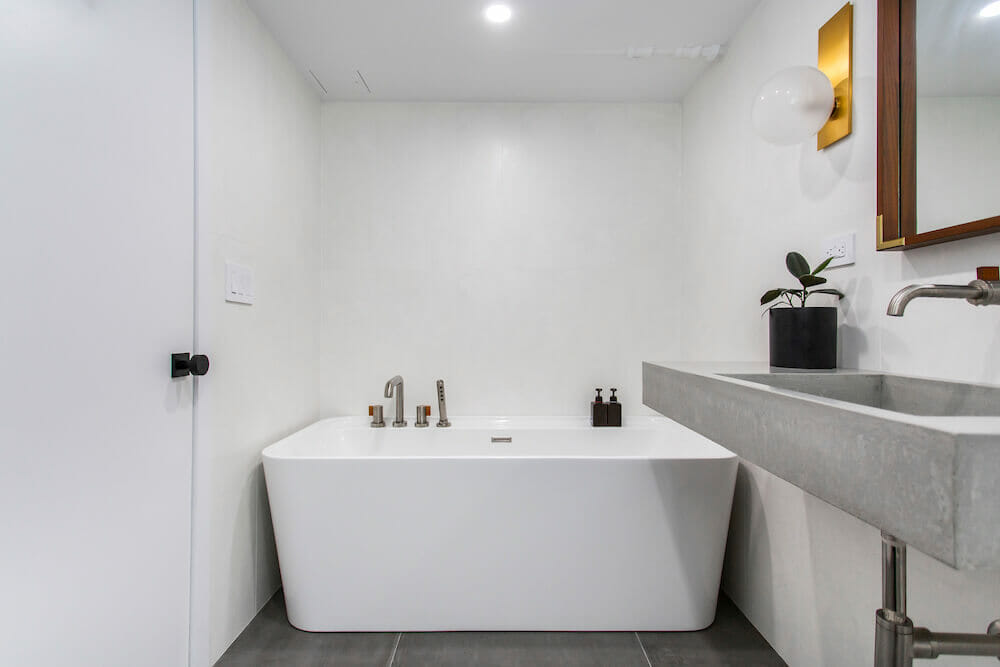
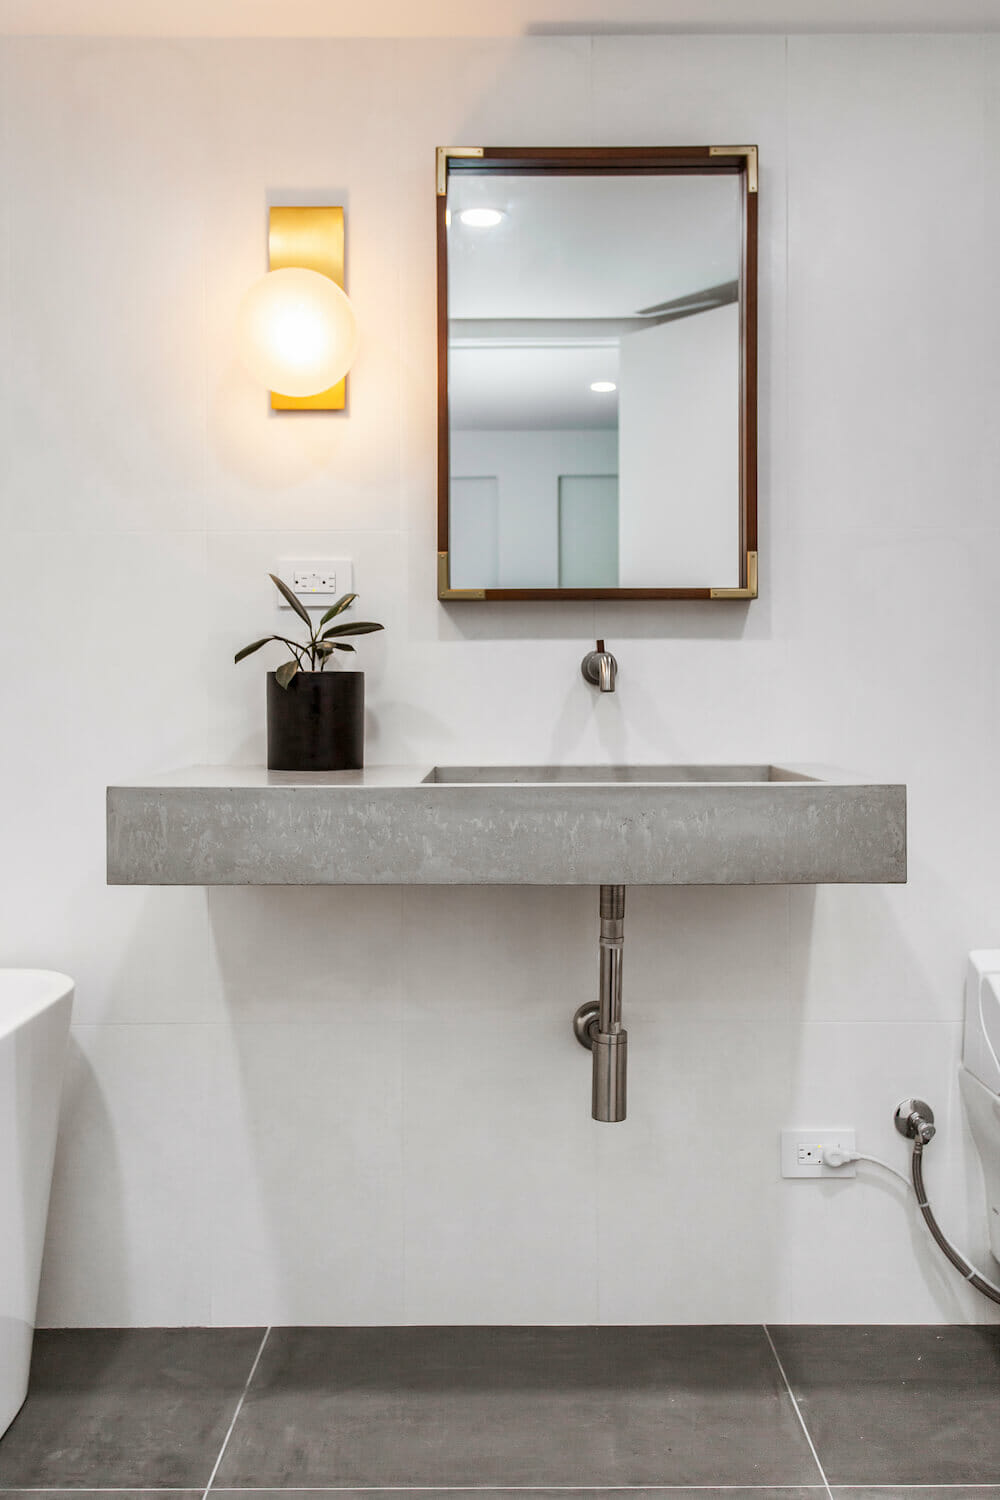
That leads me to the renovation’s second and equally important part: the bathroom remodels. The basement bath would get a complete gut job to remove a creepy stall shower, and an expansion to make room for a freestanding bathtub. The windowless downstairs bathroom needed to be bright and clean. We went for a spare look, choosing large wall tiles, a custom concrete sink, and a wall-hung toilet, in addition to the beautiful bathtub.
A tub-turned-shower for the master bath
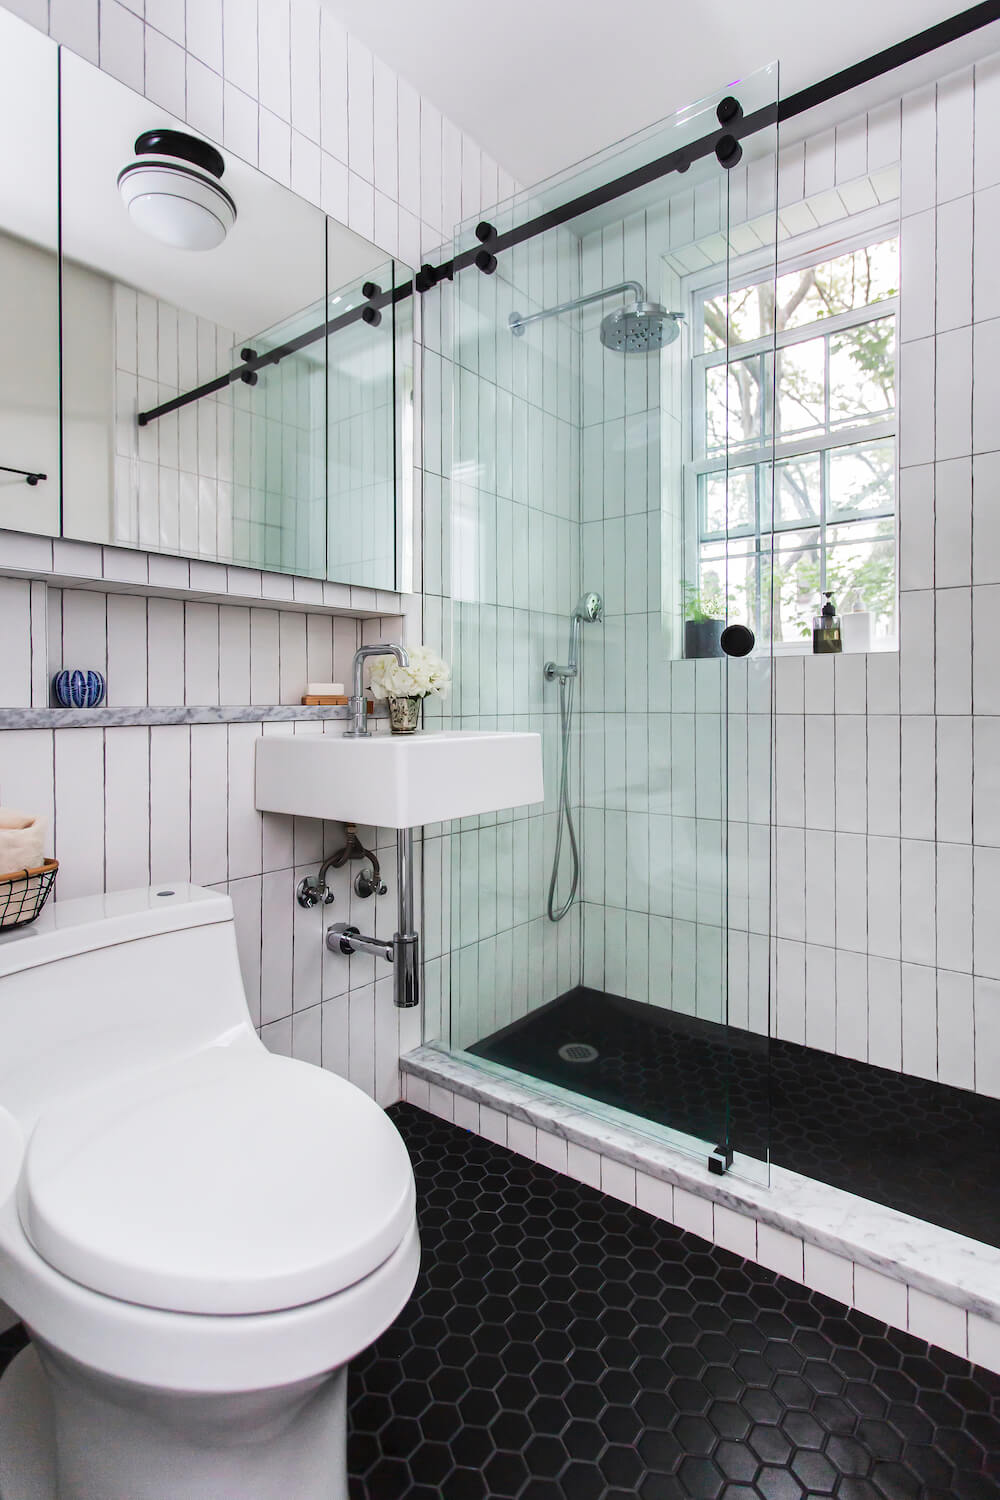
Our upstairs bath would also be gutted and refreshed, with a glass-walled shower replacing the old tub-and-shower setup. We couldn’t make the 30-square-foot room bigger, but we could up its storage and functionality. Upstairs, we went for a modern toilet and a compact, wall-mount sink, along with a recessed medicine cabinet, and toothbrush niche. We installed rectangular wall tiles vertically for a playful effect. Both baths got recessed lighting.
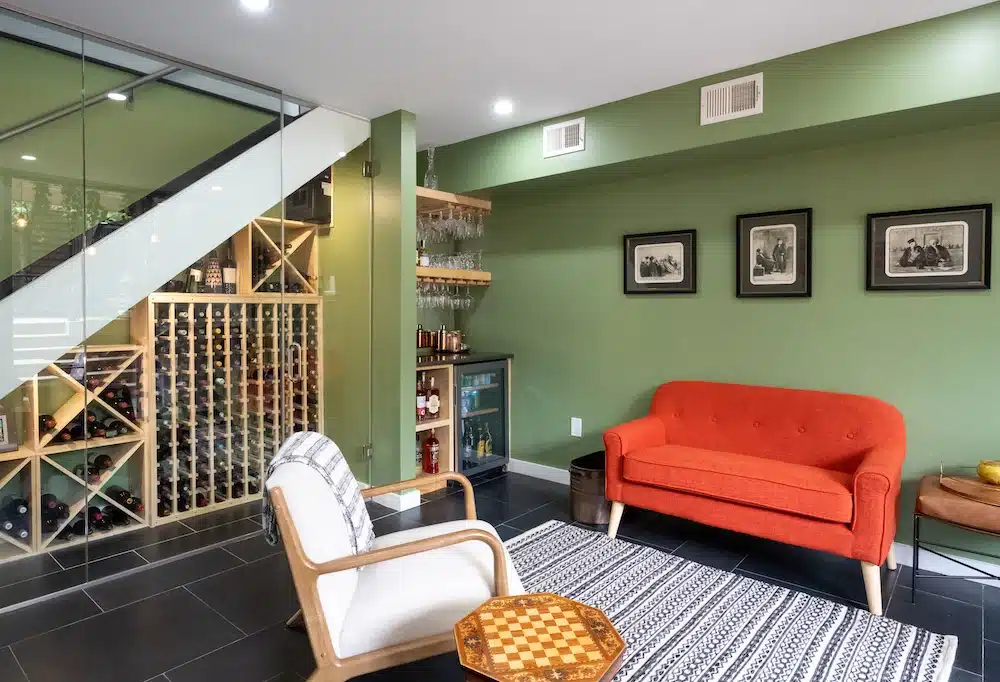
When it was finally time to finish the basement, we were excited to be able to install the shelving system ourselves; the contractor made it easy by mounting wood blocking between the wall studs. We wanted built-ins, but the wall-shelving was more cost-effective and looks great. We offset neutral surfaces with books, wood accents, and colorful velvet furnishings. One takeaway we agree on: Don’t cheap out on hardware; the difference shows as it wears.
The only downside, in the end, was that the price of the project came in much more than we anticipated after we had to replace the boiler and a rotted drainpipe. Once we finalized the task list, though, our Sweeten contractor stuck to the budget. Doubling our living space has had such an impact on our daily life. We don’t have a single regret!
Thank you, Gordon and Tracy, for sharing your Queens basement and bath remodel with us!
Originally published October 31, 2019
Updated on August 11, 2023
Renovation Materials
BATHROOM RESOURCES (BASEMENT): Floor tiles in Instinct Dark, wall tiles in Instinct Talc: TileBar. Litze hardware and shower fixtures in nickel/teak: Brizo. Oberto tub: Maax. Custom sink/vanity: Stogs Concrete Design. Mirror: West Elm. Toto toilet: Toto Washlet. 1-light wall sconce: Hinsdale.
BASEMENT RESOURCES: Paint on basement door in Off-Black: Farrow & Ball. Flooring: TileBar. Miele washer/dryer: Miele. Paint in Strong White: Farrow & Ball. Laundry cabinetry: Custom. Wood countertop: Ikea.
BATHROOM RESOURCES (UPSTAIRS): Floor tiles in Black Matte Hex Mosaic: Roca Tile. Wall tiles in Bayou White: TileBar. Litze shower fixtures in polished chrome: Brizo. Shower glass doors: custom. Teorema sink: Nameek’s. Kohler San Souci Touchless toilet: Kohler. Lighting: Rejuvenation. Kohler vanity mirror/medicine cabinet: Kohler.
—
Cristiana and her husband transform a dated basement in their 1918 Colonial Craftsman house. Here’s their remodel.
Sweeten handpicks the best general contractors to match each project’s location, budget, scope, and style. Follow the blog, Sweeten Stories, for renovation ideas and inspiration and when you’re ready to renovate, start your renovation on Sweeten.


