A Studio Evolves into a One-Bedroom Home
First-time homeowner banks on the right layout for his junior one-bedroom apartment
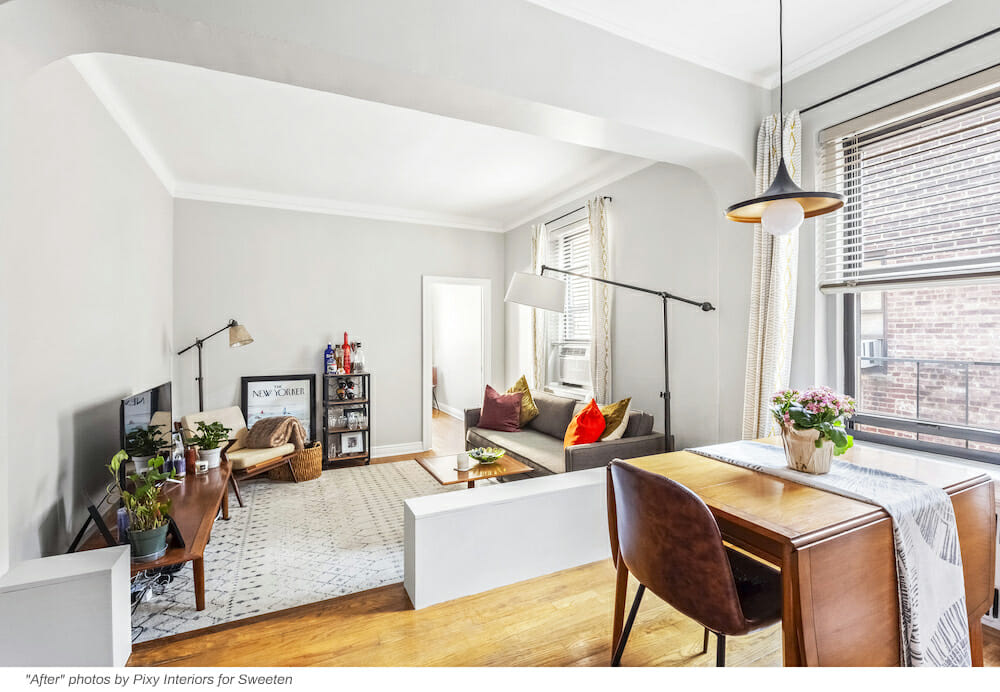
- Homeowner: Paul posted his junior one-bedroom remodel on Sweeten
- Where: Central Park South, New York, NY
- Primary renovation: Turning his 530-square-foot studio into a true one-bedroom apartment
- Sweeten’s role: Sweeten matches residential renovation projects with vetted general contractors
Guest blog post by Sweeten homeowner Paul
Time for a place with no roommates
I moved to New York in 2007 after graduating college and settled in Hell’s Kitchen because of its relative affordability and proximity to the subway. For the first nine years, I lived in a large cookie-cutter rental building with two roommates, and first started looking into buying about three years ago. There were two motivating factors behind my search: The first was that I felt it was time to have my own place. I had lived with roommates since I was 18, and it was a great way to save money on the margin, but I was ready for a change. I had always thought that owning my own place in New York would be a proud moment and an important milestone in my life.
The second reason was financial, as I had seen our rent increase over $1,500 in my time there. That was a tough pill to swallow, but at least manageable when splitting it with a roommate. I didn’t want to put myself in that position if I lived alone, however. I had saved enough money over time to cover a down payment and soon found myself checking the real estate websites on a daily basis to find the “perfect” apartment.

A one-bedroom with a lot of light
My two main requirements were that the apartment had one bedroom and good light. I also wanted to stay in Hell’s Kitchen so that I could still walk to work. But I quickly realized that there was no such thing as a “perfect” one-bedroom apartment in my price range, and anything that was close to what I wanted would go into contract within days of the initial listing. Competition was stiff.
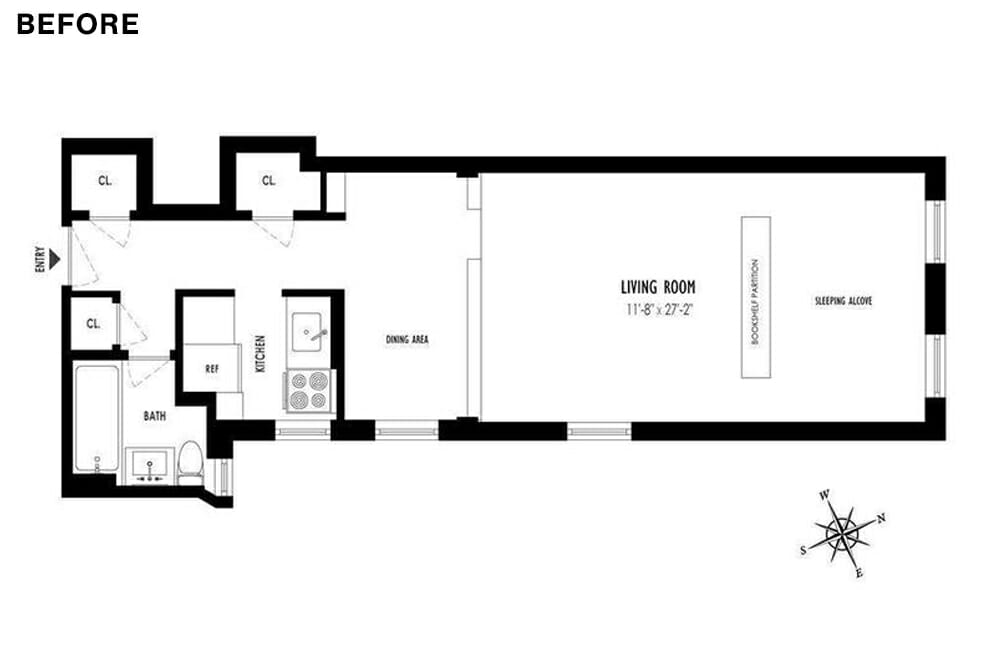
Then, one day, after a year or so of looking, I decided to look more seriously at alcove studios with the idea of putting up a wall to create a one bedroom. I ended up finding a studio that was listed as a “junior one bedroom” on the top floor of a 1930s co-op in Hell’s Kitchen/Clinton. The kitchen and bathroom were a bit dated, but that was less of a priority for me.
My contractor matched all of the crown moldings to the originals in the apartment. Honestly, I didn’t expect it to look as good as it does.
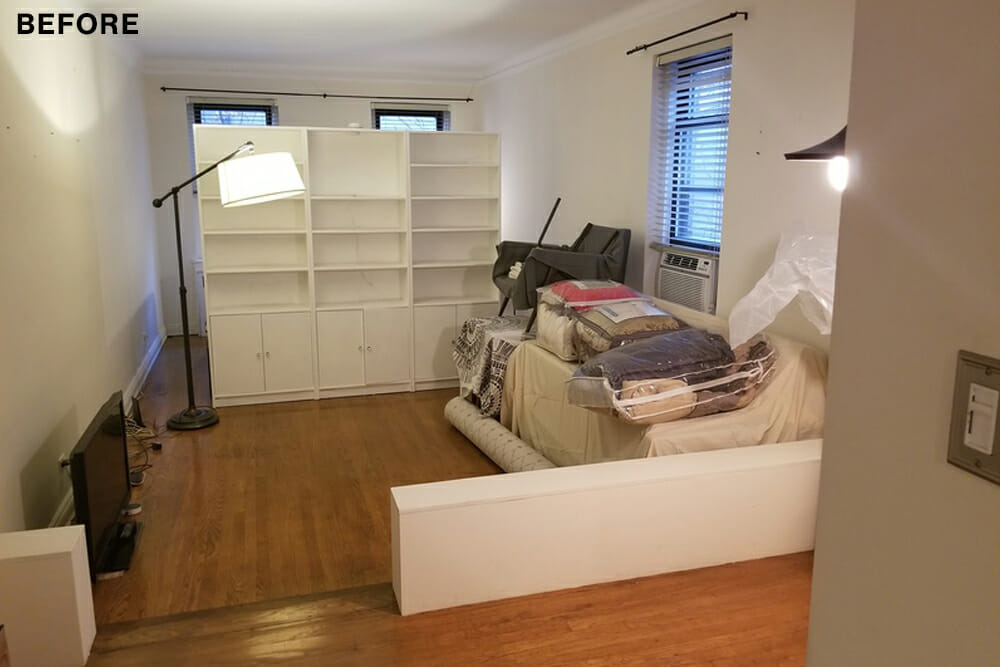
More importantly, the current owner had already set up a large built-in bookcase to separate the bed area from the general living space—so you couldn’t even see the bed—and there were windows on both sides—two large ones facing north with trees offering privacy into the interior space and three large windows facing east toward my neighbor’s apartment. This was the exact studio layout I needed for my conversion into a true one bedroom.
Junior one-bedroom remodel takes longer than expected
The original timeline was four to five weeks, but the project ended up taking eight weeks to complete. (A heads-up to first-time renovators: It does cost more and takes longer than you expect. It’s New York City, after all, so you need to account for this variability). In my case, part of the extended timeline was due to Thanksgiving and Christmas breaks.
My contractor helped in two ways though—one strategic and one tactical. First, it’s important to have the support of the co-op or building super for a renovation, and my contractor ensured that all of the co-op building work rules were met. Second, I would leave “to-do” lists each night toward the end of the renovation outlining items that I wanted to be addressed. I would then return the following day with each having been taken care of. Sweeten brings homeowners an exceptional renovation experience by personally matching trusted general contractors to your project, while offering expert guidance and support—at no cost to you. Renovate expertly with Sweeten
Maximizing the layout of a cramped kitchen
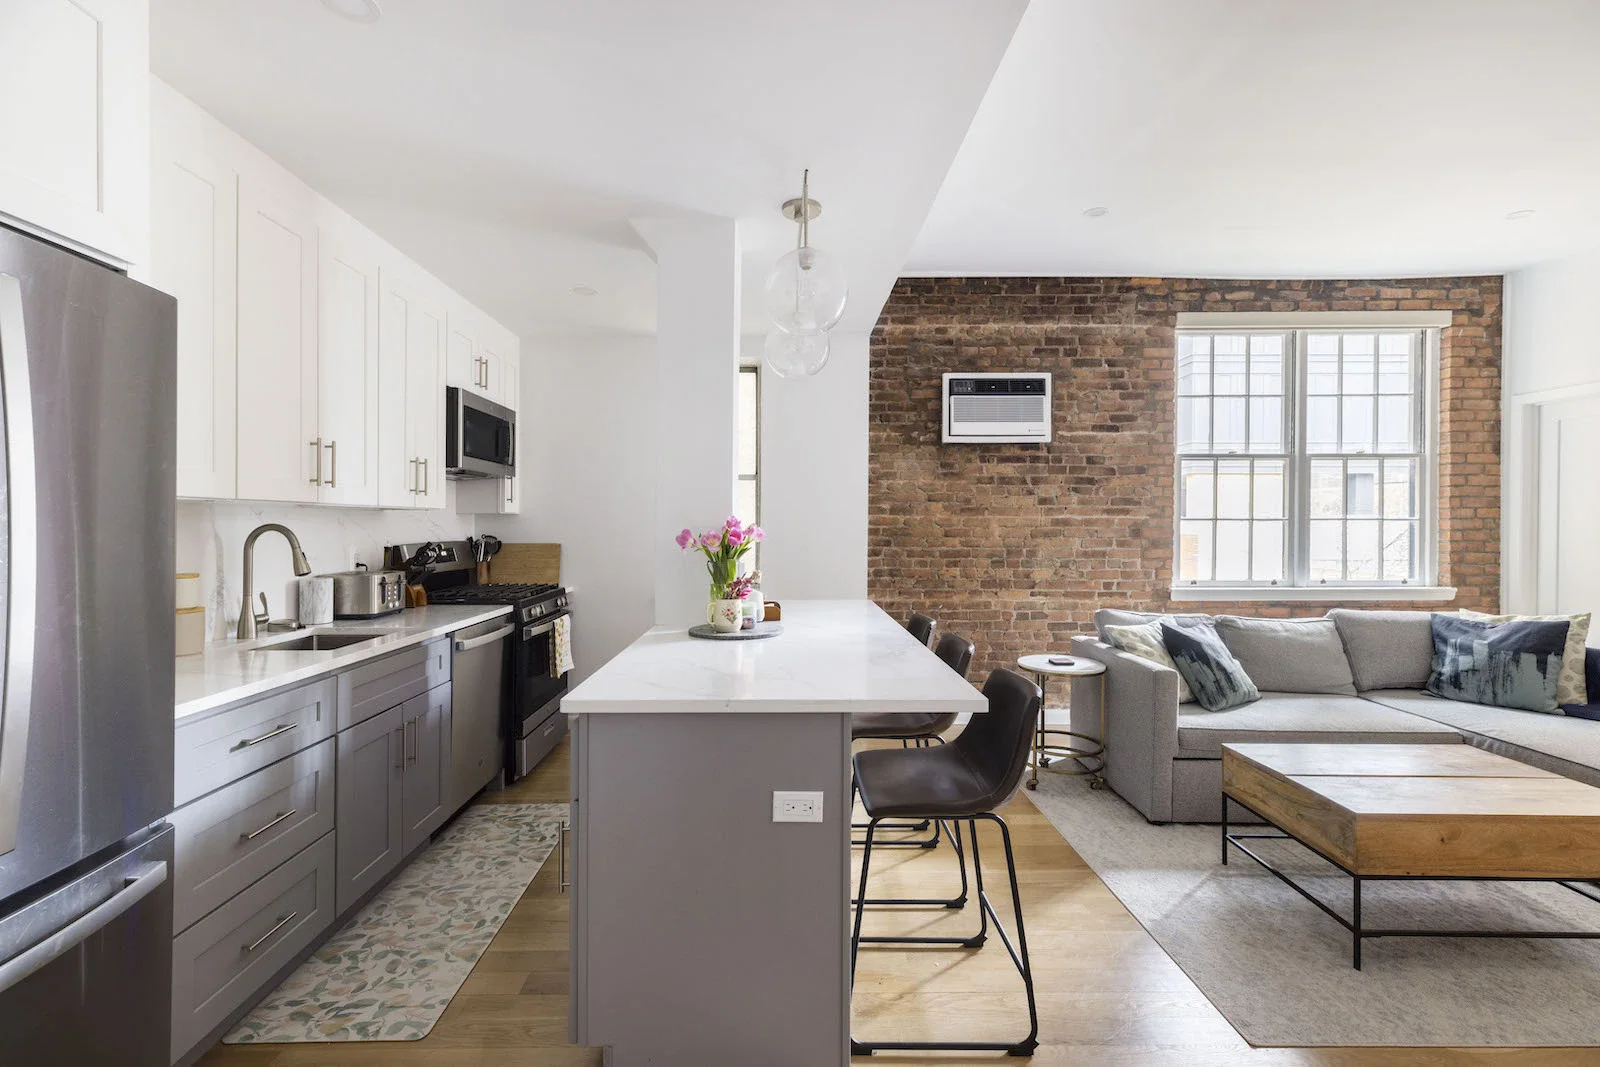
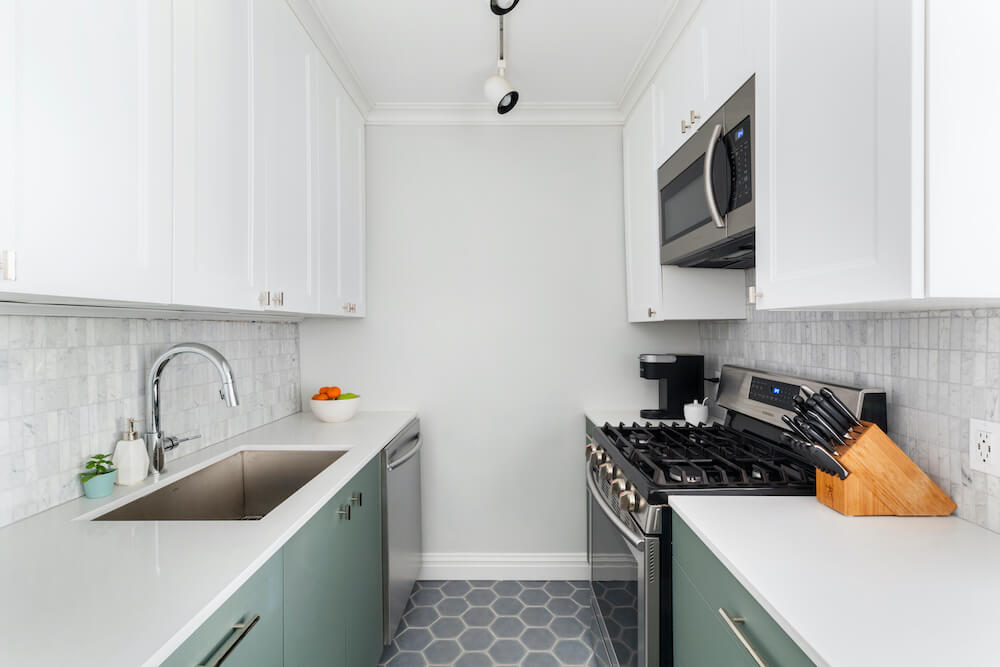
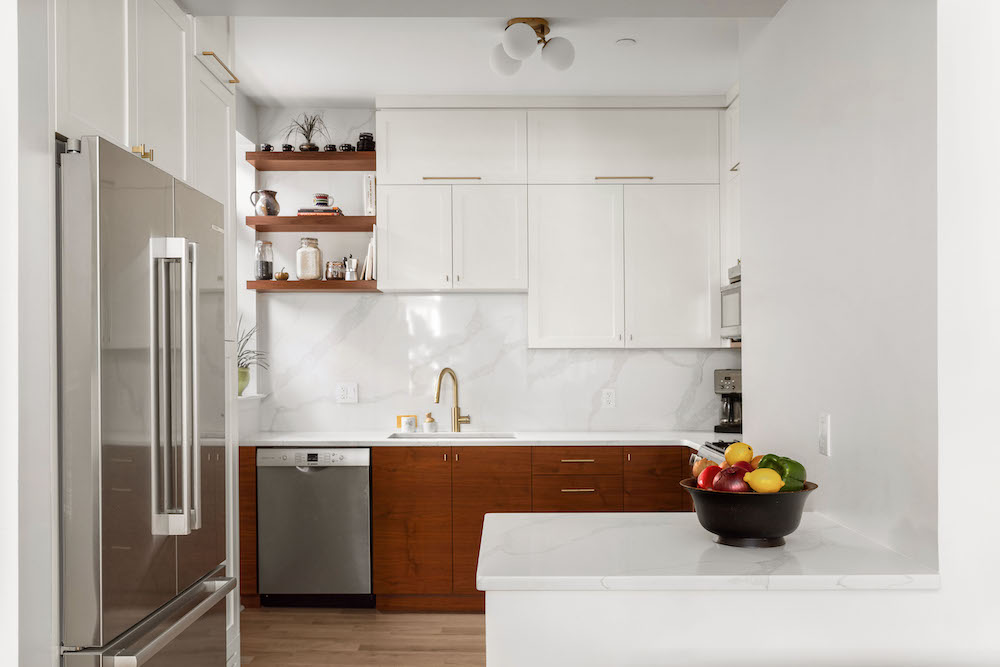
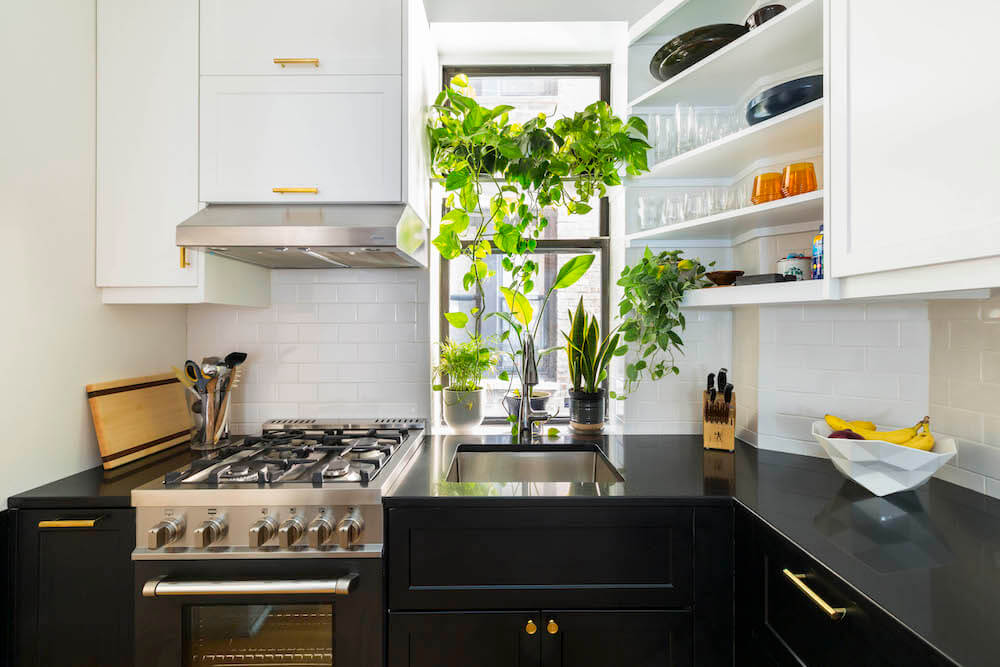
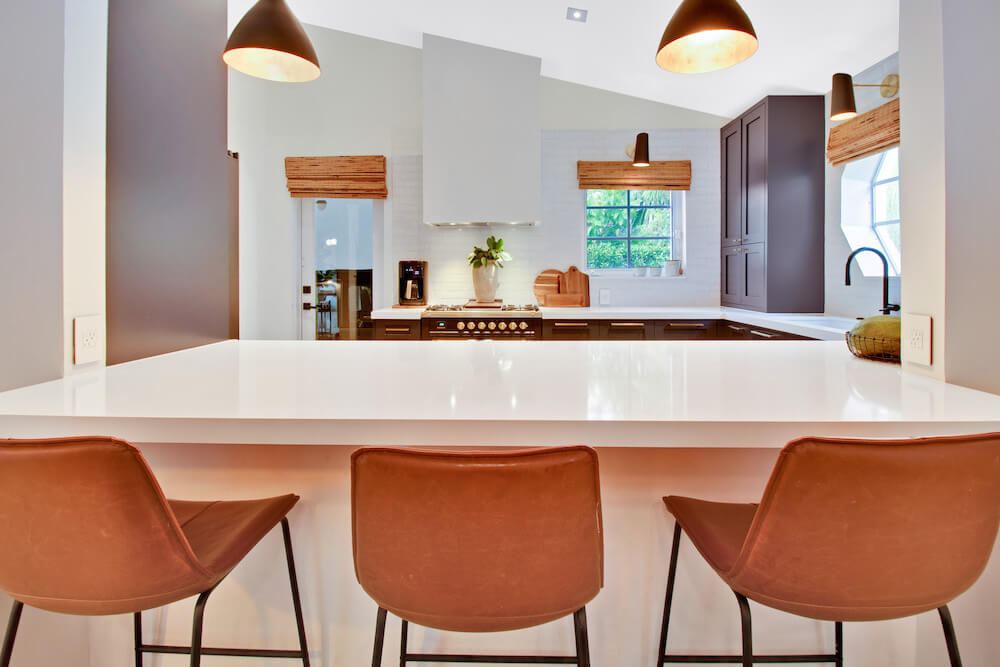
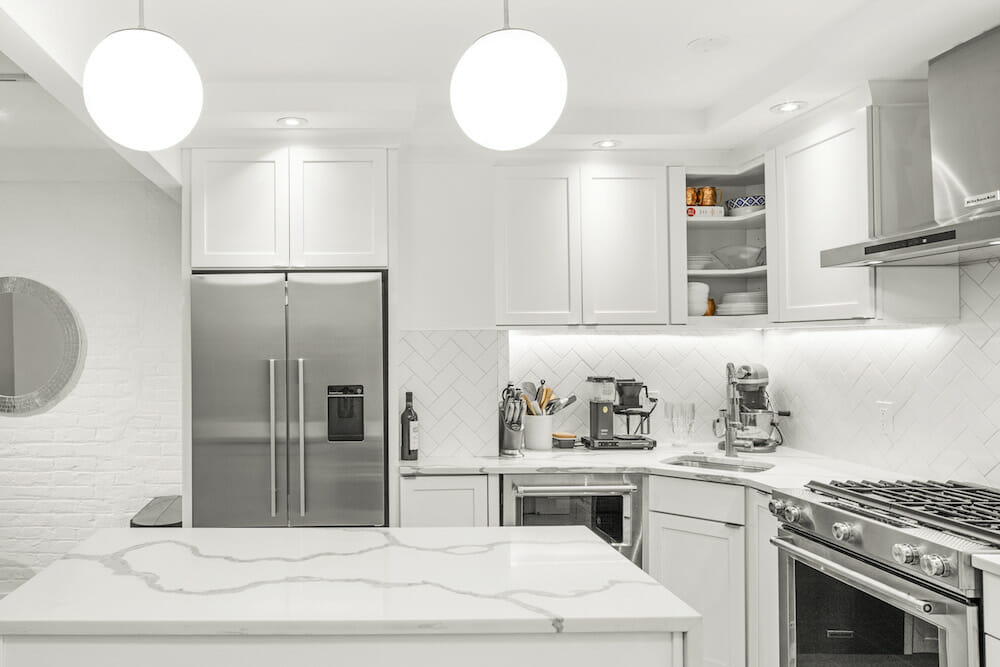
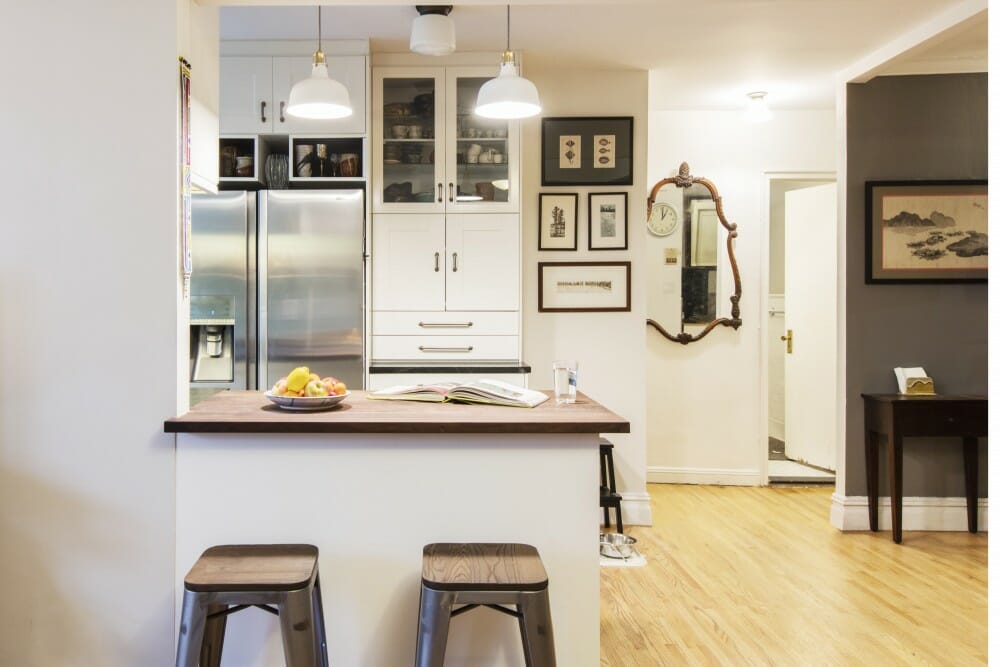
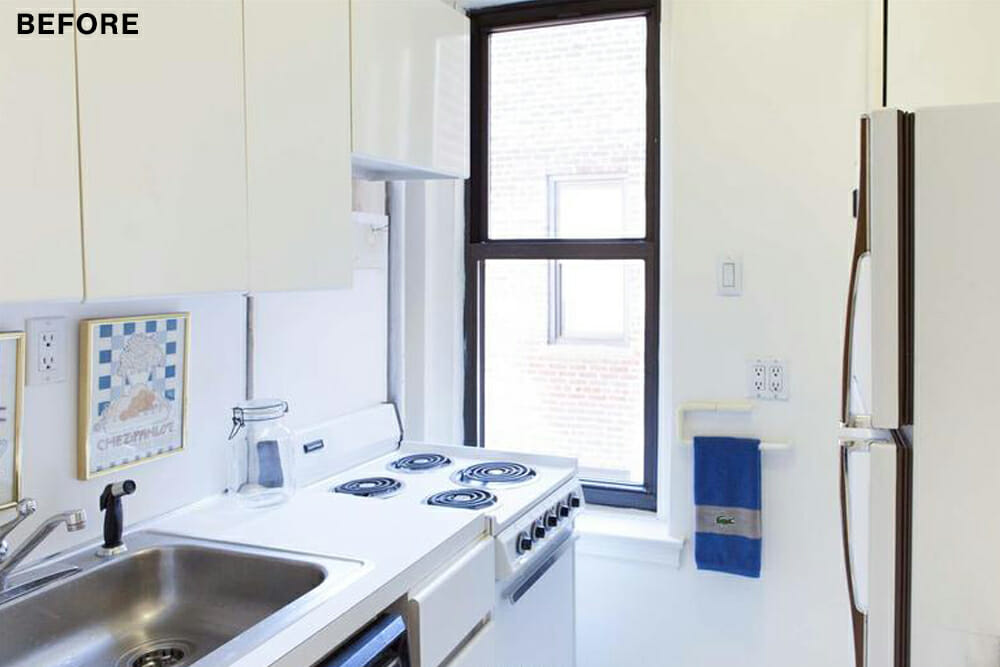
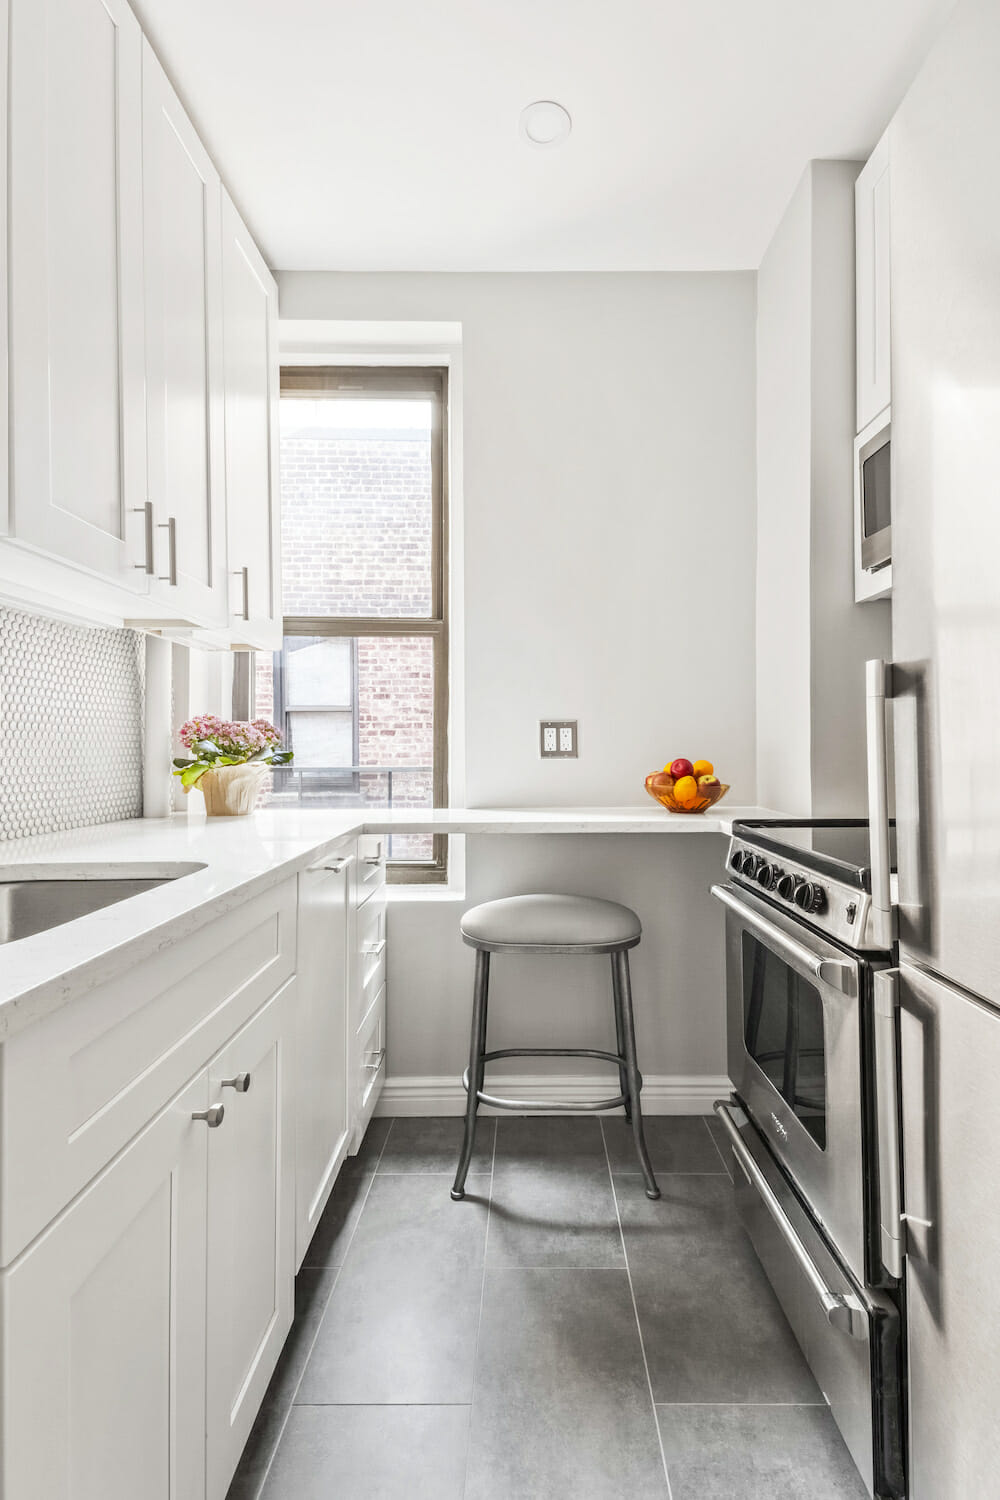
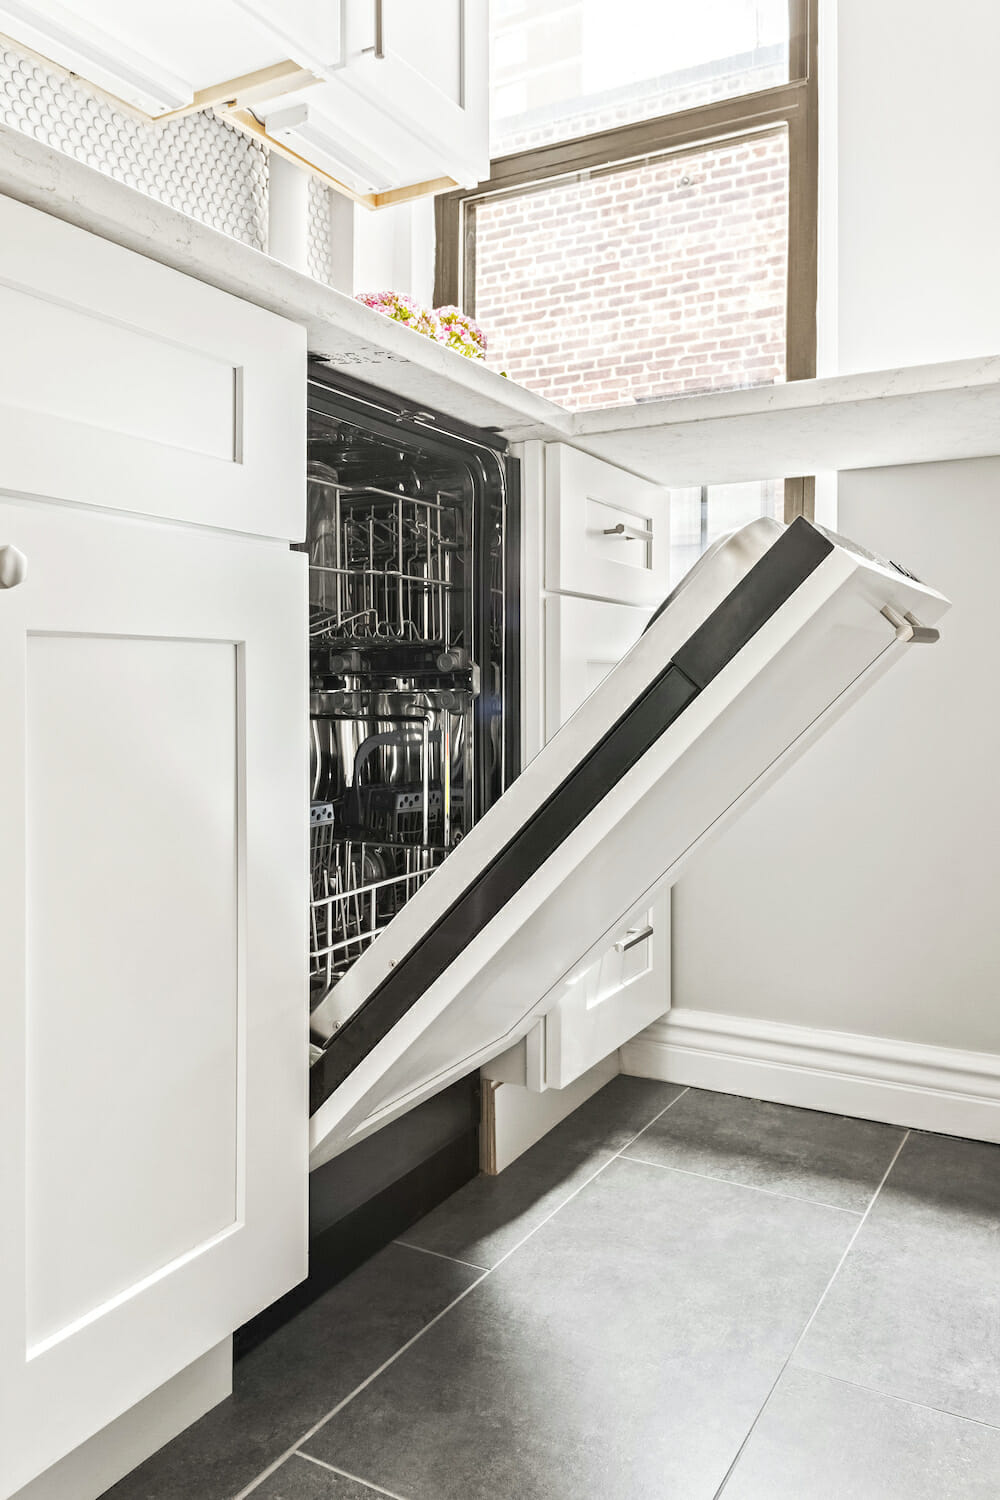
Updating the kitchen was a big part of the reno (and a big portion of the budget). The existing galley kitchen was from the 1980s and extremely small with little usable counter space. We maximized the layout so that it flowed better and felt less cramped.
The location of the stove and refrigerator were swapped. It not only provided more functional surfaces but we added an additional 14-inch ledge of counter space by the window. It had the effect of creating a wraparound spot where I could fit a stool and use it as a small breakfast bar.
Light colors welcome a gleaming shine
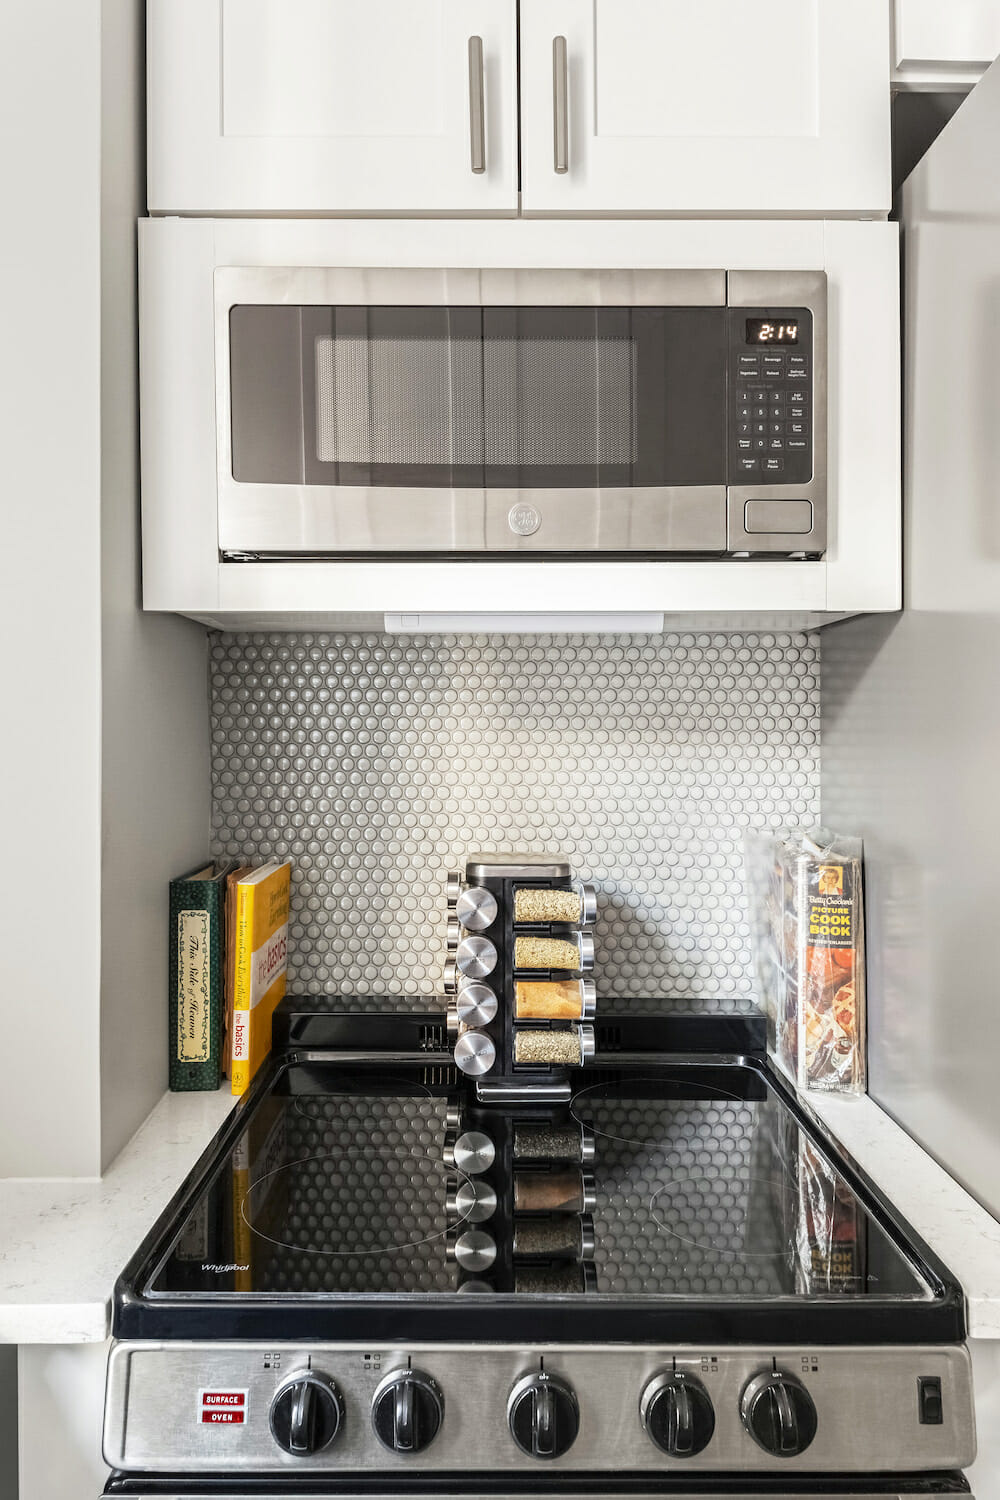
Since the kitchen is still small—about 60 square feet—I kept the colors very light. I chose white shaker cabinets with brushed nickel pulls, stainless steel appliances, and a low-maintenance Caeserstone-type quartz (spilled red wine and coffee won’t stain). The counter material has modest strains of gray, gold, and brown, and complement the blueish-gray penny tile for the backsplash. The large gray floor tile helps elongate the small space.
I was excited (and partially anxious) to see the various parts come together as a cohesive final product. I only had an idea of how everything would work together. The wall is fantastic and looks like it was always there. My contractor matched all of the crown moldings to the originals in the apartment. Honestly, I didn’t expect it to look as good as it does.
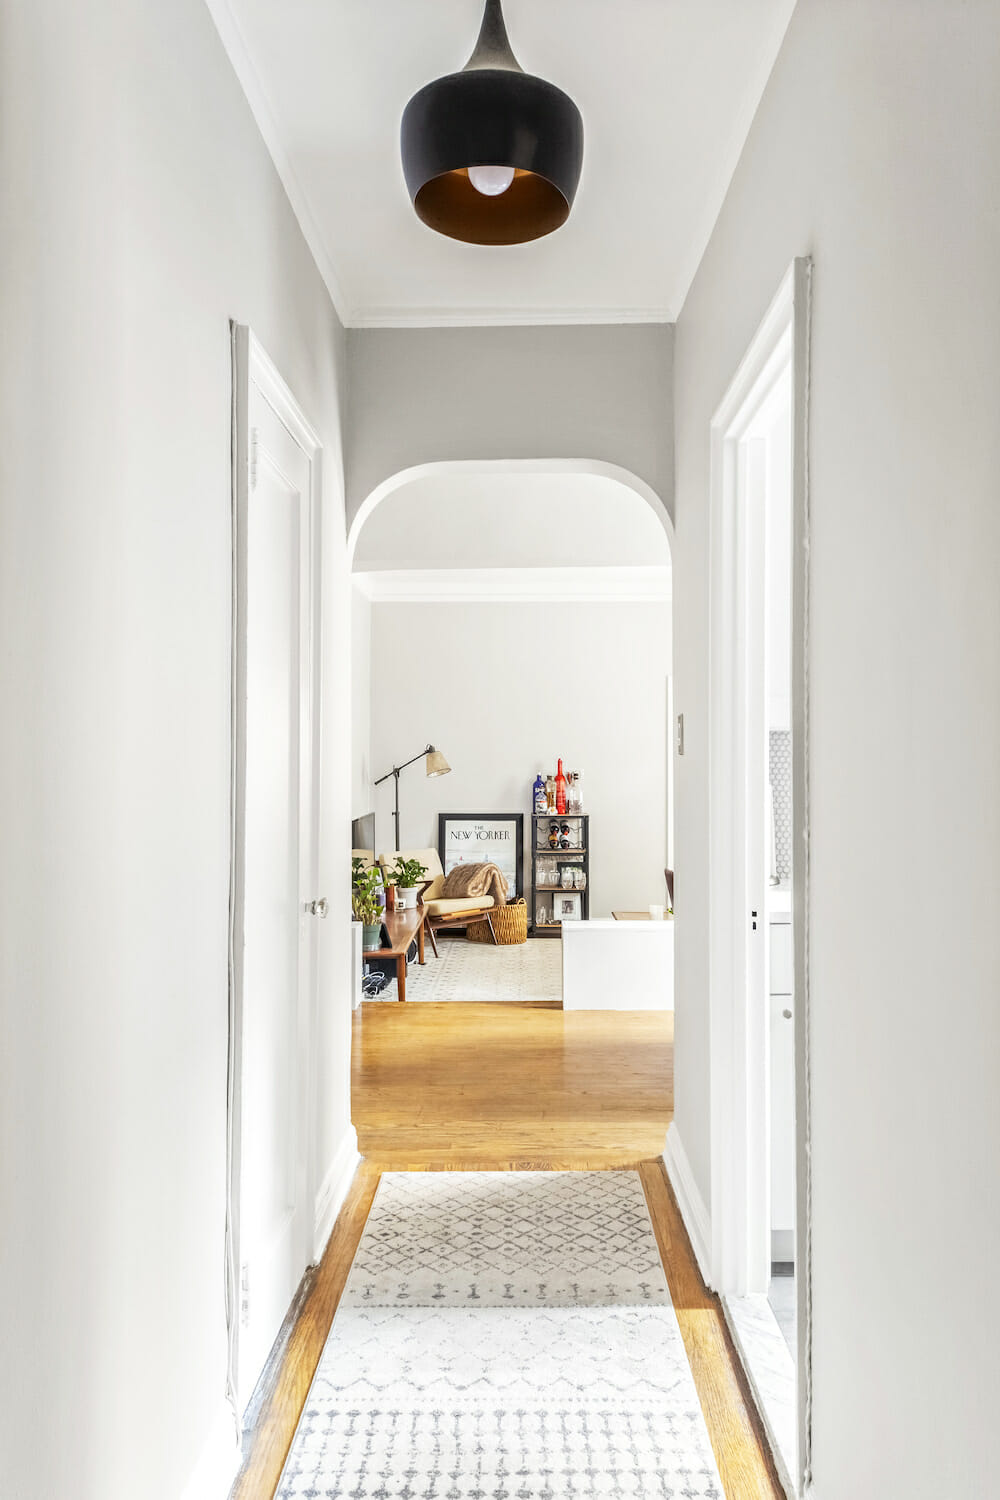
It was important that the new full bedroom design maintain the apartment’s natural light. It also needed to be large enough to fit a queen-size bed comfortably and allow me to walk around without any issues. My goal was to have a real wall creating two separate rooms and not look like a temporary or flex wall.

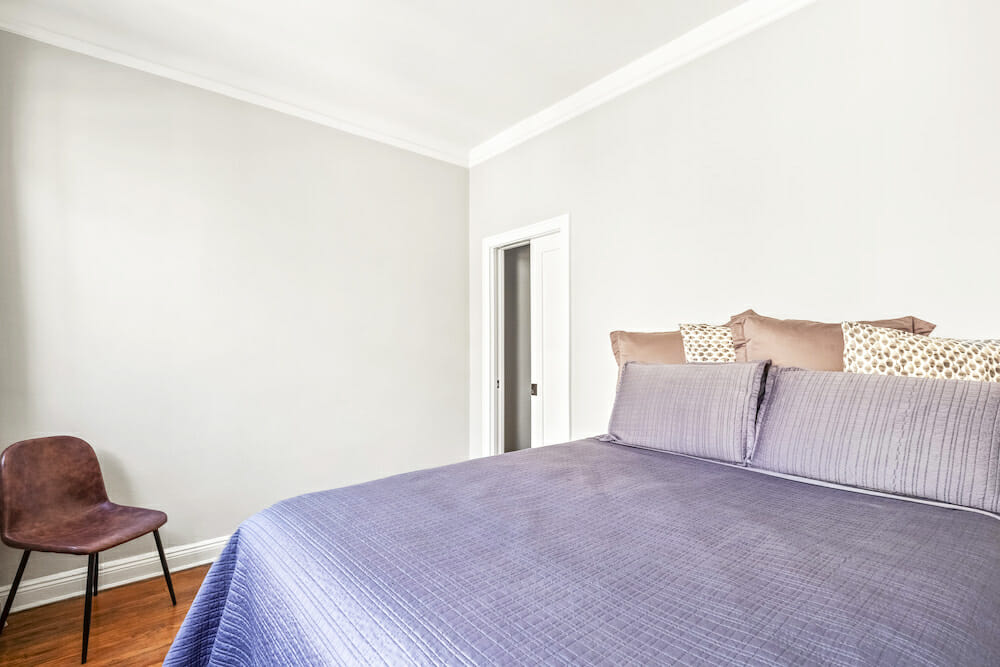
Now that I’ve finished my renovation, I suggest letting your design-build team know upfront what your priority is. For example, I was less focused on the timeline as long as the work was done correctly. And ask questions! Communication is critical and you don’t want to assume anything.
Living in his junior one-bedroom during renovations
I actually chose to live in my apartment throughout the renovation process. The only night I did not stay was the first day of demolition. I would not recommend this for everyone though. I was largely motivated to put the money I saved, from not renting a place for 1-2 months, back into the renovation. (I had originally thought my budget would be enough for a kitchen, bathroom, and wall; however, I had to remove the bathroom from the scope upfront.) My contractor was very accommodating as this was likely a nuisance for him to clear a path for me to walk in and out to my bed every day. It was clear to me throughout the renovation process that my design-build team wanted me to be happy with the finished product.
I wasn’t able to find the perfect one-bedroom at first, and I learned that nothing will be perfect, but I am extremely satisfied with the end result while staying within budget. Now, I’m proud to call the apartment my home and, even though I set out to live alone, my next plan is to adopt a dog or cat.
Thank you, Paul, for sharing your very own new home!
Renovation materials
KITCHEN RESOURCES: Floor tiles, cabinets, countertops, backsplash, and sink: Express Brooklyn Tile. Canfield drawer pulls: Rejuvenation. Delta Essa faucet: Amazon. Whirlpool 24″ counter-depth refrigerator, #URB551WNGZ; Whirlpool 18″ dishwasher, #UDT518SAFP; and Whirlpool 24″ electric stove, #WFE500M4HS: Appliances Connection. GE microwave, #JES1072SHSS: Best Buy. Light shades: Rejuvenation. Lighting: Recessed LED Slim Lighting from Amazon. Paint: Benjamin Moore.
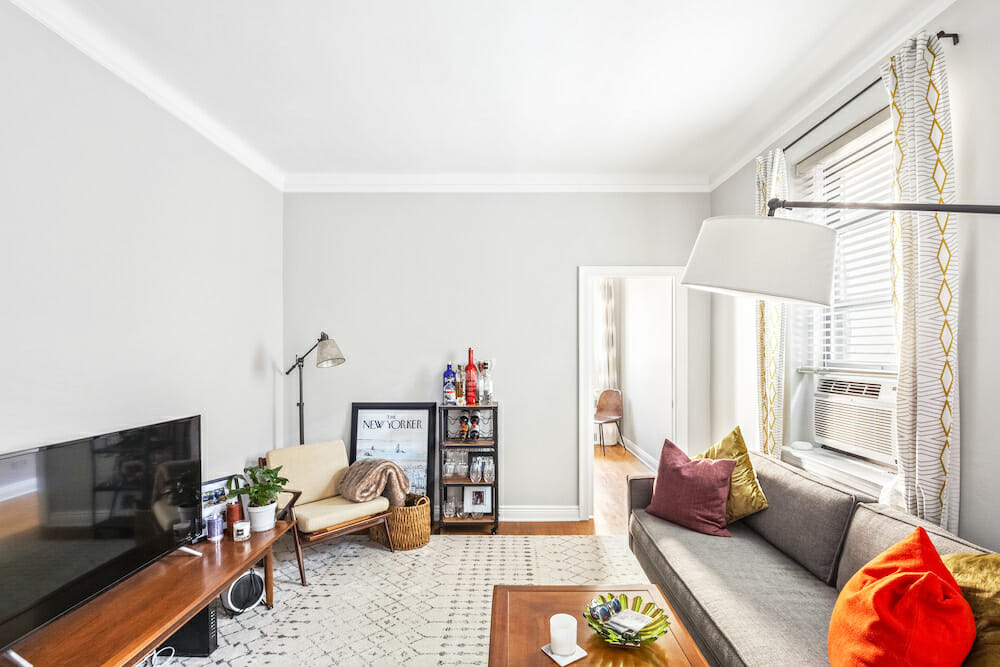
LIVING ROOM RESOURCES: Paint: Benjamin Moore.
BEDROOM RESOURCES: Paint: Benjamin Moore.
Renovation FAQ
What is a junior one-bedroom apartment?
A junior one-bedroom apartment is a studio apartment that has a partial wall that blocks off an area of the apartment. This allows for the apartment to be compartmentalized and helps create a more organized layout. A junior one-bedroom apartment can be an affordable option for someone looking to live on their own and who wants a studio with additional privacy.
How to remodel a junior one-bedroom apartment
Looking to renovate your junior one-bedroom apartment while keeping costs down? A recommended approach is to convert a junior one-bedroom apartment into a true one-bedroom apartment layout. Because junior one-bedrooms have partial walls, the walls show where the room can be created and closed off by completing the wall line. Additionally, simply closing off the wall allows for fewer structural changes overall, or the need to rethink the entire apartment layout.
—
Six Sweeten renovators maximize and bring a cozy vibe to their bedroom.
Sweeten handpicks the best general contractors to match each project’s location, budget, scope, and style. Follow the blog, Sweeten Stories, for renovation ideas and inspiration and when you’re ready to renovate, start your renovation on Sweeten.
