5 Smart Design Tricks to Maximize Your Kitchen Functionality
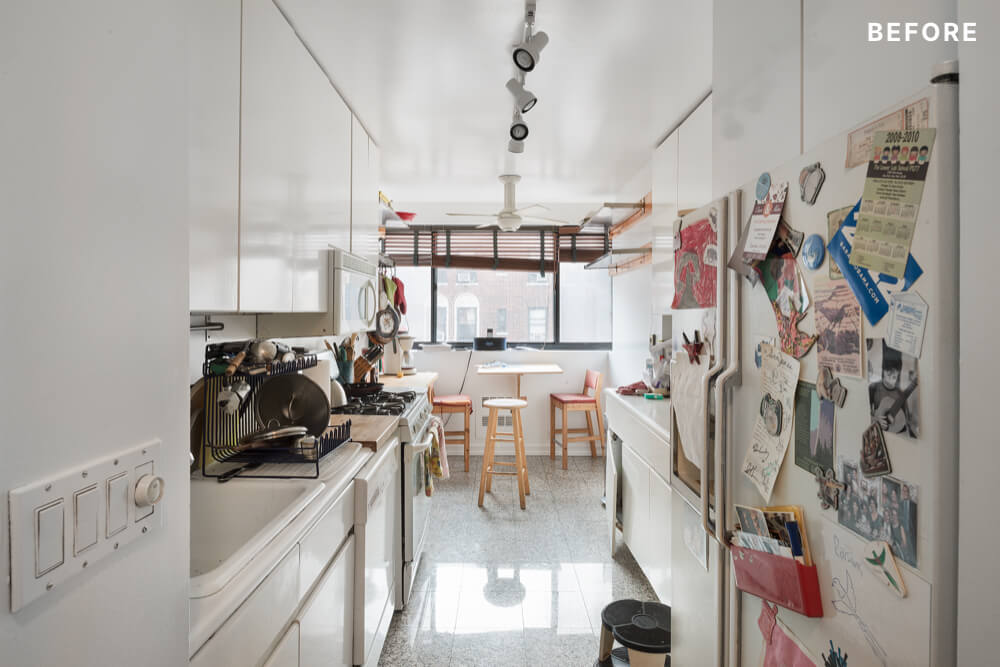
This inspiring before-and-after reveals five clever design tricks used to transform a cramped uptown kitchen into a light and airy haven. Discover how strategic changes can significantly enhance both the functionality and style of your culinary space.
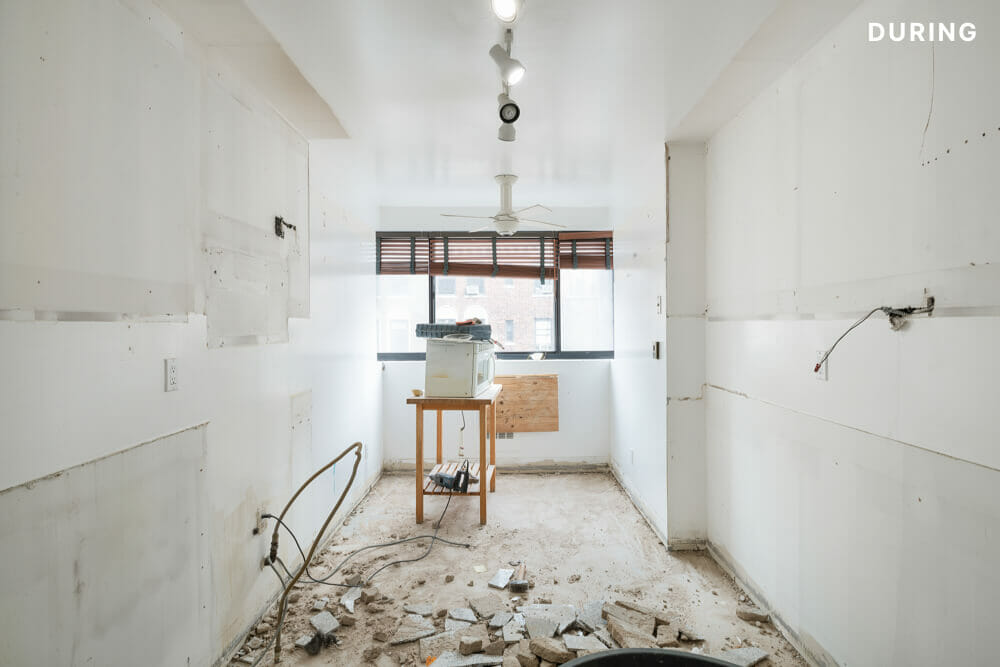
After the owners of this home came to Sweeten to modernize their kitchen, we introduced them to Sweeten Experts Lauren and Adam, an architecture and interior design duo, and brought in Sweeten Expert Alan, a general contractor, to re-imagine the kitchen’s storage, function, and feel. The results are so easy on the eyes that you could be forgiven for missing the simple design tricks tucked behind these lacquered cabinets and beneath those gleaming Calacatta counters.
Lauren and Adam, Sweeten Experts, clearly understood the homeowners’ vision for their condo kitchen: a space that was not only stylish but also highly functional for a family of cooking enthusiasts. Despite being first-time renovators, the homeowners had well-thought-out ideas about storage and workspace needs. Above all, they prioritized functionality and durability.
To meet the homeowners’ goals, Lauren and Adam developed a design plan incorporating five smart tricks. These strategies were carefully chosen to maximize storage, position essential cooking and prep tools strategically, and create a sense of spaciousness within the limited room dimensions. These practical design ideas can be easily adapted to any kitchen renovation, making them particularly valuable for those with smaller spaces.

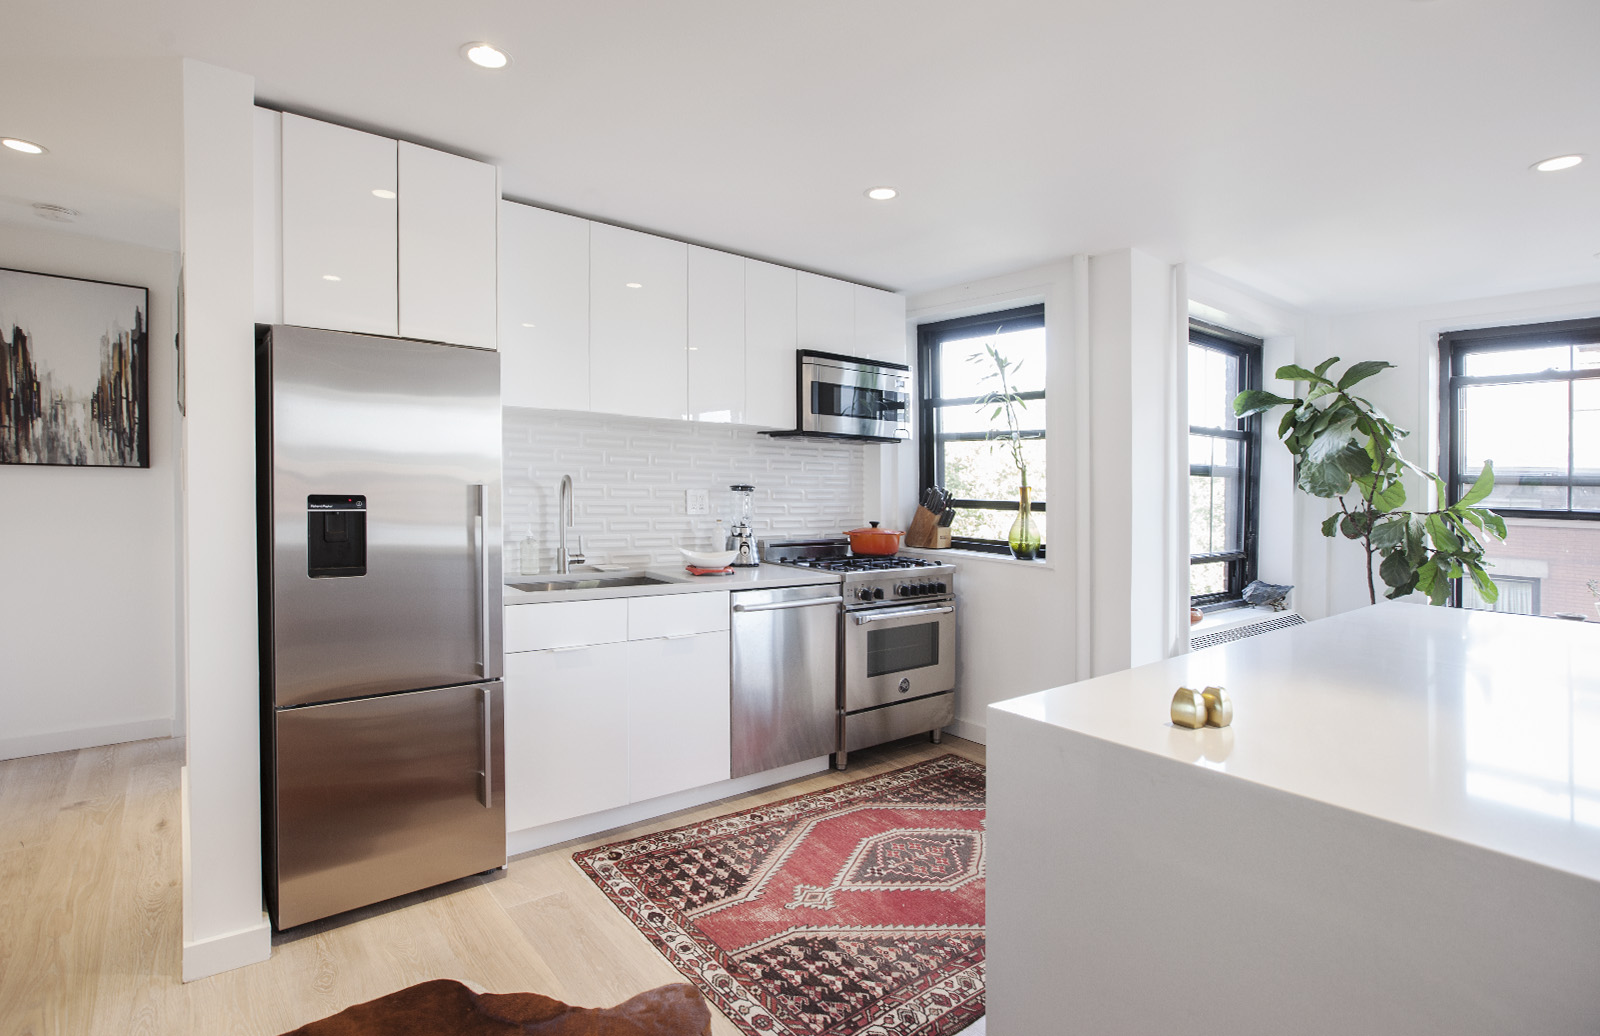
1. Frontload the bulkiest pieces
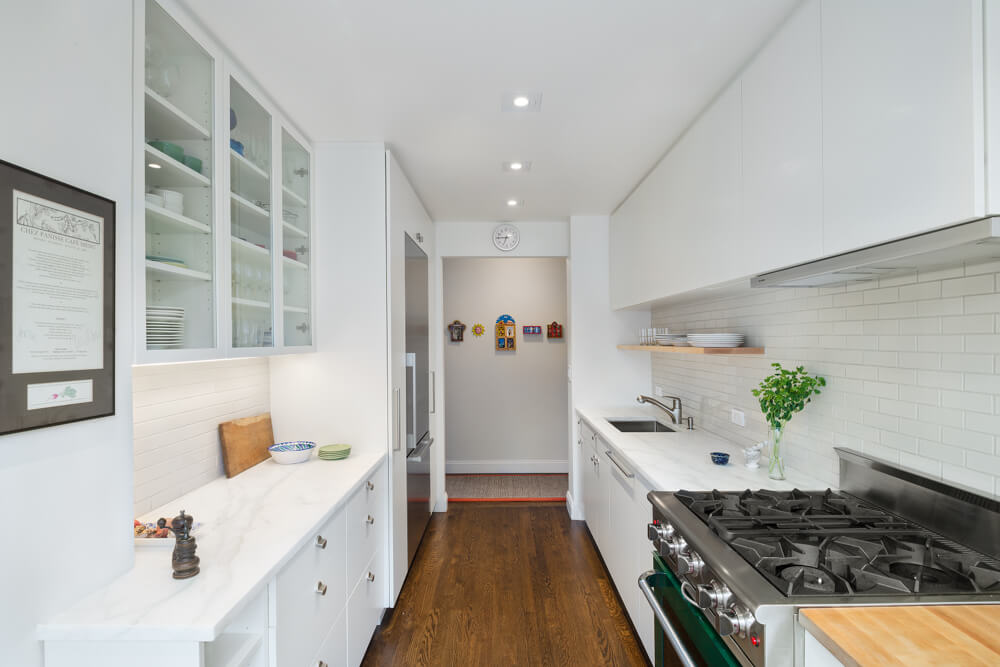
In a galley kitchen or narrow hallway, it can be tempting to place cabinets and furniture evenly throughout the space (or shove the bulkiest pieces away from the entry point). Instead, Lauren and Adam created a sense of depth and width by placing the largest cabinets and the fridge near the entry, gradually lightening visual heft as the room continues toward the window. When a visitor walks through the kitchen’s entryway, the largest cabinets feel like a natural continuation of the narrow door and frame, and the room appears wider and longer as floor-to-ceiling cabinetry gives way to open storage and spacious countertops. This approach ensures that the room draws its visitor through the most narrow point of the space first and into more open space immediately. Sweeten brings homeowners an exceptional renovation experience by personally matching trusted general contractors to your project, while offering expert guidance and support—at no cost to you. Renovate expertly with Sweeten
At Sweeten, we’re experts at all things general contractors — we pre-screen them for our network, carefully select the best ones for your remodeling project, and work closely with hundreds of general contractors every day. So, we’ve tapped our internal expertise to bring you this guide.
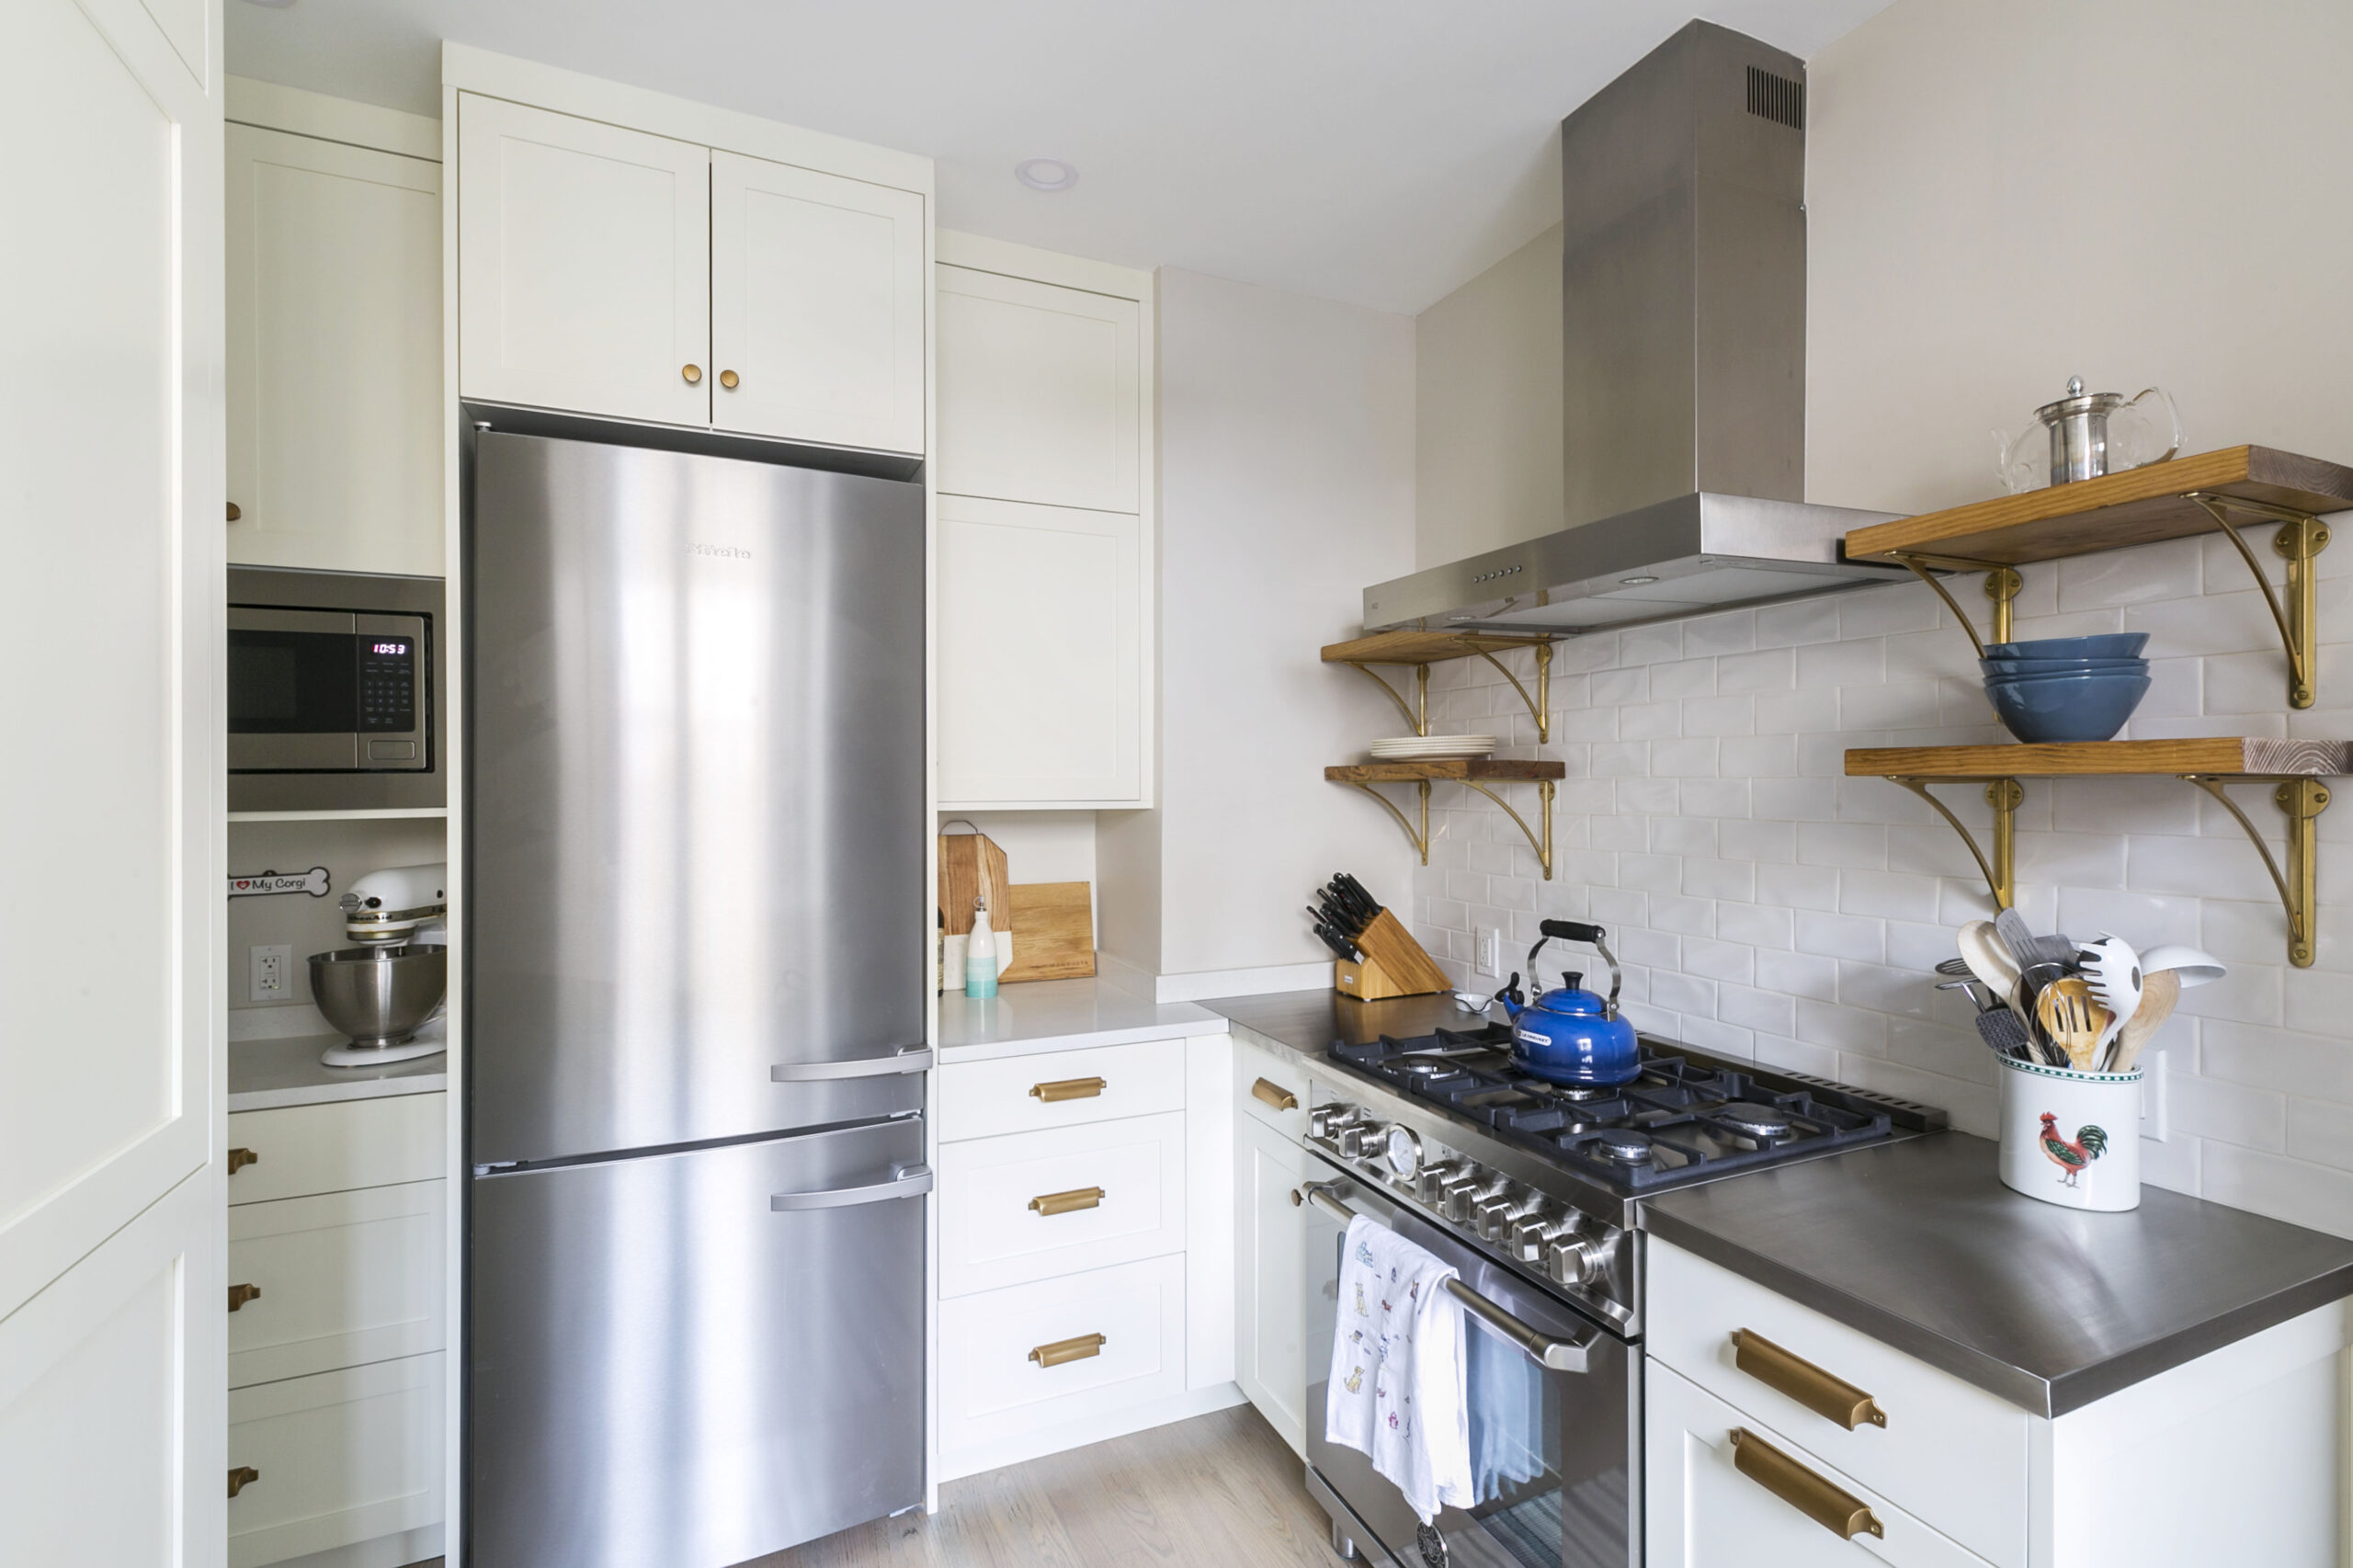
2. Play with cabinet layers and materials.
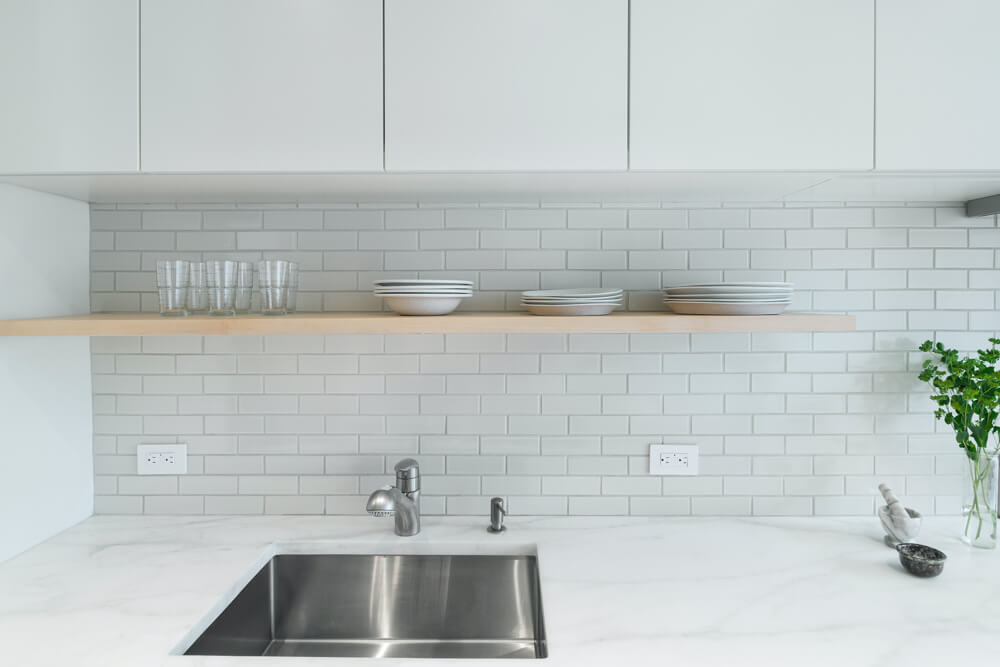
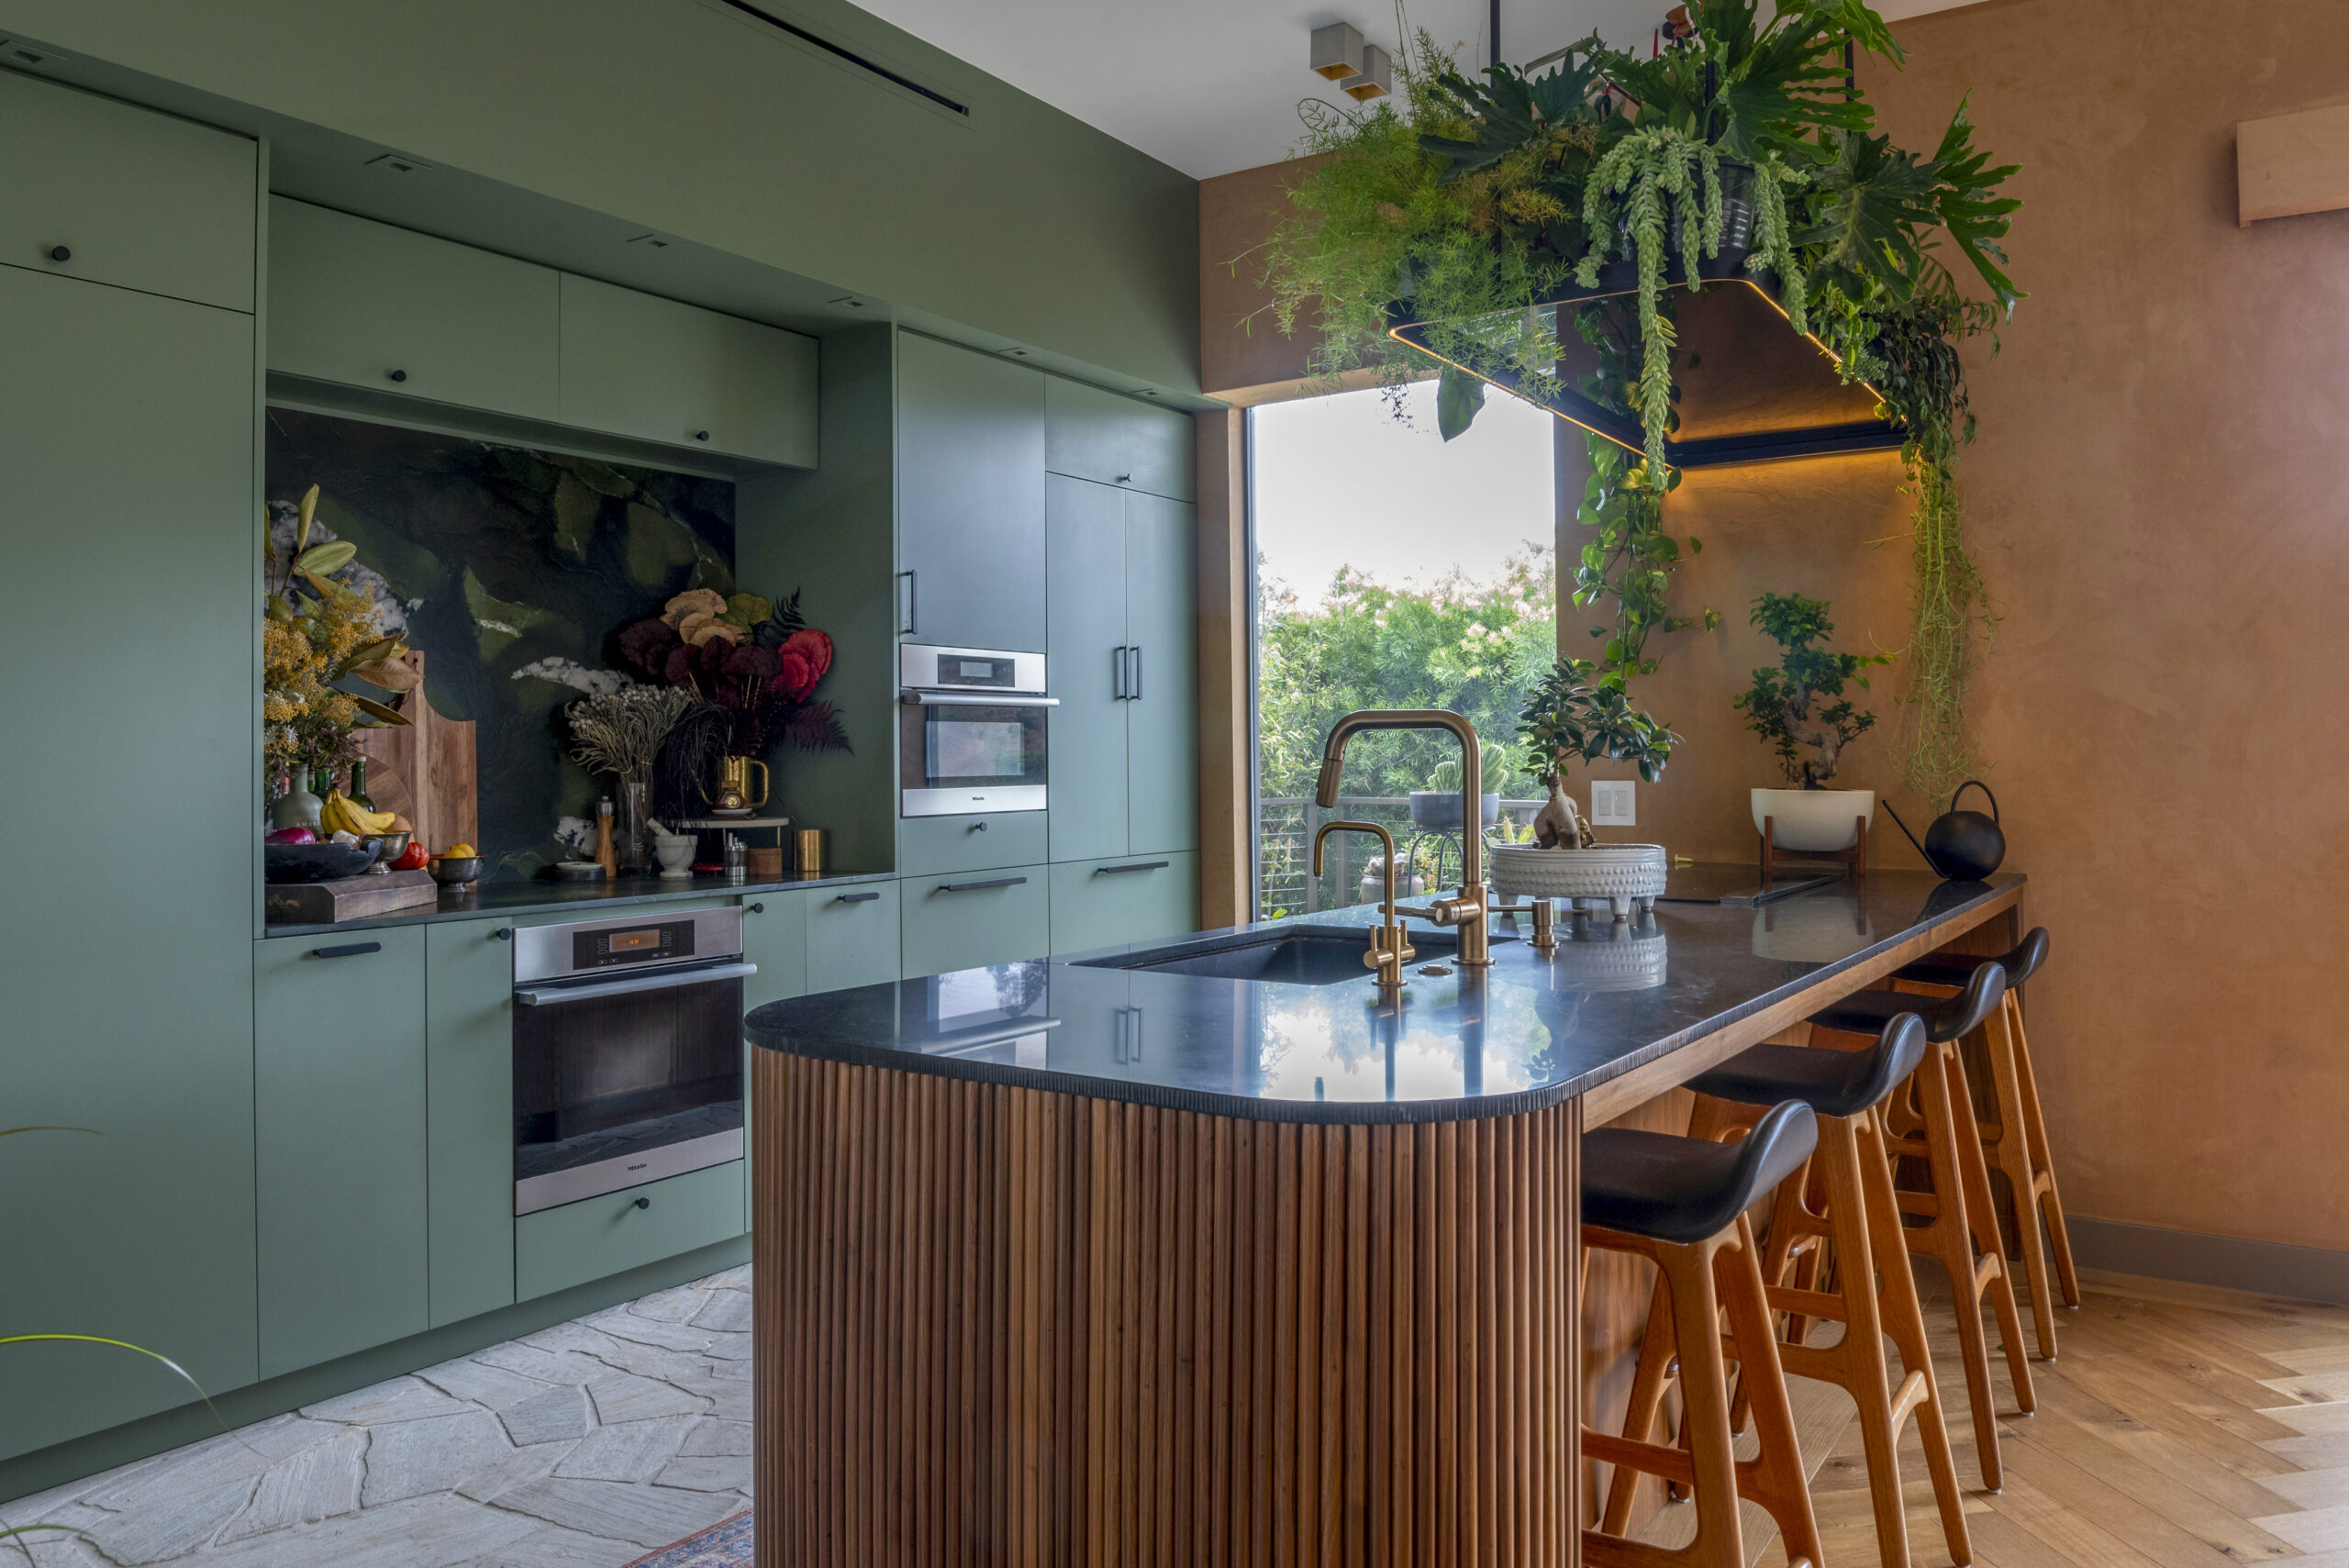
Lauren and Adam designed uniquely-defined cabinet sections that add visual interest to the room and help delineate storage needs. Custom-built base-cabinet drawers and ceiling-height cupboards offer the most significant storage options for this family’s heaviest-duty items. As a second layer, Alan installed an upper row of white lacquer cabinets for items that need to be easily accessible but concealed. As a third layer, the team incorporated a section of translucent glass-fronted cabinets to display tableware and serving pieces, and as a fourth layer, Lauren and Adam chose a natural maple floating shelf to minimize sight lines along the wall and to give the family immediate access to everyday basics. Each element of cabinetry was custom designed, built with durable MDF, and shop-sprayed in white lacquer.
3, 4 and 5. Find very, very specific spots for the basics (from knives to a pasta maker to sponges).
The team worked together to find creative ways to store the family’s pots, knives, and prep tools. In just a few square feet of space, Lauren and Adam’s designs pulled in a countertop knife storage block, placed just above a maple butcher block prep nook, relocated the microwave from eye level to hand level, and kept corner window light as exposed as possible by hanging pots and pans on the wall. The 15-inch knife slot at the back of the butcher block provides safe child-proof knife storage and was designed by the homeowner’s sister.
Across the galley way, hidden beneath the slight overhang of the Calacatta Caldia marble countertop and invisible from all angles, Lauren and Adam found a place for the family’s pasta maker, a favorite tool that clamps on to the counter. Alan created a slight cut-out above the set of open shelves so that the owners could easily work with their pasta maker near the butcher block nook and close to the stovetop.
And in their final design hat trick, the team ran with a suggestion from the homeowner to conceal a slim flip-down compartment along the front of the sink to store sponges. Contractors often build a cosmetic panel in that spot to mimic the look of real cabinetry, but this kitchen puts that extra few inches of typically wasted space to smart use.

Kudos to the team for finding these simple and functional ways to account for this family’s favorite kitchen activities! I loved hearing about the planning and collaboration that went into this project. In addition to these inspiring designs, Lauren and Adam partnered with the condo’s owners to select beautiful and durable materials to use throughout the space. The classic subway tile backsplash is from Heath Ceramics, the recessed lighting fixtures came from WAC, and the cabinet pulls are from Hafele.
The owners selected the Calacatta Caldia marble countertop from ABC Stone; its faint veining has traces of greens, grays, and yellows and its specific cut is the result of a full team field trip to the stoneyard to confirm that the cut would take full advantage of the stone’s natural beauty. The owners also report that the quiet star of the new kitchen is “unquestionably” the 30″ Capital Culinarian gas stove with its high-BTU open burners, and understated “British racing green” finish.
As this kitchen transformation demonstrates, even the smallest of spaces can be transformed into a culinary haven. By incorporating thoughtful design elements, you can create a kitchen that not only looks beautiful but also functions seamlessly.
Ready to renovate? Start here for free!
Here you can learn more about our services and locations. Alternatively, browse more home renovation inspirations, processes, and cost guides.


