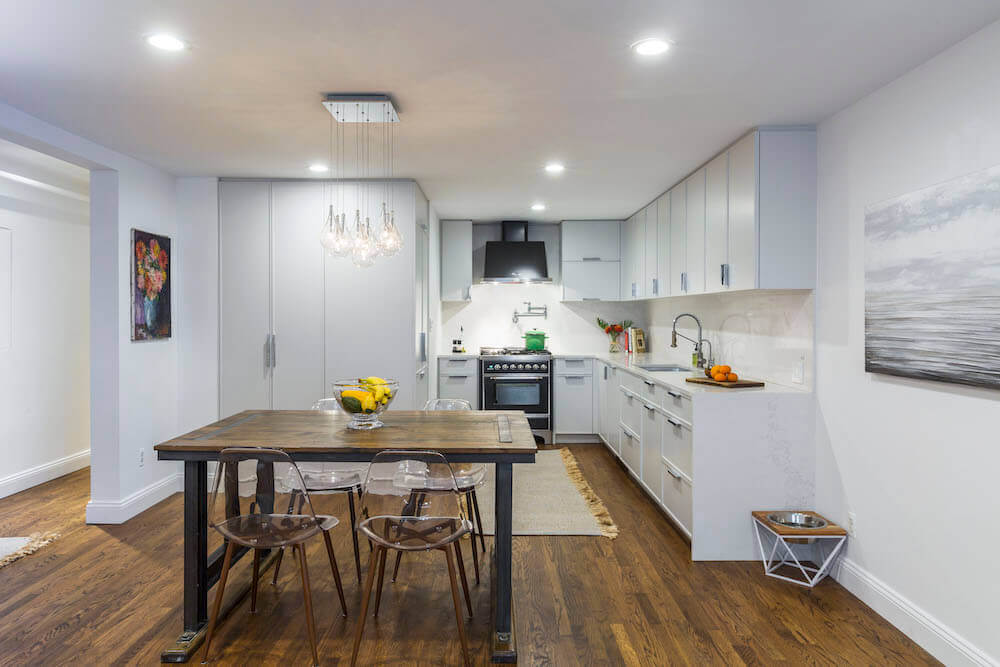
Homeowner Guest Post: Lisa’s Kitchen Renovation, pt. 1
Today, we’re sharing a special look at this recently Sweetened kitchen. Brooklyn Heights homeowner, Lisa worked with tS member NYC Pros on her budget-friendly renovation; we stopped in to see the progress & take photos along the way, but the rest of this story is told by Lisa herself. This week we’ll look at the processes behind planning & renovating, and next week we’ll look at the project budget and final results of Lisa’s fully-updated, eat-in kitchen.

When I first moved into my apartment a year ago, I knew I wanted to renovate the kitchen. I wouldn’t say the place is a fixer upper, but the kitchen was dated – the appliances were all too small, the backsplash was an awful, murky green tile, and the cabinets were too high and just did not provide enough efficient storage. There was also a big hole in the wall right underneath the sink that I totally missed prior to moving in. With the costs of buying my first home, renovating wasn’t something I could take on immediately.
This summer, however, my fiancé is moving in. So, after a year of living with a less than optimal kitchen, I did a bit of financial planning and I decided to bite the bullet and take the leap to do a renovation-on-a-budget.
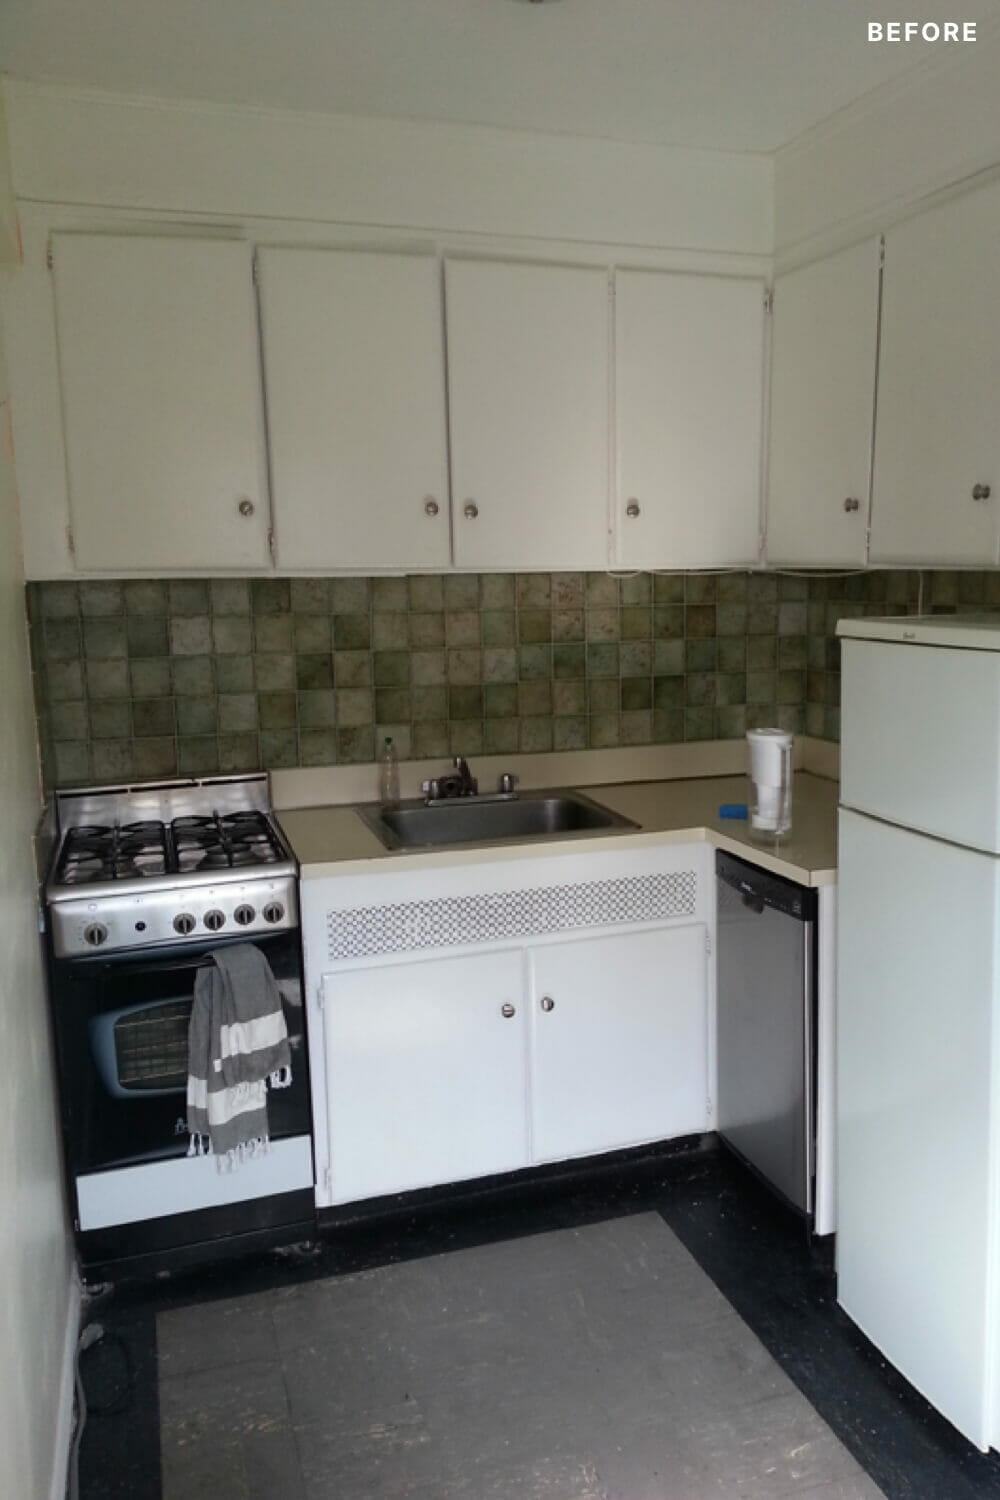
The Planning Process
I started planning in early April, starting with where I would purchase my kitchen (easy, Ikea), whether I would replace my appliances (initially no, but then decided it would be better from a resale perspective to have “larger” appliances), and how I would find a contractor (um, who knew?). Sweeten brings homeowners an exceptional renovation experience by personally matching trusted general contractors to your project, while offering expert guidance and support—at no cost to you. Renovate expertly with Sweeten
Kitchen Cabinets – I planned a day out to Brooklyn Ikea with my fiancé, sister, and friend, mostly for moral support, but also because who doesn’t like to spend a day hanging out in Ikea? I had at that point pored through the catalogue and had a general idea of what I wanted, which ended up being what I chose: AKURUM in Lidi White. While at Ikea, I learned more about the planning services they offer, and I was happy to pay $99 for someone to come over and measure my kitchen and upload the specifications into the Ikea Kitchen Planner (more on how this worked out below) before I started playing pretend architect and interior designer.
Appliances – I decided to replace my 20 inch range with a 24 inch range, my small white refrigerator with a shiny new LG “skinny” fridge, keep my 17 inch wide dishwasher because I had never actually used it, and install a range hood (even though it wouldn’t vent outside, I thought it must help somewhat to circulate the air above the cooktop).
Contractors – I spoke with 5 contractors, each of whom I found via a different source. The first was through Ikea’s primary contractor, which was the company that came to measure my kitchen. The second, I found while trolling through ikeafans.com. The third was an independent contractor, introduced to me through a friend. The fourth was a contact of my mother’s. The last was through a submission to Sweeten, which I had read about in a blog post on Apartment Therapy.
Ultimately, I made the decision to go with #5, Peter Ramirez of NYC Pros, who I was matched to by theSweeten. Peter was professional, thorough, and committed to staying within our agreed upon budget. He even sat down with me prior to my big purchase at Ikea just to make sure I didn’t miss minor things like toe kicks and hinges and the like. As we all know, going to Ikea for small items is a big pain.
Countertops, Flooring and Backsplash – I also ended up going through Peter’s contact for my countertops. It was something I had not originally planned for, but I am glad I decided to go with quartz as opposed to the laminate that Ikea sells. It took me two trips to Williamsburg and a comparison trip to Home Depot, but I now have amazing gray stone countertops that really lift the whole look and feel of the kitchen, I love it. My backsplash and floor tiles were a simple purchase made on homedepot.com, since I already had an idea of what I wanted – gray stone-like laminate tiles and a clear glass backsplash.
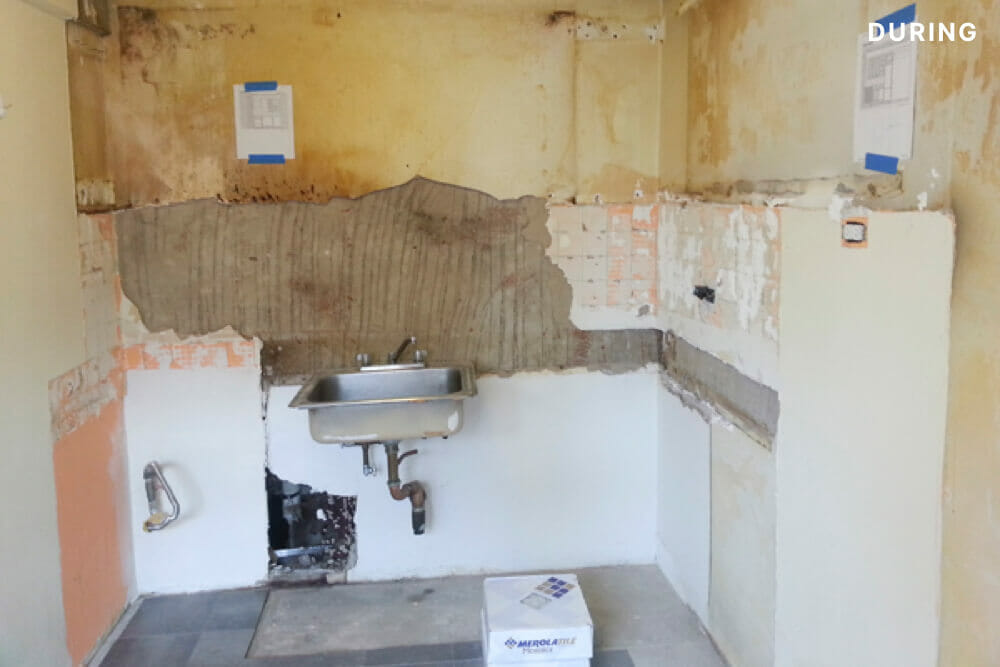
The Renovation Process
All I have to say is that your choice in contractor drives your overall experience, because you must trust that things will get done according to your expectations from a quality and time-frame perspective. We started the renovation on May 7th, a day after I had originally planned, because yours truly took longer to get all the paperwork submitted to the coop board than expected.
- Day 1 was demolition and putting in the new floors.
- Day 2 was repairing the (gross) walls post demolition.
- Days 3 and 4 were installing the base cabinets, which required cutting into wall. Regardless of the exact measurements and careful layout on the Ikea Kitchen Planner, one lesson learned is that in reality, not everything will fit perfectly. End of the weekend brought the countertop templating as well.

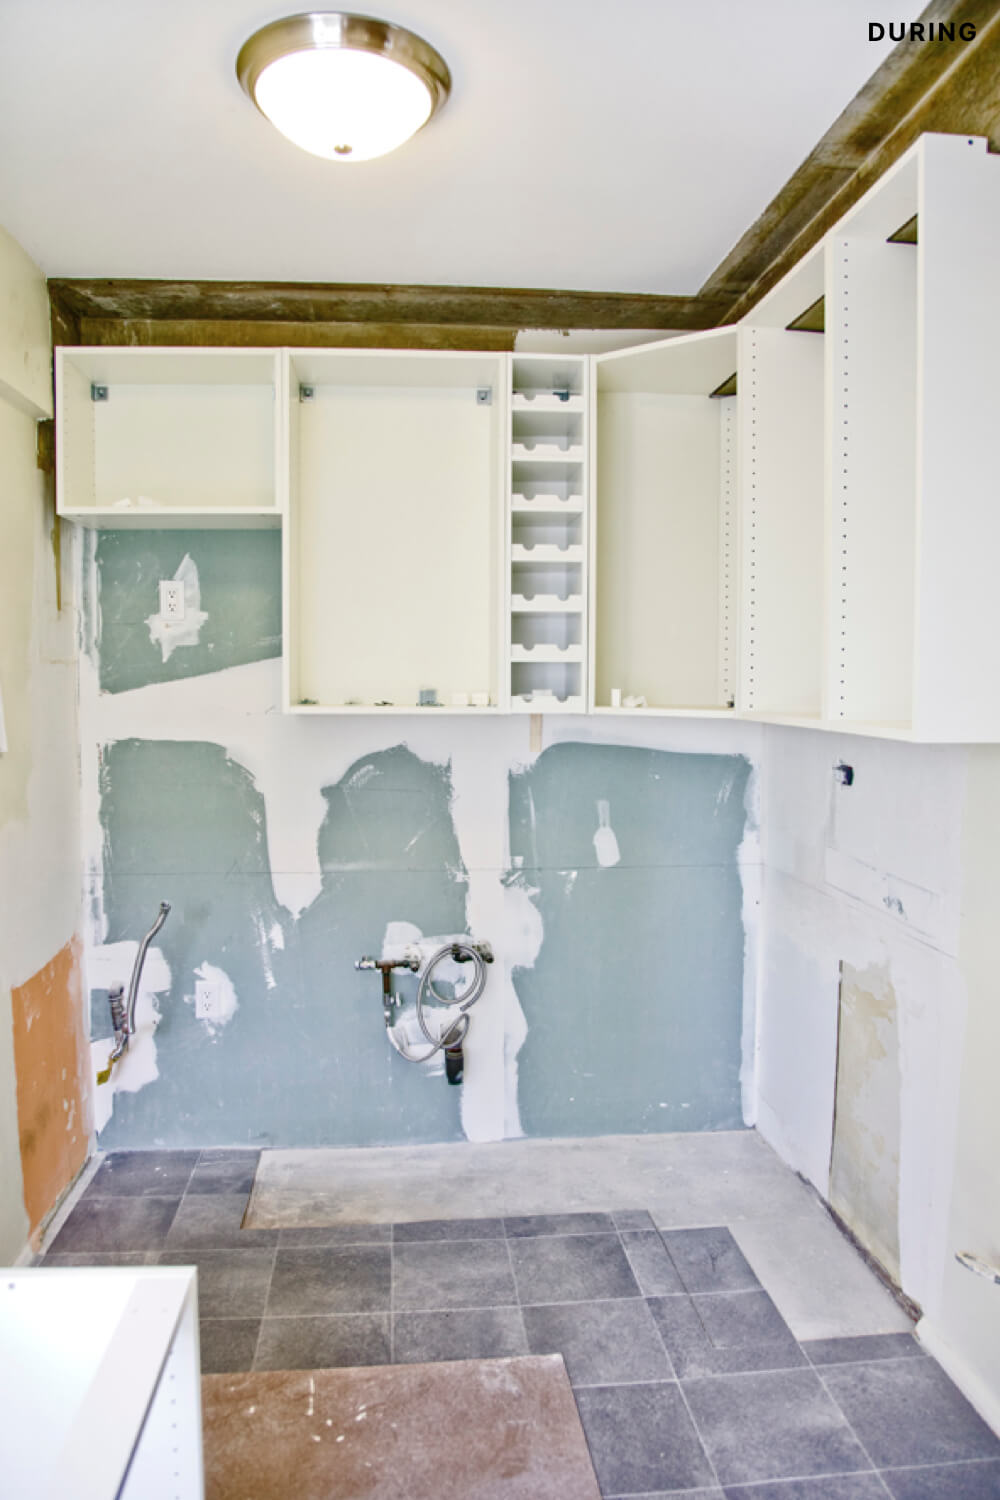
- Day 5 was wall cabinet installation.
- Day 6 was installing appliances.
- Day 7 was plaster and painting. Day 7 was also supposed to be countertop installation day but our guy ended up with a burst eye artery! So off to the hospital and for some much needed rest he went.
- Day 8 became new countertop day, with some backsplash installation.
- Day 9 wrapped up the backsplash and cleanup. Yes, the total renovation was only 9 days! I suppose when you have a small kitchen, it is totally doable.
Throughout the process, my fiancé and I were in and out of the apartment about once every other day, just to check out the progress and to make some executive decisions, like how high the backsplash was going to extend. I feel like I got really lucky with the entire renovation. Not only was everything done on time, which I have heard almost never happens, but it was really pretty painless. In fact, by the time Peter and his team left, it was somewhat bittersweet, I was all done!
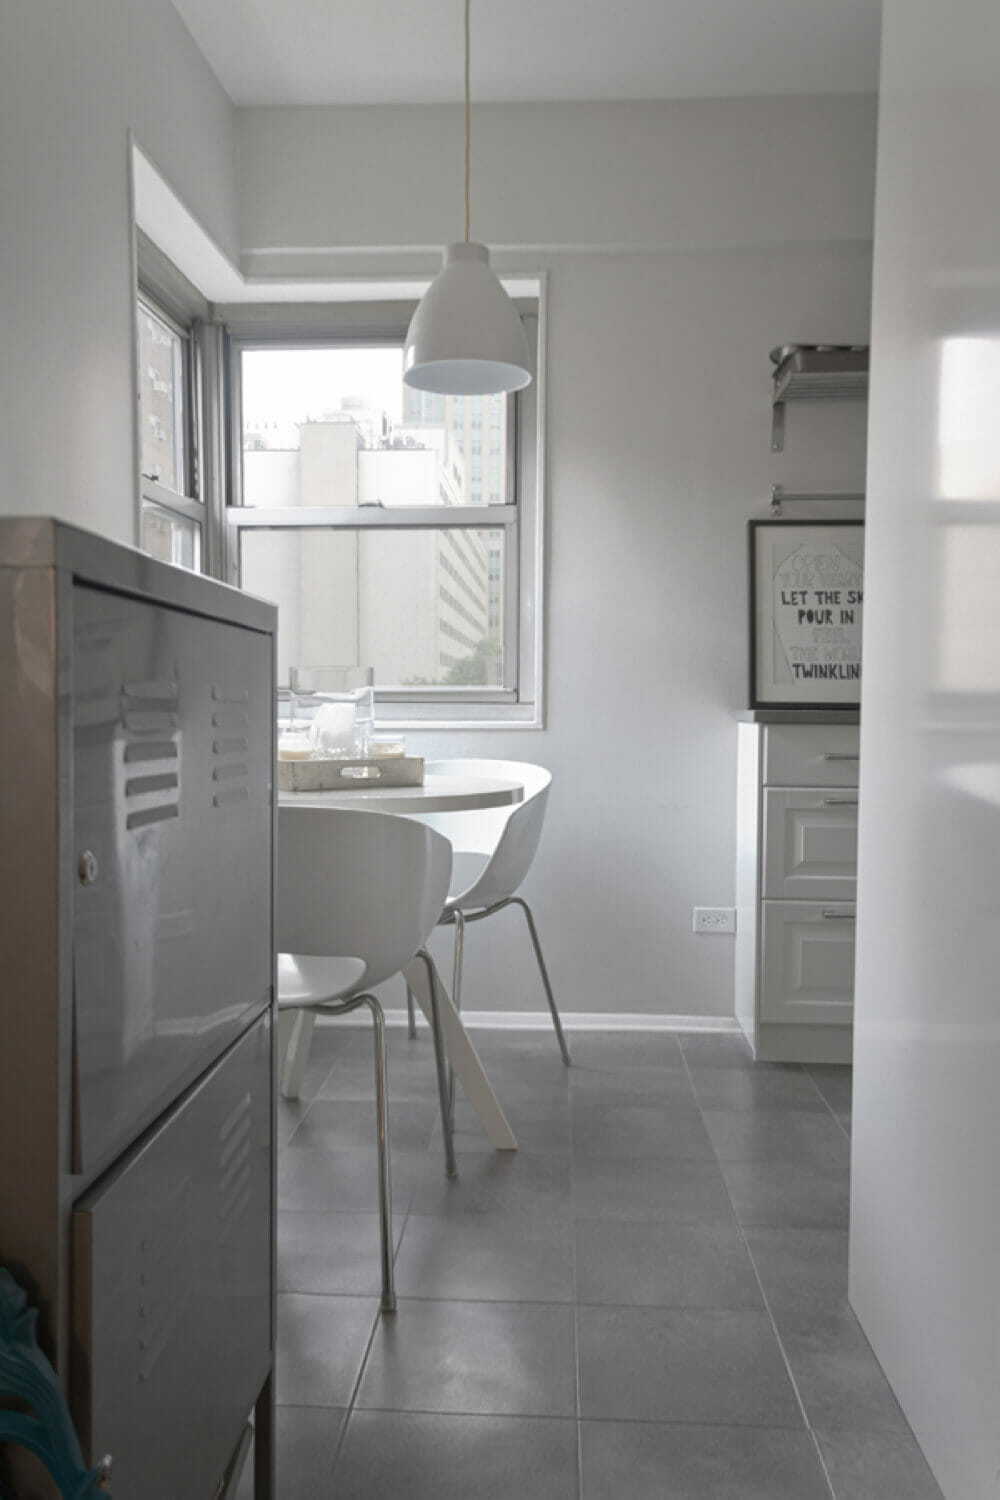
Next week we’ll take a look at how Lisa’s space turned out, and how her final costs compared to her own budget planning. Many thanks to Lisa, looking forward to more next week!
Ready to renovate? Post your project on Sweeten!
